How to Fix a Cracked Ceramic Floor Tile
Learn how to repair or replace a cracked ceramic floor tile using DIY methods that restore your floor to a clean, safe finish.
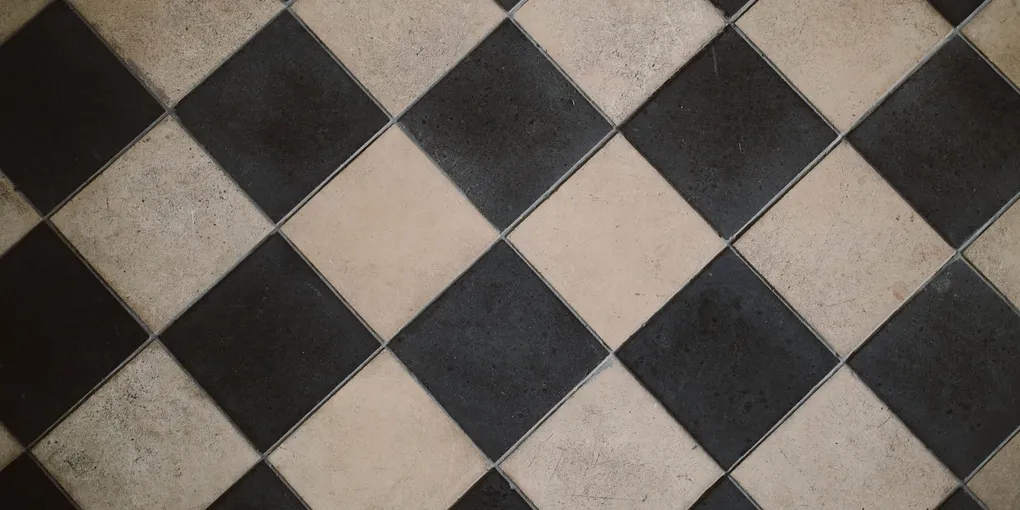
A cracked ceramic floor tile is both an eyesore and a safety hazard. Sharp edges can cut feet, water can seep under the crack and damage the subfloor, and the crack tends to spread under continued foot traffic.
A cracked ceramic floor tile is both an eyesore and a safety hazard. Sharp edges can cut feet, water can seep under the crack and damage the subfloor, and the crack tends to spread under continued foot traffic. The good news is that repairing or replacing a single tile is a manageable weekend DIY project. This guide covers both patching a hairline crack and doing a full replacement.
Tools and Materials You Will Need
- Grout saw or oscillating multi-tool with grout blade
- Cold chisel and hammer
- Putty knife or floor scraper
- Thinset mortar
- Notched trowel
- Replacement tile
- Grout (color-matched to existing)
- Grout float
- Sponge and bucket
- Safety glasses and gloves
Option A: Filling a Hairline Crack
If the tile is structurally sound — meaning it does not flex or sound hollow when tapped — and the crack is thin, you can fill it without replacement.
Step 1: Clean the crack. Use a stiff brush to remove all dirt, wax, and debris from the crack. Wipe the area with a damp cloth and let it dry completely.
Step 2: Apply epoxy filler. Mix a two-part tile repair epoxy according to the package directions and press it into the crack with a putty knife. Work it fully into the gap and scrape the surface level.
Step 3: Color-match and seal. Many kits include tint pigments. Mix the color to match your tile as closely as possible. Once cured, the filled crack becomes waterproof and significantly less visible.
Option B: Full Tile Replacement
Use this approach when the tile is broken into pieces, is flexing underfoot, or sounds hollow.
Step 1: Score and Remove the Grout
Put on safety glasses. Use a grout saw or an oscillating multi-tool with a grout blade to cut through the grout lines around the damaged tile on all four sides. Remove as much grout as possible without gouging adjacent tiles.
Step 2: Break Out the Cracked Tile
Place a cold chisel near the center of the cracked tile and strike it with a hammer to break the tile into smaller pieces. Work from the center outward, keeping chisel strikes angled down to avoid undercutting the neighboring tiles. Remove all fragments.
Step 3: Scrape the Substrate Clean
Use a floor scraper or putty knife to remove all remaining thinset mortar from the subfloor. The surface must be flat and free of high spots for the new tile to sit correctly. Vacuum out all dust and debris.
Step 4: Apply Thinset and Set the New Tile
Mix thinset mortar to a peanut butter consistency and spread it on the subfloor with a notched trowel. Comb the trowel in one direction to create ridges. Press the new tile firmly into place, twisting it slightly to collapse the ridges and ensure full coverage. Check that it is level with the surrounding tiles using a straightedge.
Allow the thinset to cure for at least 24 hours before proceeding.
Step 5: Apply Grout
Mix your color-matched sanded or unsanded grout according to the package instructions. Use a grout float held at a 45-degree angle to push grout firmly into all the joints. Wipe diagonally across the joints with a damp sponge to remove excess grout from the tile face, rinsing the sponge frequently.
Step 6: Clean and Seal
After the grout hazes over (usually 20 to 30 minutes), buff the tile surface with a dry cloth. Allow the grout to cure fully — at least 24 hours — before walking on it. Once cured, apply a grout sealer to protect against stains and moisture.
Preventing Future Tile Cracks
- Check for subfloor flex. Bounce gently in the area. If the floor moves noticeably, a stiff subfloor backer board layer may be needed under future tile work.
- Use anti-fracture membrane. On floors prone to movement, a crack isolation membrane between the subfloor and tile significantly reduces cracking.
- Avoid dropping heavy objects. Even well-installed ceramic tile is brittle under concentrated impact.
Related guides
- How to Fix a Floor Tile That Is Loose — reattach a loose tile with epoxy before it cracks further
- How to Grout Floor Tile — regrout repaired areas to blend with surrounding tile
With patience and the right materials, a repaired tile blends in cleanly and the floor is as solid as ever.
- Assess the crack type
Tap the cracked tile — a solid thud means the tile is still bonded; a hollow drum sound means the tile has come loose underneath. Hairline cracks in bonded tile can be filled. Broken, loose, or flexing tiles must be fully replaced.
- Fill a hairline crack (Option A)
Clean the crack with isopropyl alcohol and let dry completely. Apply a color-matched tile seam repair compound or clear epoxy into the crack using a putty knife. Wipe away excess immediately. Allow to cure fully before foot traffic.
- Remove and replace a broken tile (Option B)
Score the grout lines with a grout saw. Use a cold chisel and hammer to break the tile into pieces and pry them out. Scrape the old adhesive from the subfloor. Apply fresh thinset mortar, set the new tile with spacers, and let cure 24 hours before grouting.
- Grout and finish
Mix matching grout and apply with a grout float, pressing firmly into the joints. Wipe diagonal to the joints with a damp sponge. Allow to cure, then apply grout sealer over new grout lines.
Free: 10-Point Home Maintenance Checklist
Prevent costly repairs with this seasonal checklist. Save hundreds every year by catching problems early.
Your checklist is ready!
Open Checklist →Something went wrong. View the checklist here.