How to Fix a Cracked Bathroom Tile
Learn how to remove and replace a single cracked bathroom tile without disturbing surrounding tiles or damaging your walls and floor.
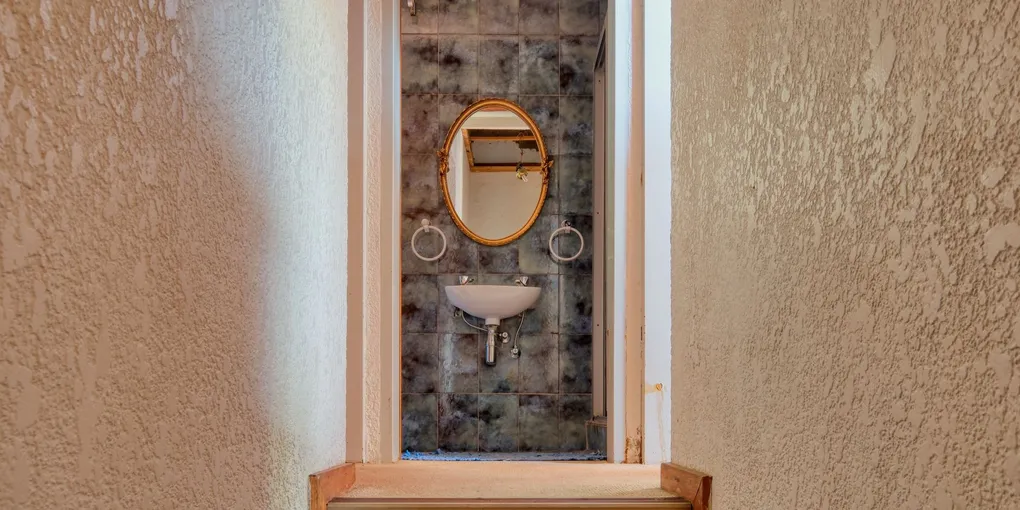
A cracked bathroom tile does not mean you need to retile the whole room. Single tile replacement is one of the most satisfying DIY repairs — a neat job leaves no visible trace of the repair, and the skills transfer to every future tile issue you encounter.
A cracked bathroom tile does not mean you need to retile the whole room. Single tile replacement is one of the most satisfying DIY repairs — a neat job leaves no visible trace of the repair, and the skills transfer to every future tile issue you encounter. The critical skill here is removing the damaged tile without cracking its neighbors, and this guide walks through exactly how to do that.
What You Need
- Replacement tile (same size and thickness as existing)
- Grout saw or oscillating tool with grout blade
- Pre-mixed tile adhesive or thin-set mortar
- Grout in matching color
- Cold chisel and hammer
- Safety glasses and work gloves
- Notched trowel (1/4 inch V-notch for wall tile, 3/8 inch square-notch for floor tile)
- Grout float
- Grout sponge
- Tile spacers
- Bucket of water
- Painter’s tape
Step 1 — Protect the Surrounding Tiles
Before touching the cracked tile, apply painter’s tape along the edges of all four surrounding tiles. This protects their glazed surface from chipping if your chisel slips. It also gives you a clear visual boundary for where your work should stop.
Put on safety glasses before any cutting or chiseling — tile fragments are small, sharp, and fast-moving.
Step 2 — Remove the Grout Around the Cracked Tile
This step is critical. If you skip it and go straight to chiseling, the force transmits to adjacent tiles and you risk cracking them.
Use a grout saw (a carbide-tipped manual saw) or an oscillating multi-tool with a grout removal blade to cut out the grout on all four sides of the damaged tile. Work carefully along each grout line, cutting to full depth — you want to completely separate the tile from its neighbors. For narrow grout lines (1/8 inch), a grout saw fits. For wider lines, the oscillating tool is faster.
Run the saw or blade along each grout line twice to ensure a clean cut, then vacuum out the loosened grout debris.
Step 3 — Break and Remove the Cracked Tile
With grout fully removed on all sides, the tile is now isolated. Position a cold chisel or masonry chisel at the center of the cracked tile — not at the edges. Strike firmly with a hammer to break the tile into sections. Work from the center outward, breaking each section into smaller pieces before prying them free.
Use the chisel at a shallow angle to pry fragments up from the substrate. Go gently near the edges — the goal is to leave the adhesive bed below mostly intact. Remove all fragments, including any that are wedged under the tape protecting adjacent tiles.
Use a vacuum to remove all tile dust and fragments from the cavity.
Step 4 — Clean and Prepare the Substrate
Scrape or chip away any old adhesive from the substrate using the chisel or a putty knife. The cavity does not need to be perfectly smooth, but any high spots or thick mounds of old adhesive that would raise the new tile above its neighbors must be removed. The surface should be flat enough that the new tile will sit level with the surrounding tiles.
Vacuum again and wipe the substrate with a damp sponge. Allow it to dry before applying new adhesive.
Step 5 — Set the New Tile
For a wall tile: Use a V-notch trowel to spread pre-mixed mastic adhesive onto the back of the new tile. Comb it in one direction so the ridges are consistent. Press the tile firmly into the opening, seating it with a slight twisting motion to maximize adhesive contact. Check that it is flush with the surrounding tiles using a straightedge.
For a floor tile: Spread thin-set mortar with a square-notch trowel onto the substrate, then back-butter the tile with additional thin-set for full coverage. Press firmly into place. Floor tiles carry weight and need complete adhesive contact to prevent future cracking.
Place tile spacers at each corner to maintain the grout gap width matching the existing grout lines. Check for level and flush alignment with the surrounding tiles. If the tile sits too high, press firmer; if too low, add more adhesive.
Allow the adhesive to cure fully — 24 hours minimum for most products.
Step 6 — Remove Spacers and Grout
Pull out the tile spacers once the adhesive is cured. Mix grout according to package instructions, or use a pre-mixed grout for small repairs. The consistency should be like smooth peanut butter.
Using a grout float held at a 45-degree angle, press grout firmly into all four joints around the new tile. Work the float diagonally across the joint to pack grout in fully. Remove excess grout from the tile face immediately with the edge of the float.
Allow the grout to sit for 15 to 20 minutes until it becomes slightly firm, then wipe the tile face with a damp sponge (wrung out well — too much water weakens grout). Use light circular motions and rinse the sponge frequently. Polish the final haze off with a dry cloth after 30 minutes.
Step 7 — Seal the Grout
After the grout cures for 72 hours, apply grout sealer to the new grout lines using a small brush or the applicator tip. Sealer prevents moisture penetration and staining, which is especially important in shower and floor tile applications. Wipe excess sealer off the tile face within 5 minutes of application.
The new tile will look slightly brighter than its aged neighbors for a few weeks but will blend over time, especially in high-use areas where natural patina develops quickly.
Related Reading
- How to Fix Bathroom Caulk
- How to Regrout Bathroom Tile
- How to Install a Tile Backsplash
- How to Fix a Floor Tile That Is Loose — epoxy injection for hollow floor tiles that haven’t cracked yet
- Step 1 — Protect the Surrounding Tiles
Before touching the cracked tile, apply painter's tape along the edges of all four surrounding tiles. This protects their glazed surface from chipping if your chisel slips. It also gives you a clear visual boundary for where your work should stop.
- Step 2 — Remove the Grout Around the Cracked Tile
This step is critical. If you skip it and go straight to chiseling, the force transmits to adjacent tiles and you risk cracking them.
- Step 3 — Break and Remove the Cracked Tile
With grout fully removed on all sides, the tile is now isolated. Position a cold chisel or masonry chisel at the center of the cracked tile — not at the edges. Strike firmly with a hammer to break the tile into sections.
- Step 4 — Clean and Prepare the Substrate
Scrape or chip away any old adhesive from the substrate using the chisel or a putty knife. The cavity does not need to be perfectly smooth, but any high spots or thick mounds of old adhesive that would raise the new tile above its neighbors must be r...
- Step 5 — Set the New Tile
For a wall tile: Use a V-notch trowel to spread pre-mixed mastic adhesive onto the back of the new tile. Comb it in one direction so the ridges are consistent.
- Step 6 — Remove Spacers and Grout
Pull out the tile spacers once the adhesive is cured. Mix grout according to package instructions, or use a pre-mixed grout for small repairs. The consistency should be like smooth peanut butter.
Free: 10-Point Home Maintenance Checklist
Prevent costly repairs with this seasonal checklist. Save hundreds every year by catching problems early.
Your checklist is ready!
Open Checklist →Something went wrong. View the checklist here.