How to Fix a Broken Tile Backsplash
Learn how to repair and replace cracked or loose kitchen backsplash tiles yourself with simple tools and the right adhesive.
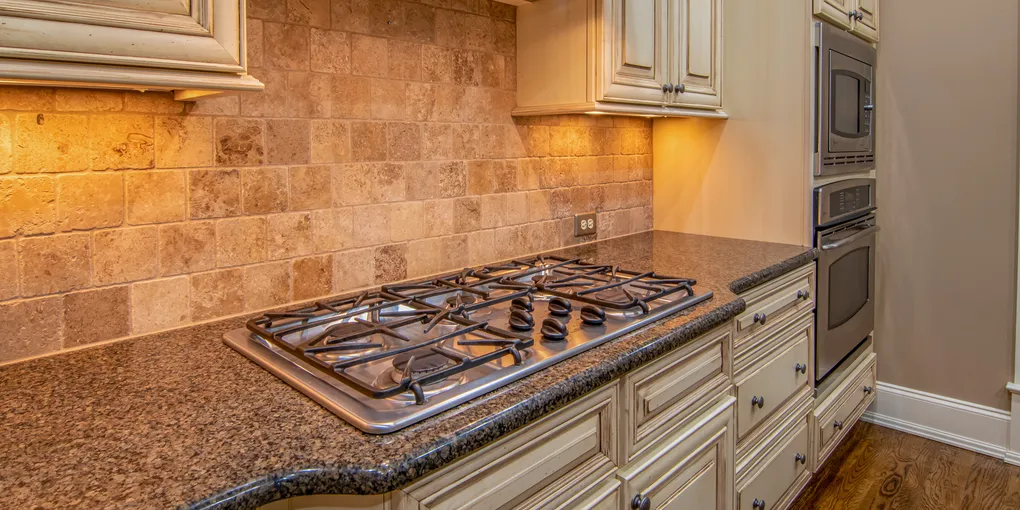
A cracked or popped-off kitchen backsplash tile is one of those repairs that looks intimidating but is genuinely manageable for a patient DIYer. The job requires only a handful of tools, a couple of hours, and the willingness to let adhesive and grout cure overnight.
A cracked or popped-off kitchen backsplash tile is one of those repairs that looks intimidating but is genuinely manageable for a patient DIYer. The job requires only a handful of tools, a couple of hours, and the willingness to let adhesive and grout cure overnight. Here is how to do it right.
What You Will Need
- Grout saw or oscillating multi-tool with grout blade
- Flat pry bar or putty knife
- Cold chisel and hammer (for stubborn tiles)
- Notched trowel
- Tile adhesive (mastic) or white polymer thinset mortar
- Replacement tile(s)
- Grout float and sponge
- Matching grout
- Painter’s tape
- Safety glasses and gloves
A quality oscillating multi-tool with a grout removal blade makes short work of the grout lines and is worth having for any future tile work around the house.
Step 1: Remove the Damaged Grout
Put on your safety glasses — tile chips fly. Use a grout saw or oscillating tool to cut through the grout surrounding the broken tile. Work carefully along all four sides. You want to loosen the bond without damaging adjacent tiles.
Once the grout is cleared, slide a putty knife or flat pry bar under an edge of the broken tile and gently lever it away from the wall. If the tile is cracked into fragments, remove pieces one at a time. For a tile that is firmly bonded but cracked, use a cold chisel and hammer at the center crack to break it into manageable pieces.
Step 2: Clean the Substrate
Scrape all old adhesive off the wall surface with the putty knife until you reach clean drywall, cement board, or tile backer. The substrate must be flat, dry, and free of debris before you set a new tile. If you see any mold or water damage on the backer board, address that before proceeding.
Step 3: Apply Fresh Adhesive
Using a notched trowel, spread a thin, even layer of tile adhesive or thinset on the back of the replacement tile (back-buttering) and on the wall substrate. Comb the adhesive with the notched edge to create ridges that will compress evenly when you press the tile in place.
A reliable premixed tile mastic is a great choice for backsplash repairs — no mixing required, and it sets firmly on vertical surfaces.
Step 4: Set the Tile
Press the new tile firmly into position, aligning it with the surrounding tiles. Use painter’s tape to hold it flush against adjacent tiles while the adhesive cures. If the tile sits proud or recessed, adjust the amount of adhesive underneath. Wipe away any squeeze-out from the grout joints immediately with a damp sponge.
Allow the adhesive to cure fully — at least 24 hours — before moving to the grout step.
Step 5: Regrout the Tile
Mix your grout according to package directions, or use a premixed grout that matches your existing joints. Use a grout float held at a 45-degree angle to push grout firmly into all four joints. Work diagonally across the tile to fill every gap.
Let the grout set for 10 to 15 minutes, then wipe the tile face with a damp sponge using diagonal strokes. Rinse the sponge frequently and repeat until the tile surface is clean. Avoid pressing grout out of the joints during cleanup.
Step 6: Seal and Finish
After the grout cures for 48 to 72 hours, apply a grout sealer to protect the repaired joint from moisture and staining. A grout sealer pen makes targeted application easy — just trace along the new grout lines.
Tips for a Seamless Result
- Test fit first. Dry-fit the replacement tile before applying any adhesive to confirm it sits flush and the spacing looks correct.
- Work in good light. A work light positioned at a low angle reveals surface irregularities you might otherwise miss.
- Patience pays off. Rushing the cure times is the single most common reason a DIY tile repair fails within weeks. Let everything dry fully.
With the right adhesive, a matching tile, and a steady hand, your backsplash will look like the break never happened.
Related Reading
- Kitchen Backsplash Cost — replacement cost estimates by tile type if repair is not worth it
- How to Install Tile Backsplash — full installation guide for replacing larger sections
- How to Seal Grout — protect repaired grout from moisture and staining
- Remove the Damaged Grout
Put on your safety glasses — tile chips fly. Use a grout saw or oscillating tool to cut through the grout surrounding the broken tile. Work carefully along all four sides. You want to loosen the bond without damaging adjacent tiles.
- Clean the Substrate
Scrape all old adhesive off the wall surface with the putty knife until you reach clean drywall, cement board, or tile backer. The substrate must be flat, dry, and free of debris before you set a new tile.
- Apply Fresh Adhesive
Using a notched trowel, spread a thin, even layer of tile adhesive or thinset on the back of the replacement tile (back-buttering) and on the wall substrate.
- Set the Tile
Press the new tile firmly into position, aligning it with the surrounding tiles. Use painter's tape to hold it flush against adjacent tiles while the adhesive cures. If the tile sits proud or recessed, adjust the amount of adhesive underneath.
- Regrout the Tile
Mix your grout according to package directions, or use a premixed grout that matches your existing joints. Use a grout float held at a 45-degree angle to push grout firmly into all four joints. Work diagonally across the tile to fill every gap.
- Seal and Finish
After the grout cures for 48 to 72 hours, apply a grout sealer to protect the repaired joint from moisture and staining. A grout sealer pen makes targeted application easy — just trace along the new grout lines.
Free: 10-Point Home Maintenance Checklist
Prevent costly repairs with this seasonal checklist. Save hundreds every year by catching problems early.
Your checklist is ready!
Open Checklist →Something went wrong. View the checklist here.