How to Fix a Broken Thermostat Wire in 20 Minutes ($0–$15, No HVAC Tech)
Diagnose and repair a broken, shorted, or disconnected thermostat wire in 20 minutes to restore heating and cooling control. Wire repairs cost $0–$15 without an HVAC technician.
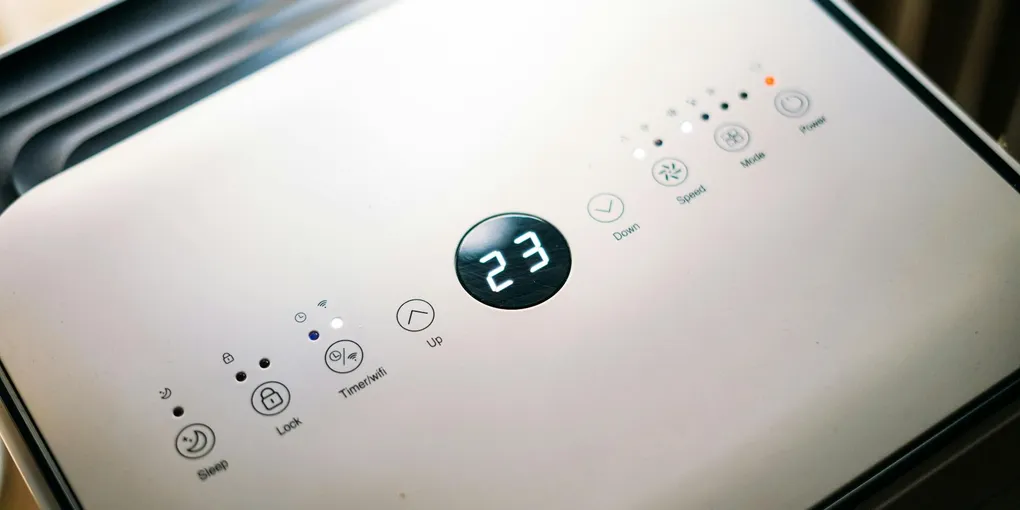
Thermostat wiring problems are among the most frustrating HVAC failures because the symptoms — a system that will not heat or cool, a blank thermostat screen, or erratic operation — feel like a major breakdown when the actual cause is often a single disconnected or damaged wire.
Thermostat wiring problems are among the most frustrating HVAC failures because the symptoms — a system that will not heat or cool, a blank thermostat screen, or erratic operation — feel like a major breakdown when the actual cause is often a single disconnected or damaged wire. The good news is that thermostat wiring is low-voltage, safe to work on, and well within reach of any homeowner with a screwdriver and a multimeter.
This guide covers diagnosing a thermostat wiring fault, identifying where the break or short has occurred, making the repair, and testing the system before declaring the job done.
What You Need
Most thermostat wiring repairs require only basic tools and potentially a short length of replacement wire.
- Multimeter with continuity and voltage functions — essential for diagnosing wire breaks and shorts
- 18/5 or 18/8 thermostat wire — buy a 25-foot roll; the number after the slash is the number of conductors
- Wire strippers for 18 to 22 AWG wire
- Small wire nuts or HVAC wire connectors
- Electrical tape
- Screwdrivers — small flathead and Phillips — for thermostat terminal screws
- Flashlight or headlamp — for working in dark furnace rooms and tight spaces
- C wire adapter kit — if installing a smart thermostat that needs a C wire
Estimated total cost: $20 to $60 depending on whether you already own a multimeter and whether a new wire run is needed.
Step 1: Photograph Everything Before Touching Anything
This is the single most important step. Before disconnecting any wires at the thermostat or the furnace, take clear, close-up photographs of every terminal connection at both ends of the wire run.
At the thermostat base, photograph which wire color goes to which terminal letter. At the furnace control board, photograph the same. If you ever forget which wire goes where, your photos save you from a service call.
Thermostat terminals use single-letter designations. The most common are:
- R (or RH and RC) — 24V power supply
- W — heat control
- Y — cooling compressor
- G — fan/blower
- C — common wire
- O/B — heat pump reversing valve
Step 2: Turn Off Power to the HVAC System
Locate the furnace or air handler. There is typically a power switch on the side of the unit that looks like a light switch — turn it off. For additional safety, go to your electrical panel and turn off the breaker labeled for the furnace or air handler.
You do not need to turn off the thermostat separately — it runs on the 24V low-voltage supply from the transformer inside the furnace, which you are cutting off at the source.
Step 3: Check the Most Common Failure Points First
Before testing every inch of wire, check the two most common failure points: the thermostat terminal connections and the furnace control board connections.
At the thermostat: Remove the thermostat from its wall plate. The wires connect to small screw or push-in terminals on the back of the wall plate. Check each wire for:
- A loose connection — the wire is in the terminal but not gripped securely
- A disconnected wire — a wire has fallen completely out of its terminal
- Corrosion — green or white oxidation on the wire tip that prevents good contact
- A wire tip too short — the wire insulation is right at the terminal with no bare conductor in the terminal slot
For any wire with a too-short tip, use wire strippers to remove 3/8 inch of insulation and reconnect. For corrosion, clip the tip back 1/2 inch to expose clean copper and reconnect. For loose connections, re-seat the wire and tighten the screw.
At the furnace control board: Open the furnace door (it usually snaps or slides off). Locate the control board — the circuit board with terminals labeled with the same letters as the thermostat. Check each thermostat wire connection for the same issues: loose terminals, disconnected wires, corroded tips.
Step 4: Test for a Broken Wire
If the connections look correct at both ends but the system still does not work, test for a break in the wire itself.
-
Identify a suspected wire. If only one function is broken (for example, cooling does not work but heating does), the Y wire is the suspect.
-
Disconnect the wire at both ends. Remove it from the thermostat terminal and from the furnace control board terminal.
-
Set your multimeter to continuity mode. Touch one probe to each end of the disconnected wire. A continuous beep or a reading close to 0 ohms confirms the wire is intact. No beep or an infinite resistance reading confirms a break somewhere along the wire run.
-
Repeat for each wire that controls a malfunctioning function.
Step 5: Test for a Short Between Wires
A short — where two wires touch each other along the run — can cause erratic behavior, blown fuses on the control board, or a system that will not respond at all.
With all wires disconnected at the thermostat end and still connected at the furnace end:
- Set the multimeter to resistance (ohms) mode.
- Touch one probe to a wire and the other probe to each of the other wires in turn.
- A very low resistance reading (under 100 ohms) between two wires that should not be connected indicates a short somewhere in the run.
Shorts are most common at points where the wire was stapled to framing, ran through a tight spot, or was routed around a door frame or through the floor — any place where it could have been pinched.
Step 6: Repair a Broken or Shorted Wire
If the break or short is at an accessible terminal or junction: Strip back the damaged section, expose clean wire, and reconnect using a wire nut or by inserting the wire into the terminal.
If the wire is broken or shorted inside the wall:
The practical repair for an inaccessible in-wall break is to run a new wire segment rather than trying to find and splice the exact location inside the wall. Options:
-
Use an unused conductor in the existing wire bundle. Most thermostat cable contains five or more conductors, and older systems only use three or four. If there is an unused wire in the bundle (connected at neither end), label it and connect it to the appropriate terminals at both ends, replacing the function of the broken wire.
-
Run a new thermostat wire alongside the old one. The wire runs from the thermostat location to the furnace, typically through the interior wall, down to the basement or mechanical room, and then to the furnace. Fishing a new 18-gauge wire through this path is manageable with a fish tape. Use the old wire as a pull guide — tape the new wire to the old one at the furnace end and pull it from the thermostat end.
-
Surface mount new wire in conduit. If fishing through the wall is not feasible, run the new wire in surface-mounted wire conduit (also called raceway) along the baseboard or ceiling to get from the thermostat to the furnace area. This is less aesthetically clean but fully functional.
Step 7: Reconnect and Test
Once the repair is made, restore the connections at both the thermostat and the furnace control board. Refer to your photographs from Step 1 to confirm each wire is in the correct terminal.
-
Restore power to the HVAC system at the system switch and circuit breaker.
-
Set the thermostat to heat mode and raise the setpoint several degrees above room temperature. The furnace should call for heat within 30 to 60 seconds. Listen for the inducer fan to start, followed by the ignition sequence, and then the blower.
-
Set the thermostat to cool mode and lower the setpoint below room temperature. The air conditioning compressor should start within a few minutes.
-
Test the fan-only mode by setting the fan to ON rather than AUTO. The blower should run independently.
-
Confirm the system shuts off when the setpoint is reached or when you change the mode to OFF.
Preventing Future Thermostat Wiring Problems
The most common causes of thermostat wiring damage are physical disturbance during renovations, rodent damage in wall cavities, and corrosion at the terminal connections in high-humidity environments. A few preventive steps:
After any wall work near the thermostat wire run, verify function by testing all HVAC modes. Inspect the wire at any exposed section for pinch damage. At furnace control board terminals, apply a small amount of electrical contact cleaner annually to prevent oxidation buildup on terminals, especially in basements or crawl spaces with higher humidity.
Related Reading
- How to Install a Smart Thermostat
- How to Fix a Furnace That Will Not Start
- How to Replace a Home Air Filter
- Photograph Everything Before Touching Anything
This is the single most important step. Before disconnecting any wires at the thermostat or the furnace, take clear, close-up photographs of every terminal connection at both ends of the wire run.
- Turn Off Power to the HVAC System
Locate the furnace or air handler. There is typically a power switch on the side of the unit that looks like a light switch — turn it off.
- Check the Most Common Failure Points First
Before testing every inch of wire, check the two most common failure points: the thermostat terminal connections and the furnace control board connections.
- Test for a Broken Wire
If the connections look correct at both ends but the system still does not work, test for a break in the wire itself.
- Test for a Short Between Wires
A short — where two wires touch each other along the run — can cause erratic behavior, blown fuses on the control board, or a system that will not respond at all.
- Repair a Broken or Shorted Wire
If the break or short is at an accessible terminal or junction: Strip back the damaged section, expose clean wire, and reconnect using a wire nut or by inserting the wire into the terminal.
Free: 10-Point Home Maintenance Checklist
Prevent costly repairs with this seasonal checklist. Save hundreds every year by catching problems early.
Your checklist is ready!
Open Checklist →Something went wrong. View the checklist here.