How to Fix a Broken Sprinkler Head: Replace, Adjust, and Unclog Pop-Up Heads (2026)
A broken or misaligned sprinkler head causes wet spots, dry patches, and wasted water. This guide covers replacing a broken pop-up head, adjusting spray arc and radius, unclogging a clogged nozzle, and raising a sunken head.
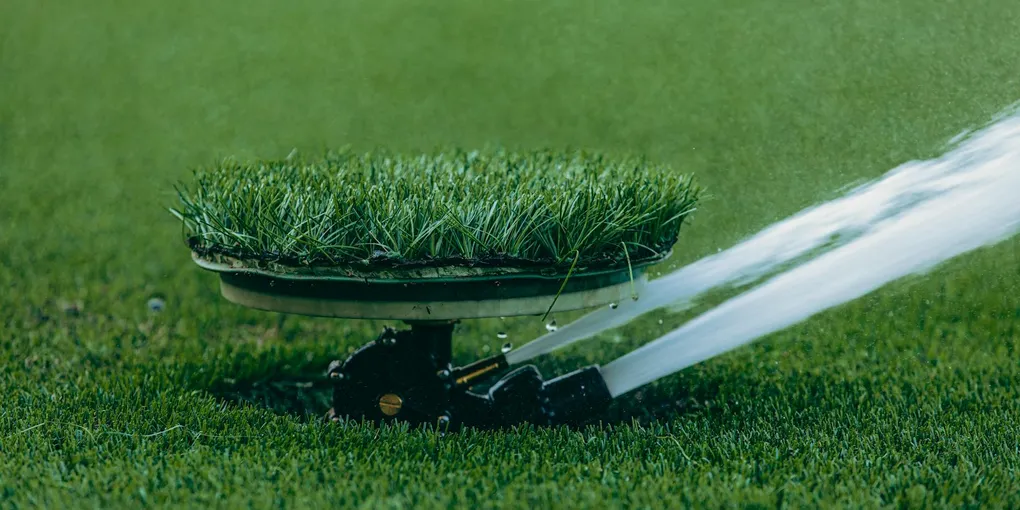
Broken sprinkler head (cracked body, not popping up, or spraying in the wrong direction): turn off the sprinkler zone at the controller. Dig around the broken head to expose 6 inches of the riser or flex pipe below it. Unscrew the broken head counterclockwise. Screw on the replacement head — match the thread size (3/4-inch is standard for most residential pop-up heads). Test the zone. Entire job takes 15–20 minutes. Most replacement heads are $3–$8.
Frequently Asked Questions
How do I adjust the spray arc on a pop-up sprinkler head?
Pop-up rotor heads (the ones that rotate and throw water in an arc) have two adjustments: (1) Arc adjustment — controls how many degrees the head rotates (90°, 180°, 270°, 360°). Use the key tool that came with the head (or a small flat-head screwdriver) to turn the arc adjustment screw at the top center of the head while the zone is running. (2) Radius adjustment — controls how far the water throws. There's usually a small screw on top of the nozzle or at the nozzle side that you turn clockwise to reduce radius. Fixed-spray heads (the non-rotating pop-ups) have replaceable nozzle inserts that determine the spray pattern — swap the nozzle insert to change the arc pattern.
A sprinkler head is spraying where it shouldn't. How do I re-aim it?
For a fixed spray head: the entire body can be rotated while it's operating (reach down and twist the pop-up stem) — the nozzle follows. If the head rotates back to the wrong position by itself: the swing joint or riser below is tight and pulling the head. Dig out around the head, loosen the riser connection, re-aim the head, and let it settle. For a rotor head: the arc start and end points can be set by rotating the entire head while it's in the retracted position — the body has a screw that sets the home (start) position.
The sprinkler head pops up but water comes out in all directions or sprays very poorly. What's wrong?
A clogged nozzle. Turn off the zone. Unscrew the top of the pop-up head — on most brands, the whole upper insert (riser + filter + nozzle) unscrews counterclockwise from the body. Pull out the riser assembly. Remove the nozzle (it pops or unscrews off the top). Soak the nozzle in clean water and use a toothpick or pin to clear any debris from the small orifice. Also check the filter screen inside the riser assembly — rinse it under running water. Reassemble and test.
The sprinkler head is below grade and doesn't pop up fully. What do I do?
A head that has sunk below grade needs to be raised. Options: (1) Swing joint method — the most flexible. The head connects to the supply line via a flexible swing joint (available at irrigation supply stores, $3–$6). Unscrew the old connection, install a swing joint between the supply line and the head, and adjust the head height. The swing joint stays flexible and adjusts to soil movement. (2) Riser extension — if the head body is intact but low: add a short threaded riser extension between the head body and the supply fitting. (3) Replace with taller head — if the area around the head has been raised (new sod, top-dressing): replace with a head that has a taller pop-up height (4-inch, 6-inch, or 12-inch pop-up heights are available).
How do I find which sprinkler zone a broken head is on?
Run each zone from the controller one at a time and watch the yard — the zone with the broken head will be visible (either a geyser from a broken body, or a wet spot without a working head). Most residential systems have 4–8 zones. If you have the original irrigation map: match the head location to the map. If not: each zone's valve is typically located in a valve box buried near the house foundation or along the house perimeter — opening the valve boxes and counting valves can help identify the circuit layout.
Broken sprinkler head (cracked body, not popping up, or spraying in the wrong direction): turn off the sprinkler zone at the controller. Dig around the broken head to expose 6 inches of the riser or flex pipe below it.
A broken sprinkler head is a quick, inexpensive fix — most swaps take under 20 minutes.
What you need
- Replacement pop-up sprinkler head ($3–$8 — match brand and spray radius if possible)
- Small trowel or hand spade
- Adjustable wrench or channel-lock pliers (if head is very tight)
- Sprinkler adjustment key (usually included with rotors)
Step 1: Turn off the zone
Turn off the irrigation zone at the controller. Running the zone while the head is removed creates a geyser. If you don’t know which zone: turn off the irrigation at the main shutoff valve to the system.
Step 2: Expose and remove the old head
Dig around the broken head to clear 4–6 inches of soil around the base. Expose the connection point where the head screws into the riser or flex pipe.
Grip the head body and unscrew it counterclockwise. If the whole riser turns with the head: hold the riser below the head with pliers while unscrewing the head above.
Step 3: Install the new head
Thread the new head clockwise onto the riser or flex pipe. Hand-tighten plus a quarter-turn. Don’t overtighten — the plastic threads can crack.
Orient the nozzle in the correct spray direction before tightening fully — the head should face the area it needs to cover.
Step 4: Test and adjust
Restore the zone. Watch the head pop up and verify spray pattern and coverage. Adjust arc and radius per the FAQ instructions above.
Pack the excavated soil back around the head — the head should be level with the soil surface (not buried below it).
Related guides
- How to Install a Sprinkler System — full system installation cost guide
- Spring Home Maintenance Checklist — irrigation system startup checklist
- How to Fix a Lawn That Won’t Grow — addressing dry patches after fixing irrigation
- Turn off the irrigation zone
Shut off the zone at the irrigation controller or at the zone's manual valve. This prevents a geyser of water while the head is removed and lets you work in dry conditions.
- Expose and remove the old head
Dig 4-6 inches around the broken head to expose the riser or flex pipe connection below it. Grip the head body and unscrew counterclockwise. If the riser turns with the head, grip the riser with pliers while unscrewing the head.
- Install the new head
Thread the replacement head clockwise onto the riser — match the thread size (3/4-inch is standard for most residential pop-up heads) and the spray radius. Orient the nozzle to the desired direction before making the final 1/4 turn to snug.
- Test and adjust
Restore the zone and watch the spray pattern. Adjust the arc with the adjustment screw on the top of rotor heads while the zone is running. Adjust the radius by turning the small radius screw clockwise to reduce throw. Pack excavated soil back around the head at the original surface level.
Free: 10-Point Home Maintenance Checklist
Prevent costly repairs with this seasonal checklist. Save hundreds every year by catching problems early.
Your checklist is ready!
Open Checklist →Something went wrong. View the checklist here.