How to Fix a Broken Retaining Wall
Learn how to repair and reinforce a failing retaining wall with proper drainage fixes, block re-setting, and long-term stabilization techniques.
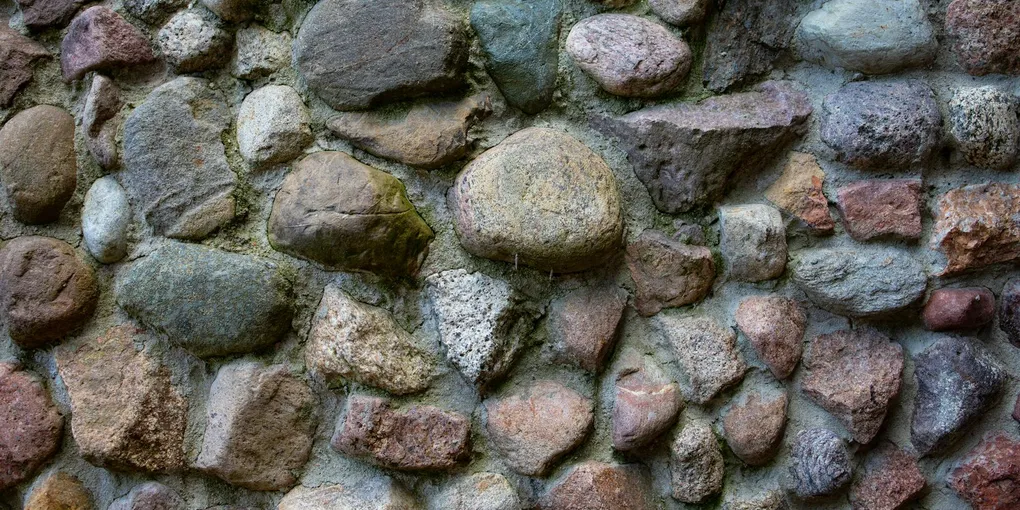
A retaining wall keeps soil in place, protects your landscaping, and often defines the shape of your yard. When it starts leaning, cracking, or crumbling, the problem does not fix itself — and ignoring it lets water and soil pressure make things steadily worse.
A retaining wall keeps soil in place, protects your landscaping, and often defines the shape of your yard. When it starts leaning, cracking, or crumbling, the problem does not fix itself — and ignoring it lets water and soil pressure make things steadily worse. The good news is that many retaining wall repairs are manageable weekend projects if you catch them early.
Assess the Damage First
Walk the entire length of the wall and take notes. Look for:
- Bulging or leaning sections — indicates pressure buildup behind the wall
- Displaced or fallen blocks — often caused by a weak or unlevel base course
- Cracks running through blocks or mortar — can be cosmetic or structural
- No visible weep holes — a drainage problem waiting to happen
- Soft, saturated soil nearby — sign of trapped water
Minor cracks and a few shifted blocks are straightforward repairs. A wall that leans more than 2 inches out of plumb or has a compromised base course may need to be disassembled and rebuilt from the ground up.
Tools and Materials
Gather everything before you start:
- Pry bar and rubber mallet
- Level (4-foot is ideal)
- Shovel and wheelbarrow
- Masonry adhesive or hydraulic cement (for mortar walls)
- Replacement blocks or bricks if needed
- Crushed gravel or drain rock
- Perforated drain pipe and landscape fabric
- Safety glasses and work gloves
A heavy-duty pry bar makes removing and repositioning blocks much easier, and a 4-foot level is essential for getting each course truly plumb.
Step 1 — Excavate Behind the Wall
For any repair that involves resetting blocks, you need access to the back of the wall. Dig out the soil behind the affected section until you reach the base. Set the soil aside on a tarp so you can reuse it. Remove any old landscape fabric and discard it — you will replace it.
Step 2 — Disassemble the Damaged Section
Work from the top down. Use a pry bar to remove blocks one at a time and stack them nearby in the order they came off so re-stacking is easier. Once you reach the base course, check whether it is level and firmly set in compacted gravel. If the base has shifted, remove it entirely and re-excavate to place a fresh 4- to 6-inch gravel bed.
Step 3 — Fix the Drainage
This is the step most DIYers skip — and it is usually why the wall failed in the first place. Lay a perforated drain pipe (sock-wrapped in landscape fabric) along the base of the wall. Slope it at least 1 inch per 8 feet toward a daylight outlet or dry well. Cover the pipe with 6 to 12 inches of crushed gravel before backfilling with soil.
If the wall has no weep holes and excavating is not practical, drill them every 4 to 6 feet using a masonry bit — just above the base course is ideal.
Step 4 — Rebuild the Wall
Starting with the base course, set each block level both front-to-back and side-to-side. Stagger the vertical joints between courses like brickwork — this is called running bond and it adds significant strength. Apply masonry construction adhesive between courses on decorative block walls for added stability. Use a masonry adhesive rated for outdoor use.
Check level and alignment every two or three courses. It is much easier to correct a small error now than after you have stacked six more rows on top of it.
Step 5 — Backfill and Compact
Shovel gravel behind the wall first (at least 12 inches of gravel against the back face), then add soil in 4-inch lifts. Compact each lift with a hand tamper before adding the next. Avoid using heavy machinery close to the wall — the vibration can shift freshly set blocks.
Step 6 — Finish and Monitor
Replace the top cap blocks and apply landscape adhesive to lock them in place. Regrade the surface soil so it slopes away from the wall to direct rainwater elsewhere. Check the wall again after the first heavy rain and after the first hard frost to confirm everything stays in position.
Long-Term Maintenance Tips
- Clear weep holes every spring with a wire or small brush
- Reapply construction adhesive to cap blocks if they start to rock
- Pull weeds from joints before roots can pry blocks apart
- Avoid piling heavy mulch or soil against the wall face year after year
A well-drained, properly rebuilt retaining wall can last 20 to 30 years or more with minimal maintenance.
Related Reading
- How to Build a Retaining Wall — start from scratch when the existing wall is too far gone to repair
- How to Fix a Broken Concrete Retaining Wall Block — replace individual damaged blocks without rebuilding the whole wall
- Step 1 — Excavate Behind the Wall
For any repair that involves resetting blocks, you need access to the back of the wall. Dig out the soil behind the affected section until you reach the base. Set the soil aside on a tarp so you can reuse it.
- Step 2 — Disassemble the Damaged Section
Work from the top down. Use a pry bar to remove blocks one at a time and stack them nearby in the order they came off so re-stacking is easier. Once you reach the base course, check whether it is level and firmly set in compacted gravel.
- Step 3 — Fix the Drainage
This is the step most DIYers skip — and it is usually why the wall failed in the first place. Lay a perforated drain pipe (sock-wrapped in landscape fabric) along the base of the wall.
- Step 4 — Rebuild the Wall
Starting with the base course, set each block level both front-to-back and side-to-side. Stagger the vertical joints between courses like brickwork — this is called running bond and it adds significant strength.
- Step 5 — Backfill and Compact
Shovel gravel behind the wall first (at least 12 inches of gravel against the back face), then add soil in 4-inch lifts. Compact each lift with a hand tamper before adding the next.
- Step 6 — Finish and Monitor
Replace the top cap blocks and apply landscape adhesive to lock them in place. Regrade the surface soil so it slopes away from the wall to direct rainwater elsewhere.
Free: 10-Point Home Maintenance Checklist
Prevent costly repairs with this seasonal checklist. Save hundreds every year by catching problems early.
Your checklist is ready!
Open Checklist →Something went wrong. View the checklist here.