How to Fix a Broken Outdoor Spigot Backflow Preventer
Learn how to test, repair, and replace a failing backflow preventer on an outdoor hose bib to protect your drinking water supply.
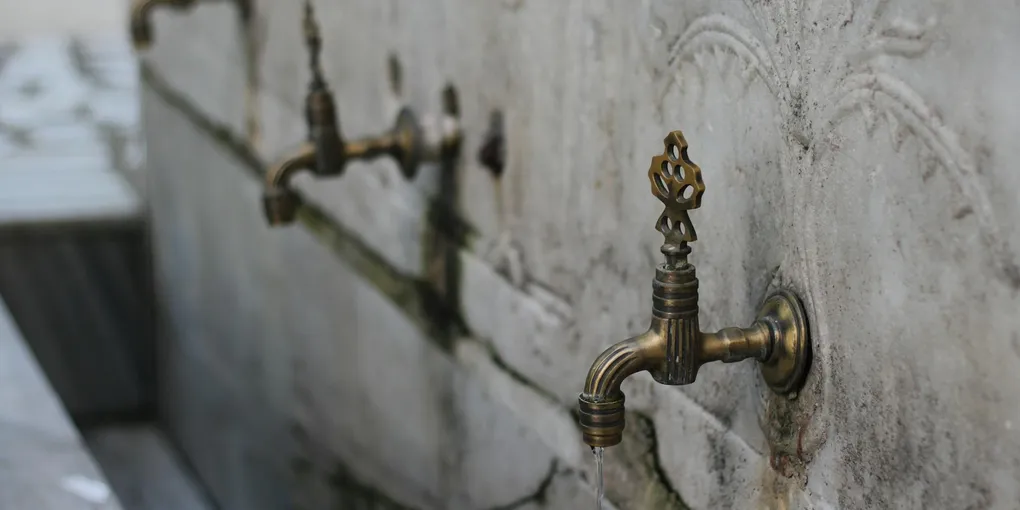
The small threaded device on the end of your outdoor spigot — the backflow preventer or vacuum breaker — is one of the most important pieces of plumbing on your property. When it fails, it either drips constantly or, worse, stops protecting your home’s drinking water from contamination.
The small threaded device on the end of your outdoor spigot — the backflow preventer or vacuum breaker — is one of the most important pieces of plumbing on your property. When it fails, it either drips constantly or, worse, stops protecting your home’s drinking water from contamination. This guide walks through testing the device, deciding whether to repair or replace it, and installing a new unit correctly.
Why Backflow Preventers Fail
The three most common failure modes are freeze damage, worn internal seals, and mineral scale buildup. If the device was left on the spigot through a hard freeze and the water inside expanded, the plastic or brass body can crack. Internal rubber seals dry out over time and lose their ability to seat properly, causing a slow drip from the weep hole. Hard water deposits can hold the check valve open, allowing backward flow.
Tools and Materials Needed
- Adjustable wrench or channel-lock pliers
- Thread seal tape (PTFE)
- Replacement backflow preventer or vacuum breaker repair kit
- Small bucket and towels
- Pipe cleaning brush or wire brush
Step 1: Identify Your Device Type
Most residential hose bibs use an atmospheric vacuum breaker (AVB) — the small brass or plastic fitting that threads directly onto the spigot outlet. It has a small vent port on the side that should open to atmosphere when the hose is depressurized. Some irrigation systems use a pressure vacuum breaker (PVB) installed further back on the supply line — a larger device with a transparent dome and test ports.
This guide covers hose-bib AVB repair. If you have a PVB on an irrigation system, that device must be tested and replaced by a licensed plumber in most jurisdictions.
Step 2: Test the Existing Device
Before spending money on parts, do a simple test. Turn on the spigot and let the hose fill. Turn the spigot off. Watch the vent port on the side of the AVB — it should open (air enters) as pressure drops, preventing siphonage. If you see a constant drip from that port when the spigot is on, the internal seal is failing. If the hose stays pressurized for minutes after you turn off the tap, the check valve is stuck open.
Step 3: Shut Off Water and Remove the Device
Locate the shutoff valve upstream of the hose bib — either a dedicated valve inside the house near the bib, or your main shutoff. Close it and open the spigot to relieve pressure. Place a towel under the spigot to catch residual water.
Using channel-lock pliers or an adjustable wrench, turn the AVB counterclockwise to unthread it from the spigot. If it has been on for years, it may be stubborn — apply steady pressure without jerking, which can damage the spigot threads.
Step 4: Choose Repair or Replacement
Inspect the removed device. If the body is cracked, corroded, or the threads are damaged, buy a replacement hose bib vacuum breaker that matches your thread size (most residential spigots are 3/4-inch male hose thread). If the body looks good but the device was dripping, look for a repair kit — many brands sell a vacuum breaker internal repair kit with a new cap, spring, and poppet for a few dollars.
To replace internals: unscrew the top cap of the AVB, remove the old spring and poppet, install new ones from the kit, and reassemble.
Step 5: Install the New or Rebuilt Device
Wrap the spigot threads with two layers of PTFE thread seal tape, winding in the direction of the threads. Thread the AVB on by hand until snug, then tighten one quarter to one half turn with pliers — do not overtighten plastic bodies. Leave the vent port facing up or to the side, never downward, so debris cannot block it.
Step 6: Restore Water and Test
Turn the water back on slowly. Check for leaks at the connection. Attach a hose, fill it, then shut off the spigot. The vent port should briefly hiss as air enters the vacuum breaker. No constant drip, no hose pressurizing after shutoff — your backflow protection is restored.
For full peace of mind on properties with irrigation systems, have a licensed plumber install a brass frost-free hose bib with built-in backflow protection — a single unit that handles freeze resistance and contamination prevention in one fixture.
A functioning backflow preventer is cheap insurance for your family’s drinking water. Test yours every spring and replace it at the first sign of dripping — the repair takes under 30 minutes.
Related guides
- How to Fix a Broken Outdoor Spigot Vacuum Breaker — repair the vacuum breaker style of backflow protection
- How to Fix a Broken Outdoor Spigot — replace a damaged spigot body
- How to Fix a Dripping Outdoor Faucet — stop the faucet leak that often gets misattributed to the backflow device
- Identify Your Device Type
Most residential hose bibs use an atmospheric vacuum breaker (AVB) — the small brass or plastic fitting that threads directly onto the spigot outlet. It has a small vent port on the side that should open to atmosphere when the hose is depressurized.
- Test the Existing Device
Before spending money on parts, do a simple test. Turn on the spigot and let the hose fill. Turn the spigot off. Watch the vent port on the side of the AVB — it should open (air enters) as pressure drops, preventing siphonage.
- Shut Off Water and Remove the Device
Locate the shutoff valve upstream of the hose bib — either a dedicated valve inside the house near the bib, or your main shutoff. Close it and open the spigot to relieve pressure. Place a towel under the spigot to catch residual water.
- Choose Repair or Replacement
Inspect the removed device. If the body is cracked, corroded, or the threads are damaged, buy a replacement hose bib vacuum breaker that matches your thread size (most residential spigots are 3/4-inch male hose thread).
- Install the New or Rebuilt Device
Wrap the spigot threads with two layers of PTFE thread seal tape, winding in the direction of the threads. Thread the AVB on by hand until snug, then tighten one quarter to one half turn with pliers — do not overtighten plastic bodies.
- Restore Water and Test
Turn the water back on slowly. Check for leaks at the connection. Attach a hose, fill it, then shut off the spigot. The vent port should briefly hiss as air enters the vacuum breaker.
Free: 10-Point Home Maintenance Checklist
Prevent costly repairs with this seasonal checklist. Save hundreds every year by catching problems early.
Your checklist is ready!
Open Checklist →Something went wrong. View the checklist here.