How to Fix a Broken Drawer Pull
Repair a stripped or broken drawer pull screw hole, replace damaged hardware, and upgrade cabinet pulls with the right tools and a few simple techniques.
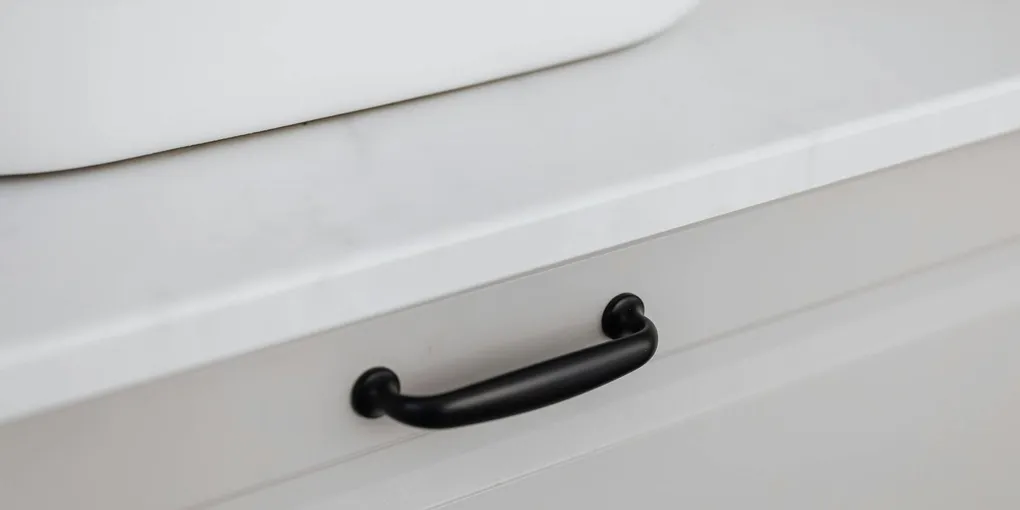
Replacing a drawer pull or knob: (1) For a broken pull (bar style): measure the center-to-center hole spacing in millimeters — most bar pulls have 96mm, 128mm, or 160mm spacing. Write down this measurement before buying. (2) For a stripped screw hole: fill the hole with a wooden toothpick coated in wood glue, let dry 30 minutes, then re-drive the screw. (3) For a metal pull where the screw broke off inside: use a screw extractor bit to remove the stub, or drill it out and use a slightly longer replacement screw with a washer behind it. (4) Replacing all pulls: remove one old pull first to confirm hole spacing, then order new hardware. Standard screw size is 8-32 machine screw. Pulls are mounted from the inside of the drawer with a machine screw threading into the pull. (5) Mismatched holes (switching from knobs to bar pulls): use a jig for consistent placement. Patch old holes with wood filler, sand, paint, then drill new holes.
Frequently Asked Questions
Why do drawer pull screws strip out of cabinet fronts?
The most common cause is that the cabinet front is made of thin MDF or particleboard, which does not hold screws as well as solid wood or plywood. Repeated pulling at an angle — yanking down or sideways instead of straight out — gradually enlarges the screw hole until it can no longer grip. Over-tightening during installation also strips holes immediately.
How do I fix a stripped screw hole for a drawer pull?
The quickest fix is to fill the stripped hole with a wood toothpick and wood glue, allow it to dry fully, then re-drill and re-drive the screw. For larger stripped holes, use wood filler or epoxy wood filler instead of a toothpick. For the most durable repair, especially in MDF, use a barrel nut and bolt system rather than a simple wood screw.
Can I use a longer screw to fix a stripped drawer pull hole?
Sometimes, but only if additional material thickness is available behind the stripped area. In most cabinet doors and drawer fronts, the material is only 3/4 inch thick, and a longer screw may poke through the back face. If you have a false front or thick enough material, a longer screw with the same diameter can bite into fresh wood below the stripped zone.
What size screws do drawer pulls use?
Most standard cabinet pulls use 8-32 machine screws. The screw length varies depending on the thickness of the cabinet door or drawer front — common lengths are 1 inch, 1-1/4 inch, and 1-1/2 inch. When buying replacement pulls or screws, bring the old screw to the hardware store or check the thread diameter and pitch before ordering.
How do I replace a drawer pull with a different style that has different hole spacing?
If the new pull has a different center-to-center hole spacing than the old one, you will need to fill the old holes and drill new ones. Fill old holes with wood filler, allow to dry, sand flush, touch up the finish, then carefully measure and drill new holes to match the new pull template. Many pull manufacturers include a drilling template in the packaging.
What is the standard center-to-center distance for cabinet pulls?
The most common standard center-to-center measurement for cabinet pulls is 3 inches (76mm) for smaller drawers and 3-3/4 inches (96mm) for medium drawers. Larger drawers often use 5 inches (128mm) or longer pulls. Always measure your existing hole spacing before ordering replacement hardware — if the spacing matches, installation is a simple screw swap.
Replacing a drawer pull or knob: (1) For a broken pull (bar style): measure the center-to-center hole spacing in millimeters — most bar pulls have 96mm, 128mm, or 160mm spacing. Write down this measurement before buying.
A wobbly or missing drawer pull is one of those small repairs that makes the whole kitchen feel worn out. Most of the time the pull itself is not broken — it is the screw hole in the cabinet front that has failed, leaving the pull with nothing to grip. The fix is simple once you understand the cause, and while you have the hardware off, it is also a good opportunity to upgrade the pulls if the existing style has seen better days.
What You Need
- 8-32 Machine Screws Assortment — Cabinet Length — Most drawer pulls use 8-32 machine screws. An assortment with 1-inch to 1-1/2-inch lengths covers the most common cabinet thicknesses.
- Wood Filler — Interior Grade — For filling stripped screw holes in wood or MDF cabinet fronts before re-drilling. Minwax and Elmer’s make widely available options.
- Cabinet Pull Hardware Set — Your Style Choice — If you are replacing worn or broken pulls along with the repair, buy a consistent set. Brushed nickel and matte black are the most popular finishes for modern kitchens.
- Small drill and 3/16-inch drill bit
- Phillips screwdriver or drill driver
- Ruler and pencil
- Wood toothpicks and wood glue (for minor stripped holes)
- Sandpaper (120-grit)
Step 1: Diagnose the Problem
Remove the pull from the drawer completely by unscrewing the mounting screws from inside the drawer box. This gives you a clear view of the screw holes in the drawer front.
Stripped screw hole: The screw hole has enlarged and the screw spins freely without gripping. This is the most common problem.
Broken screw: Part of the screw has snapped off inside the hole. You will need to extract it before proceeding.
Cracked drawer front: The pull mounting area has split, usually in a MDF front that has absorbed moisture. Hairline cracks can be repaired with wood glue and clamping; larger splits may require replacing the drawer front.
Broken pull: The pull itself is bent, snapped, or corroded. Replacement hardware is the solution.
Step 2: Fix a Stripped Screw Hole
Minor strip (screw has some grip remaining): Coat two or three wooden toothpicks with wood glue and pack them into the stripped hole. Break off the toothpicks flush with the cabinet surface. Let the glue cure for at least two hours, then re-drive the original screw. The toothpick wood gives the screw threads something new to bite into.
Moderate strip (screw spins with no resistance): Fill the hole completely with wood filler. Press the filler in firmly with a putty knife, slightly overfilling. Allow to cure per the package directions — typically one to two hours for a standard wood filler. Sand flush once cured. Re-drill a pilot hole using a bit slightly smaller than the screw diameter, then re-drive the screw. The refilled hole grips the screw threads reliably when done correctly.
MDF or particleboard front (most problematic material): MDF holds screws poorly and strips quickly. The most durable fix for MDF drawer fronts is to replace the wood screw system with a barrel nut and bolt. These use a machine bolt from the front side that threads into a threaded barrel nut installed from inside the drawer box. The barrel nut spreads the load across more material and is far more resistant to stripping than a screw in MDF.
Step 3: Extract a Broken Screw
If the screw shaft has snapped inside the hole, you need to extract it before re-installing the pull.
For a screw that protrudes slightly from the surface, use locking pliers (Vise-Grips) to grab the exposed portion and turn counterclockwise.
For a screw broken flush or below the surface, use a screw extractor bit. These reverse-thread bits drill into the broken screw and grip as they turn, walking the broken screw out. Drill slowly on reverse at low torque to avoid snapping the extractor.
If extraction fails, drilling out the broken screw entirely and patching with wood filler is the fallback — then re-drill to the original size after the filler cures.
Step 4: Repair a Cracked Drawer Front
Minor cracks in solid wood drawer fronts can be repaired with wood glue and clamping. Apply wood glue to both faces of the crack, press together firmly, and clamp overnight. Wipe away glue squeeze-out before it dries. Sand the surface lightly after the glue cures to remove any remaining residue.
For MDF drawer fronts with significant cracking or swelling (often from water exposure), the drawer front is best replaced. MDF does not respond well to glue repairs once it has swollen or delaminated. Replacement drawer fronts are available from cabinet manufacturers and many online suppliers in standard sizes.
Step 5: Install the Pull
With holes repaired and ready, hold the pull in position against the drawer front. Thread the mounting screws through the pull holes and start them into the cabinet holes by hand. Confirm the pull is positioned evenly — eyeball it with the drawer front edges, or use a ruler to confirm the pull is centered horizontally and at your preferred height.
Tighten the screws snugly with a screwdriver or drill on low torque. Do not over-tighten — this is the most common cause of new strips. The pull should feel completely solid with no wiggle or rotation.
Test the pull: Open and close the drawer several times, pulling firmly straight outward. The pull should remain solid. Check that the screws have not loosened after repeated pulls — new holes sometimes compress slightly under initial load and the screws may benefit from a final quarter-turn snug after a day of use.
Step 6: Replace All Pulls for a Uniform Update
If one pull has failed and the others are aging, this is a natural opportunity to replace all the hardware in the kitchen or bathroom at once. Consistent hardware across all drawers and cabinet doors makes a significant visual impact for a low cost.
When buying new pulls, confirm the center-to-center hole spacing matches your existing holes. The most common spacing is 3 inches (76mm) and 3-3/4 inches (96mm). If the new hardware matches the old spacing exactly, each pull installs in minutes with no drilling required.
Related Reading
- Diagnose the Problem
Remove the pull from the drawer completely by unscrewing the mounting screws from inside the drawer box. This gives you a clear view of the screw holes in the drawer front.
- Fix a Stripped Screw Hole
Minor strip (screw has some grip remaining): Coat two or three wooden toothpicks with wood glue and pack them into the stripped hole. Break off the toothpicks flush with the cabinet surface.
- Extract a Broken Screw
If the screw shaft has snapped inside the hole, you need to extract it before re-installing the pull.
- Repair a Cracked Drawer Front
Minor cracks in solid wood drawer fronts can be repaired with wood glue and clamping. Apply wood glue to both faces of the crack, press together firmly, and clamp overnight. Wipe away glue squeeze-out before it dries.
- Install the Pull
With holes repaired and ready, hold the pull in position against the drawer front. Thread the mounting screws through the pull holes and start them into the cabinet holes by hand.
- Replace All Pulls for a Uniform Update
If one pull has failed and the others are aging, this is a natural opportunity to replace all the hardware in the kitchen or bathroom at once. Consistent hardware across all drawers and cabinet doors makes a significant visual impact for a low cost.
Free: 10-Point Home Maintenance Checklist
Prevent costly repairs with this seasonal checklist. Save hundreds every year by catching problems early.
Your checklist is ready!
Open Checklist →Something went wrong. View the checklist here.