How to Replace a Bathroom Sink Drain: Stopper, P-Trap, and Drain Assembly (2026)
A bathroom sink drain includes the drain body, pop-up stopper, pivot rod, and P-trap. This guide covers replacing a corroded or leaking drain body, installing a new pop-up stopper assembly, and replacing a P-trap.
Replacing a bathroom sink drain: (1) Remove the P-trap by loosening the two slip-joint nuts by hand (have a bucket ready — water will drain out). (2) Remove the drain body: there is a plastic locknut under the sink that threads onto the drain body — unscrew it (counterclockwise). The drain body lifts out from above. (3) Clean old plumber's putty from the sink. (4) Apply fresh plumber's putty under the new drain body's flange, drop it in, thread on the locknut from below, tighten until snug. (5) Reinstall the P-trap. Pop-up stopper assembly replaces with the drain body — connect the pivot rod through the hole in the drain body and clip to the clevis strap.
Frequently Asked Questions
How does a pop-up drain stopper work?
The pop-up stopper is connected by a series of rods: pushing the lift rod (the pull-up knob behind the faucet) moves a clevis strap down, which pivots the pivot rod, which lifts or lowers the stopper ball in the drain. The pivot rod passes through a hole in the drain body behind the sink drain, where it's sealed by a small pivot seat and retaining nut. When the stopper doesn't close fully or stay open: the adjustment point is the spring clip on the clevis strap — move the pivot rod to a different hole in the strap to change the throw distance, or loosen the set screw on the lift rod and push it up or down.
My bathroom sink stopper won't stay up or won't close. How do I adjust it?
The stopper is controlled by the clevis strap and pivot rod. Locate these under the sink: the clevis strap is a flat metal piece with holes, hanging from the lift rod. The pivot rod connects horizontally from the drain body to the clevis strap via a spring clip. To fix a stopper that won't stay up: move the pivot rod to a lower hole in the clevis strap (more lift). To fix a stopper that won't close completely: move the pivot rod to a higher hole in the clevis strap. To fix a stopper that doesn't move at all: confirm the pivot rod is engaged in the hole in the stopper body — unscrew the retaining nut at the drain body, pull the pivot rod out, and confirm its tip engages the hole in the stopper ball.
What is a P-trap and why does it need water in it?
The P-trap is the curved pipe under the sink that holds a small amount of standing water. That standing water blocks sewer gases from entering the home through the drain. A P-trap that has dried out (from a rarely-used drain) allows sewer gas smell into the room — pouring a cup of water in the drain refills it. Most P-traps use slip-joint connections with plastic compression washers. When a P-trap drips at the connections: tighten the slip-joint nuts by hand then a quarter-turn — overtightening cracks plastic traps.
What size drain do I need for a bathroom sink?
Standard bathroom sink drains are 1-1/4 inch in diameter. The drain body fits into a hole in the sink that's typically 1-3/8 to 1-5/8 inch — the flange covers the hole. When replacing: confirm the new drain body's thread size matches the existing locknut (or buy a complete assembly that includes its own locknut). Chrome brass drain assemblies are the most durable. Plastic drain bodies are cheaper but crack under overtightening and don't hold up as well to cleaning chemicals.
Do I need plumber's putty or silicone under the drain flange?
For most porcelain and ceramic sinks: use plumber's putty under the drain flange. It's easy to work with, stays flexible for years, and seals reliably. Do not use plumber's putty on solid surface sinks (Corian, stone, composite) — it can stain. For those: use silicone sealant and wipe away excess immediately. Some drain kits include a foam gasket instead of putty — these work adequately but don't seal as well as putty in the long run.
Replacing a bathroom sink drain: (1) Remove the P-trap by loosening the two slip-joint nuts by hand (have a bucket ready — water will drain out). (2) Remove the drain body: there is a plastic locknut under the sink that threads onto the drain body — unscrew it (counterclockwise).
Replacing a bathroom sink drain is a straightforward plumbing job — mostly loosening plastic nuts by hand.
What you need
- Bathroom sink drain assembly with pop-up stopper ($15–$40 — get chrome brass for durability)
- Plumber’s putty
- Channel-lock pliers
- Bucket
- Plumber’s tape (Teflon tape) for threaded connections
Step 1: Clear out under the sink and shut off water
You don’t need to turn off the water supply to replace the drain (the supply stops at the faucet handles), but have a bucket ready — the P-trap holds water.
Step 2: Remove the P-trap
Place the bucket under the P-trap. Loosen the slip-joint nut where the P-trap connects to the drain tailpiece (the vertical pipe below the drain). Also loosen the nut at the wall connection. Slide the P-trap free and drain it into the bucket.
Step 3: Remove the drain body
Look under the sink for the plastic locknut threaded onto the drain body’s tailpiece. Unscrew it counterclockwise by hand or with channel-lock pliers. It may be tight from years of installation — grip firmly.
With the locknut removed, the drain body lifts out from above. The old stopper pulls straight up and out.
Step 4: Clean and install the new drain
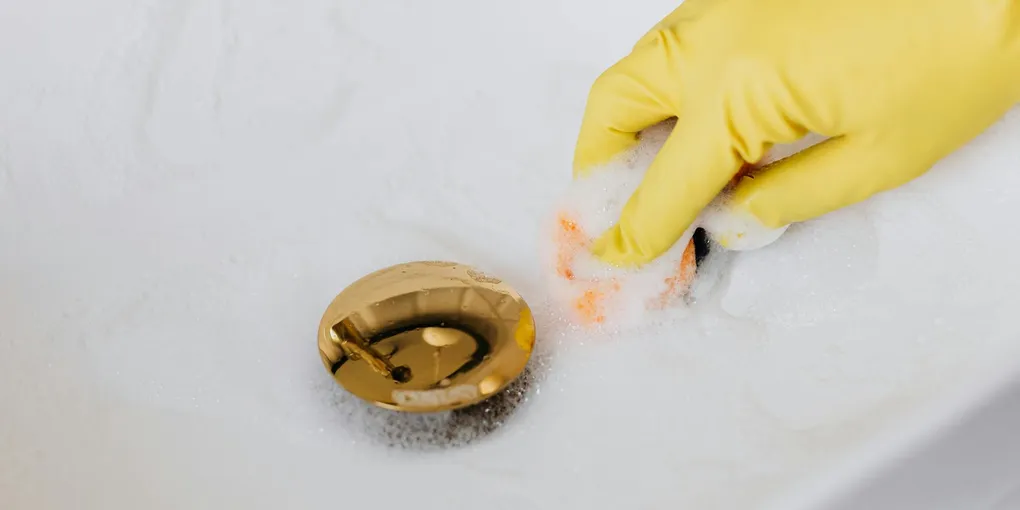
Scrape off all old plumber’s putty from the sink basin around the drain hole. Clean the surface.
Roll a rope of plumber’s putty (about 1/2 inch diameter). Press it under the flange of the new drain body. Drop the drain body into the hole from above.
From below: hand-thread the locknut onto the drain body’s tailpiece. Tighten until snug — the flange should be firmly seated and putty should squeeze out slightly around the top. Do not overtighten.
Wipe away excess putty from the top.
Step 5: Install the pop-up stopper assembly
Thread the pivot seat into the hole on the side of the drain body (it threads in by hand). Insert the pivot rod through the pivot seat and into the hole in the side of the stopper ball.
Hang the clevis strap from the lift rod (the rod that comes down behind the faucet). Connect the pivot rod to the clevis strap with the spring clip — start with the middle hole.
Test: pull up the lift rod — the stopper should close. Push down — stopper should open. Adjust by moving the pivot rod to a different hole in the clevis strap.
Step 6: Reinstall the P-trap
Slide the P-trap back into place. Hand-tighten both slip-joint nuts. Run water and check for drips at both connections — snug with channel-lock pliers if any dripping.
Related guides
- How to Unclog a Bathroom Sink — clearing the drain before or after replacement
- How to Fix a Slow Draining Sink — P-trap cleaning when drain runs slow
- How to Fix a Leaky Faucet — related faucet work done at the same time
- Remove the P-trap
Place a bucket under the P-trap. Loosen the slip-joint nut at the drain tailpiece and at the wall. Slide the P-trap free and drain it into the bucket.
- Remove the drain body
Under the sink, unscrew the plastic locknut from the drain body tailpiece counterclockwise — by hand or with channel-lock pliers. With the locknut removed, lift the drain body out from above.
- Clean and install the new drain
Scrape all old plumber's putty from around the drain hole. Roll a rope of plumber's putty and press it under the new drain flange. Drop the drain body in from above, thread the locknut from below, and tighten until snug. Wipe away excess putty.
- Install the pop-up stopper assembly
Thread the pivot seat into the drain body. Insert the pivot rod through the pivot seat and into the stopper ball. Connect the pivot rod to the clevis strap with the spring clip. Test: pull the lift rod to close the stopper, push to open. Adjust by moving the pivot rod to a different hole in the clevis strap.
- Reinstall the P-trap and test
Slide the P-trap back into place and hand-tighten both slip-joint nuts. Run water and check for drips at both connections — snug with channel-lock pliers if needed.
Free: 10-Point Home Maintenance Checklist
Prevent costly repairs with this seasonal checklist. Save hundreds every year by catching problems early.
Your checklist is ready!
Open Checklist →Something went wrong. View the checklist here.