How to Repair Laminate Flooring: Chips, Scratches, Bubbles, and Plank Replacement (2026)
Laminate flooring can be repaired without replacing the entire floor. This guide covers filling chips with laminate repair paste, fixing surface scratches with matching markers, repairing bubbles caused by water, and replacing a damaged plank in a floating floor.
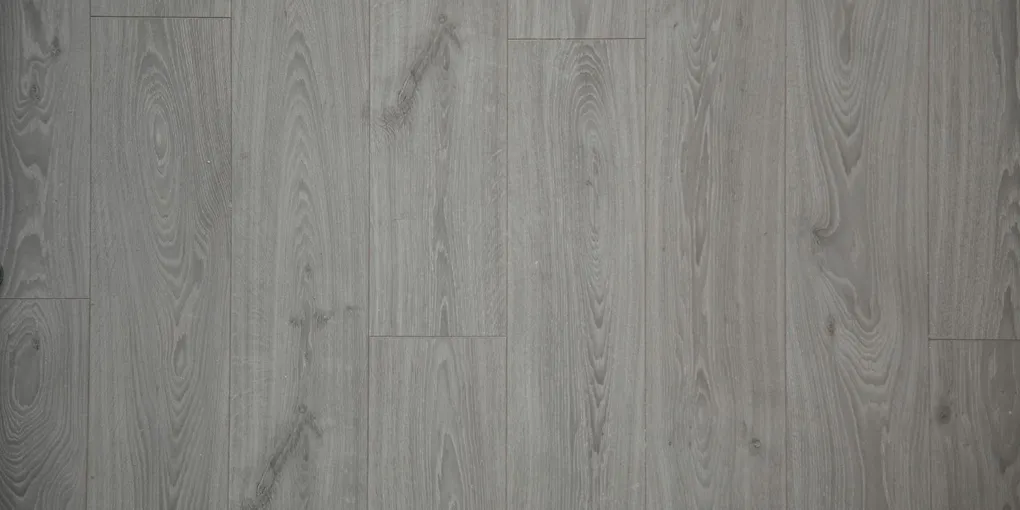
Laminate floor repair: (1) Chips and gouges: use a laminate floor repair kit (Pergo Color Fill Kit, Roberts 50-542 Laminate Floor Repair Kit) — color-matched filler paste that dries hard. Clean the chip, fill slightly proud, let cure 30 minutes, scrape flush, and buff. (2) Surface scratches: a touch-up marker or crayon (matching the floor color) fills scratches invisibly on most colors. (3) Bubbles and swelling: caused by water infiltration — identify and stop the water source before any surface repair. (4) Replacing a single damaged plank is possible on floating laminate floors using the plank-removal technique from the nearest wall.
Frequently Asked Questions
How do I fill a chip or gouge in laminate flooring?
Laminate chip repair: (1) Purchase a laminate floor repair kit in a color matching your floor. These kits (Pergo, Roberts, Mohawk FloorCare) contain multiple colored putties or wax sticks that you blend to match your floor color. (2) Clean the chip with isopropyl alcohol and let dry. (3) Press the repair paste or wax into the chip, slightly overfilling. (4) Let cure per kit instructions (usually 15–30 minutes for paste, immediate for wax). (5) Scrape the excess flush with the surrounding surface using a plastic scraper or a credit card — a metal scraper can scratch the surrounding laminate surface. (6) Buff with a soft cloth. The filled chip should be nearly invisible from standing height. (7) For large gouges (over 3/4 inch): layer multiple applications of paste, allowing each layer to partially cure before adding the next. One thick application sags and cures with a depression.
How do I repair surface scratches on laminate flooring?
Laminate scratch repair: (1) Light scratches that have only damaged the clear wear layer (no color damage): a furniture paste wax rubbed over the scratch can fill and polish it, reducing visibility. (2) Color scratches that have broken into the decorative layer: use a color-matched touch-up marker (Mohawk Products Floor Marker, Minwax Wood Marker) or a laminate crayon kit. (3) Application: apply the marker or crayon in the scratch direction with light pressure. Wipe excess immediately with a clean cloth. The goal is to deposit color in the scratch, not color the surrounding surface. (4) For long scratches: work in 6-inch sections. (5) Do not use wax-based touch-up products on oil-treated laminate — the wax prevents re-oiling and creates a blotchy appearance. (6) Accept that touch-up is cosmetic — it makes scratches less visible but not perfectly invisible. Deep scratches to the core require filler paste. Test any color product in a hidden area (under furniture) before the visible repair.
What causes laminate flooring to bubble or swell and how do I fix it?
Laminate bubbling and swelling: (1) Laminate is highly sensitive to water and moisture. Swelling is caused by liquid water entering the seams between planks (a spill not cleaned quickly), excessive humidity causing the planks to expand against each other, or moisture wicking up from a concrete slab through insufficient underlayment. (2) A bubble or swollen area in the middle of the room (not at the seam): indicates water was absorbed. If the water source was a single spill and the slab is now dry: the plank may dry and flatten slightly, but full recovery is rare. Planks with significant water damage need replacement. (3) At the seams (joint lines raised): moisture expansion without adequate expansion gap at the walls. If the floor was installed without the required 1/4-inch expansion gap, the planks have nowhere to expand and buckle upward. Fix: remove the baseboards and cut the floor back 1/4 inch from the walls on the sides where the floor is tightest. (4) Stop the water source first — a floor that continues to get wet will re-swell regardless of repair. Fix the cause (plumbing leak, humidity, subfloor moisture) before repairing the surface.
How do I replace a single damaged laminate plank without tearing up the whole floor?
Single plank replacement on a floating floor: (1) Laminate planks are connected by click-lock or tongue-and-groove joints. To replace a plank in the middle of the floor, you must either disassemble from the nearest wall to reach the damaged plank (tedious but correct), or use the cut-out method (faster but damages the plank above). (2) Wall disassembly method: remove the baseboard molding on the nearest wall side. Pop up the first row of planks (use a pull bar and tapping block or a flat pry bar gently at the joint). Continue row by row until reaching the damaged plank. Remove it, install the new plank, and re-lay the previous rows. (3) Cut-out method (middle of room): use an oscillating tool with a cutting blade to cut the center section of the damaged plank lengthwise (parallel to the click joints), leaving 2-inch strips on each side. Pry the center section out. Then carefully peel the remaining side strips from the adjacent planks. Cut the tongues and grooves off the replacement plank, apply wood flooring adhesive (Bostik Best, Roberts 1407) to all edges, and set the replacement plank. Weight for 24 hours. (4) The cut-out method is a permanent repair — that plank cannot be removed later without damaging adjacent planks.
The laminate planks at the wall have a visible gap. How do I fill it?
Gap at the wall repair: (1) A gap between the laminate floor and the wall is normal — the installation requires a 1/4-inch expansion gap, which is hidden by the baseboard molding and quarter-round trim. (2) If the gap is visible because the baseboard is insufficient to cover it: install quarter-round molding (3/4 inch tall) nailed to the baseboard (not the floor). This covers the gap while allowing the floor to continue expanding. (3) Large irregular gaps (more than 3/4 inch): the floor may have contracted due to very dry conditions, or the installer left too large a gap. Quarter-round or T-molding transitions can cover gaps up to 1.5 inches. (4) Do not fill expansion gaps with caulk or sealant — this prevents the floor from expanding and the planks will buckle in warm or humid weather. (5) A gap at a doorway or transition: use a T-molding (a metal or plastic strip that bridges the gap between two floor surfaces) installed over the expansion gap.
Laminate floor repair: (1) Chips and gouges: use a laminate floor repair kit (Pergo Color Fill Kit, Roberts 50-542 Laminate Floor Repair Kit) — color-matched filler paste that dries hard. Clean the chip, fill slightly proud, let cure 30 minutes, scrape flush, and buff.
Fill chips slightly proud — one slightly-too-high fill sanded flush beats a depressed fill that catches the eye.
What you need
- Laminate floor repair kit (match floor color)
- Touch-up marker or crayon (for surface scratches)
- Plastic scraper or credit card (for scraping fill flush)
- Oscillating tool (for plank cut-out replacement)
Step 1: Match the color
Test repair paste or marker on a scrap piece or hidden area. Blend multiple colors if needed to match the floor pattern.
Step 2: Fill chips with repair paste
Clean the chip with alcohol. Fill slightly proud with repair paste. Let cure 30 minutes. Scrape flush with a plastic scraper. Buff.
Step 3: Touch up scratches with color marker
Apply a matching marker or crayon in the scratch direction. Wipe excess immediately.
Step 4: Replace swollen or badly damaged planks
Disassemble from the nearest wall to reach the damaged plank, or use the oscillating-tool cut-out method for a middle-of-room plank.
Related guides
- How to Install Vinyl Plank Flooring — LVP as a more water-resistant alternative
- How to Repair Scratched Hardwood Floors — hardwood scratch repair
- How to Fix Squeaky Floors — subfloor fastening for laminate squeaks
- Match the repair color to your floor
Test repair paste or touch-up marker on a scrap piece or under-furniture area first. Most laminate repair kits include multiple colors to blend — mix until you match the floor's background color and grain tones. Let the test dry fully before judging the match; wet repair compounds appear darker than their final color.
- Fill chips and gouges with repair paste
Clean the chip with isopropyl alcohol and let dry. Press the repair paste or wax into the chip, slightly overfilling. Let cure 15–30 minutes per kit instructions. Scrape excess flush using a plastic scraper or credit card — never metal, which scratches the surrounding surface. Buff with a soft cloth. For large gouges, layer multiple applications, allowing each layer to partially cure before adding the next.
- Touch up surface scratches with color marker
Apply a color-matched touch-up marker or laminate crayon in the scratch direction with light pressure. Wipe excess immediately with a clean cloth. The goal is to deposit color in the scratch, not the surrounding surface. Work in 6-inch sections for long scratches. Test in a hidden area first on any color product.
- Replace swollen or badly damaged planks
Wall disassembly method: remove baseboard on the nearest wall, pop up the first row, and disassemble row-by-row until reaching the damaged plank. Remove and replace it, then re-lay the rows. Cut-out method (middle of room): use an oscillating tool to cut the damaged plank lengthwise, pry out the center section, then carefully remove the side strips. Apply wood flooring adhesive to all edges of the replacement plank and press into place. Weight for 24 hours.
Free: 10-Point Home Maintenance Checklist
Prevent costly repairs with this seasonal checklist. Save hundreds every year by catching problems early.
Your checklist is ready!
Open Checklist →Something went wrong. View the checklist here.