How to Remove Moss from a Roof: Step-by-Step Guide
Kill and remove roof moss safely using proven cleaning solutions and prevention strips to protect shingles and extend roof life.
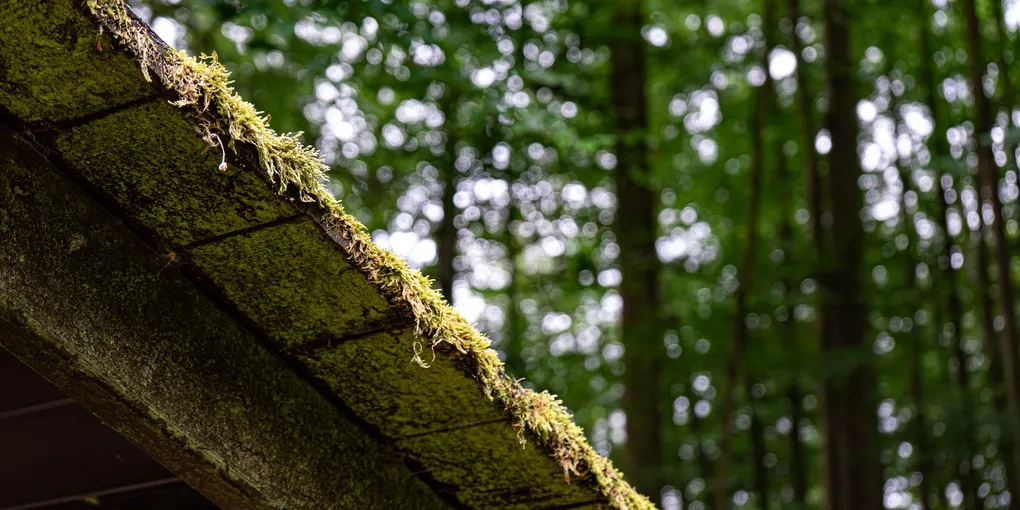
Removing moss from a roof: (1) Safety: use a roof bracket and harness on slopes over 4:12. Never walk on wet or mossy shingles. (2) Apply a moss killer — zinc sulfate solution, potassium salts of fatty acids (Bayer Advanced), or household bleach solution (50/50 with water). Apply with a pump sprayer. Let sit 15 to 20 minutes. Do NOT pressure wash — it damages shingle granules. (3) Gently brush dead moss off with a soft brush, working downward (never against the shingle direction). (4) Rinse with a low-pressure garden hose. (5) Prevention: install zinc or copper strips along the ridge — rainwater leaches metal ions down the roof, inhibiting moss regrowth for years. Trim overhanging branches to reduce shade and moisture. Moss that returns quickly indicates a ventilation or drainage issue.
Frequently Asked Questions
Is roof moss really that damaging?
Yes. Moss holds moisture against shingles around the clock, breaking down the asphalt binders and lifting shingle edges. Left untreated for several years, moss significantly shortens roof lifespan and can void manufacturer warranties.
Can I use a pressure washer to remove moss?
Avoid pressure washing asphalt shingles. The high-pressure stream blasts off the protective granules, weakening the shingles and accelerating aging. Low-pressure rinsing after chemical treatment is acceptable.
How long does it take for moss killer to work?
Most zinc sulfate or potassium soap-based solutions kill visible moss within 2 to 4 weeks. The dead moss then loosens and washes off with rain over the following weeks.
What prevents moss from growing back?
Zinc strips installed along the ridge cap are the most effective long-term prevention. Rain washes zinc ions down the roof surface, creating a thin layer inhospitable to moss and algae growth.
Is bleach safe to use on roof shingles?
Diluted bleach (1 part bleach to 4 parts water) is effective and widely used for moss and algae treatment. Always rinse the surrounding landscaping before and after application to protect plants from runoff.
Do I need to be on the roof to treat moss?
For light coverage on a low-slope roof, a garden sprayer with an extension wand can reach most areas from the ladder. Heavy moss on steep roofs requires working on the surface with proper fall protection.
Removing moss from a roof: (1) Safety: use a roof bracket and harness on slopes over 4:12. Never walk on wet or mossy shingles.
Moss on a roof may look charming on a cottage in the woods, but on your home it is quietly destroying your shingles. The moisture-retaining mat of moss keeps the shingles wet between rainstorms, degrades the asphalt, and pushes up under the shingle edges — letting water infiltrate the decking below. Removing moss is a manageable DIY project that protects a major investment and costs a fraction of early roof replacement.
Tools and Materials You Will Need
- Garden sprayer (2-gallon pump sprayer or hose-end sprayer)
- Extension ladder and roof jacks or toe boards for steep roofs
- Rubber-soled shoes with good grip
- Safety harness and ridge anchor (for pitches steeper than 6:12)
- Soft-bristle scrub brush or roof brush with extension pole
- Moss killer concentrate or premixed spray
- Garden hose with low-pressure nozzle
- Zinc or copper ridge strips for prevention
- Safety glasses and rubber gloves
The Wet and Forget Outdoor Moss and Algae Remover is a top-rated no-scrub formula that works over weeks with rain. For faster results, the Spray and Forget Revolutionary Roof Cleaner treats up to 2,000 square feet per gallon. For prevention, the De-Mos-It Zinc Strip Roll mounts under the first row of ridge cap shingles and lasts 10 or more years.
Step 1: Assess the Moss Coverage
Walk around your home and look at the roof from ground level first. North-facing slopes and areas shaded by trees are the most common moss hotspots. Identify how much of the roof is affected and how thick the growth is. Light green staining is early-stage algae or just beginning moss. Thick, spongy green mats are established moss that may require manual loosening before chemical treatment.
Step 2: Protect Landscaping and Prep the Area
Moss killer — particularly bleach-based solutions — can harm plants, grass, and painted surfaces. Before mixing or applying anything, thoroughly water all plants and shrubs within 10 feet of the house with plain water. This dilutes any overspray or runoff. Move potted plants away from the work area. Lay plastic sheeting over any painted decking or siding that could receive drips.
Step 3: Mix or Prepare Your Moss Killer
Bleach solution (DIY): Mix 1 cup of oxygen-free liquid chlorine bleach with 1 quart of water in a pump sprayer. This is enough to treat a small section. Scale up proportionally for larger areas. Do not use bleach on painted or metal roof surfaces.
Commercial concentrate: Follow the label dilution instructions. Most concentrates mix at 1 to 4 ounces per gallon of water for asphalt shingles.
Ready-to-use spray: Products like Wet and Forget require no mixing and can be applied directly from a pump sprayer.
Step 4: Apply the Moss Killer
Work on a calm, overcast day when no rain is expected for 24 hours — this gives the solution time to soak into the moss before washing away. Wind causes overspray and uneven coverage.
Starting at the top of the affected area and working down, apply the solution generously to all moss-covered sections. Saturate the moss mat thoroughly — it tends to resist wetting initially. Apply enough that you see liquid pooling slightly on the surface. Do not scrub at this stage; let the chemistry do the work.
Avoid over-spraying onto windows, gutters, and painted trim. If contact occurs, rinse immediately with water.
Step 5: Wait for the Moss to Die
This is where patience comes in. With Wet and Forget and similar slow-acting products, allow 2 to 4 weeks for the moss to die and begin loosening. With bleach solutions, you may see results within 24 to 48 hours. Dead moss turns brown or gray and begins to pull away from the shingle surface on its own.
If you need faster results, apply the treatment, wait 20 minutes, then use a soft-bristle brush on an extension pole to gently scrub the loosened moss downward — never upward, which would lift shingle tabs.
Step 6: Rinse the Roof
Once the moss has died and loosened, rinse the roof from top to bottom with a garden hose on a low-pressure setting. Do not use a pressure washer. The rinsing removes dead moss, residual chemicals, and debris. Flush the gutters and downspouts afterward to clear any moss that has washed down.
Rewater your landscaping after rinsing the roof to dilute any chemical runoff that reached the ground.
Step 7: Manually Remove Stubborn Patches
After rinsing, inspect for patches of thick moss that did not fully release. For these areas, return to the roof with a stiff plastic scraper or a roof brush and gently work the moss loose, sliding it downward off the shingle surface. Avoid metal scrapers that gouge the shingle granules.
For safety on any pitch steeper than 4:12, wear rubber-soled shoes and attach a safety harness to a ridge anchor. Never work on a wet or freshly treated roof surface — the dead moss makes it extremely slippery.
Step 8: Install Zinc or Copper Prevention Strips
This is the most important step and the one most homeowners skip. Zinc and copper are naturally toxic to moss and algae. Zinc strips installed under the ridge cap shingles release zinc ions every time it rains, washing a thin protective film down the entire roof slope.
Lift the first course of ridge cap shingles and slide the strip underneath, leaving about 2 inches exposed. Nail the strip with roofing nails at 12-inch intervals and use roofing cement under each nail head to maintain the waterproof seal. Replace the ridge cap shingles over the strip.
One strip on each ridge line protects the entire slope below it. Results take 1 to 2 years to fully build up as the zinc spreads across the surface.
Ongoing Prevention
- Trim overhanging tree branches to increase sunlight and airflow across the roof surface — moss cannot establish without shade and moisture.
- Keep gutters clean so standing water does not back up against the fascia and drip onto the lower shingles.
- Inspect the roof in spring each year for new moss growth and treat early, before the mat has a chance to thicken.
Removing moss protects your shingles from the inside out, preserves the granule layer that reflects UV radiation, and keeps your roof warranty intact. Combined with zinc strip prevention, a single afternoon of treatment can keep moss off for a decade or more.
- Assess the Moss Coverage
Walk around your home and look at the roof from ground level first. North-facing slopes and areas shaded by trees are the most common moss hotspots. Identify how much of the roof is affected and how thick the growth is.
- Protect Landscaping and Prep the Area
Moss killer — particularly bleach-based solutions — can harm plants, grass, and painted surfaces. Before mixing or applying anything, thoroughly water all plants and shrubs within 10 feet of the house with plain water.
- Mix or Prepare Your Moss Killer
Bleach solution (DIY): Mix 1 cup of oxygen-free liquid chlorine bleach with 1 quart of water in a pump sprayer. This is enough to treat a small section. Scale up proportionally for larger areas. Do not use bleach on painted or metal roof surfaces.
- Apply the Moss Killer
Work on a calm, overcast day when no rain is expected for 24 hours — this gives the solution time to soak into the moss before washing away. Wind causes overspray and uneven coverage.
- Wait for the Moss to Die
This is where patience comes in. With Wet and Forget and similar slow-acting products, allow 2 to 4 weeks for the moss to die and begin loosening. With bleach solutions, you may see results within 24 to 48 hours.
- Rinse the Roof
Once the moss has died and loosened, rinse the roof from top to bottom with a garden hose on a low-pressure setting. Do not use a pressure washer. The rinsing removes dead moss, residual chemicals, and debris.
Free: 10-Point Home Maintenance Checklist
Prevent costly repairs with this seasonal checklist. Save hundreds every year by catching problems early.
Your checklist is ready!
Open Checklist →Something went wrong. View the checklist here.