How to Remove a Stripped Screw: 7 Methods That Work (2026)
Stripped screw head that your screwdriver just spins in? This guide covers 7 techniques from easiest to most destructive — rubber band trick, screw extractor, drill-out — and when to use each one.
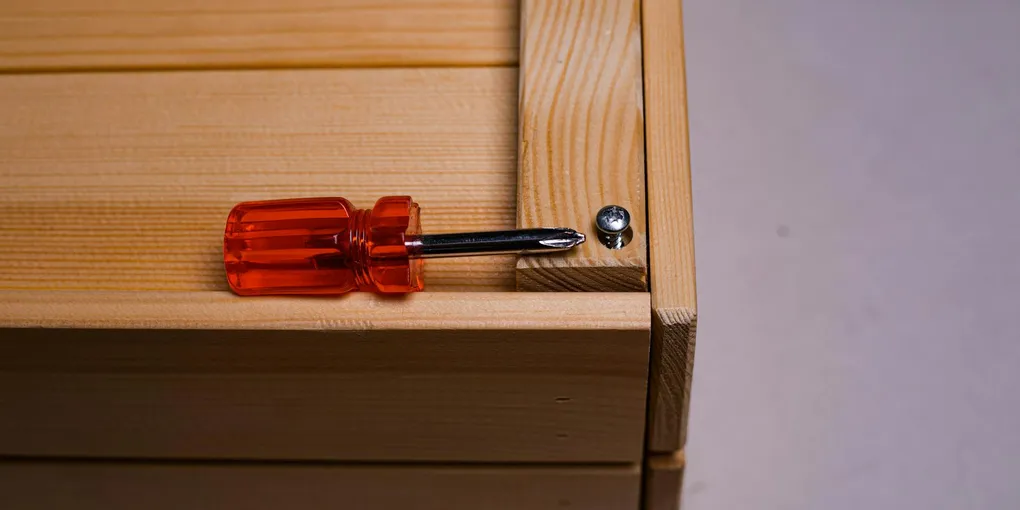
Try these in order before reaching for the drill. (1) Rubber band between the driver and screw — adds grip. (2) A slightly larger Torx (star) bit often bites into a stripped Phillips head. (3) Switch to a manual screwdriver with more torque control than a drill. (4) Oscillating tool or Dremel to cut a new slot. (5) Screw extractor bit. (6) Vice-grip pliers if the head is exposed. (7) Drill out the head as a last resort. Most stripped screws come out with method 1 or 2.
Frequently Asked Questions
Why does a screw get stripped?
Three main causes: (1) Wrong bit size — a slightly too-small Phillips bit cams out under torque, rounding the cross. (2) Cam-out from a cordless drill with too much torque — the bit spins up and out of the head instead of driving the screw. (3) Worn or cheap screws with soft steel heads. Prevention: match the bit size exactly (PH1, PH2, PH3 are all different), set your drill's clutch to the lowest setting that drives the screw, and use quality screws.
Does the rubber band trick actually work?
Yes, more often than you'd expect. Place a wide rubber band over the stripped screw head, press the bit firmly into the rubber and into the screw recess, apply downward pressure, and turn slowly. The rubber fills the stripped flutes and creates friction. Works best on partially-stripped screws where some of the recess is still intact. Use a flat rubber band (cut from a latex glove) for the best coverage.
What is a screw extractor?
A screw extractor is a hardened steel bit with a left-hand spiral flute. You drill a small pilot hole into the screw head with a regular bit, then insert the extractor and turn counterclockwise with a drill or T-handle. As it bites in, the left-hand thread drives the screw out. Extractor sets cost $10–$25. They work well on wood screws and machine screws but can break inside the hole on very hard steel — use carefully.
How do I remove a stripped screw that's flush with the surface?
No grip available above the surface. Options: (1) Screw extractor — drill the pilot hole, use the extractor. (2) A bolt extractor socket wrench can sometimes grip a screw head if there's even a tiny bit of metal. (3) Drill out the head: use a drill bit the same diameter as the screw head, drill just through the head (not the shank). The head falls off and the shank stays in the hole — you can pull the shank out with pliers or leave it and the piece will come free.
How do I remove a stripped screw in wood without damaging the wood?
The least damaging approaches in order: rubber band trick → Torx bit override → manual driver with firm downward pressure → screw extractor. The most damaging is drilling out the head. If you must drill out: use a sharp bit, drill only as deep as the head thickness, and go slowly to avoid tearing the surrounding wood. Fill the resulting hole with wood glue + toothpick, let dry, and re-drive a screw.
Try these in order before reaching for the drill. (1) Rubber band between the driver and screw — adds grip.
Stripped screws are one of the most frustrating repair stops. Try the simple methods first — you usually won’t need the drill.
Method 1: Rubber band (easiest, try first)
- Place a wide rubber band flat over the screw head.
- Press the screwdriver or drill bit firmly into the rubber and the screw recess.
- Apply strong downward pressure while turning slowly.
The rubber fills the stripped recess and creates grip. Works best on partially stripped screws. Use a wide flat rubber band — the kind cut from a latex glove or a wide office rubber band works best.
Method 2: Torx (star) bit override
A Torx T10 or T15 bit pressed firmly into a stripped Phillips head often bites in enough to turn the screw. The star points dig into the metal.
- Choose a Torx bit that fits snugly in the stripped recess (T10–T20 for most home screws).
- Push hard while turning slowly — counterclockwise to remove.
This is surprisingly effective on wood screws and machine screws with partially stripped heads.
Method 3: Manual screwdriver with pressure
A hand screwdriver gives more control over downward pressure than a drill. Press the driver hard into the head and turn slowly with deliberate force.
For a Phillips head: switch to a PH3 driver (one size larger than the screw’s intended size) — larger drivers sometimes have more contact area in a stripped head.
Method 4: Cut a new slot
Use an oscillating multi-tool or a Dremel with a metal-cutting disc to cut a straight slot across the screw head. Then use a flat-head screwdriver.
Cut the slot deep enough for the screwdriver to get purchase, but don’t cut into the surrounding material.
Method 5: Screw extractor set
Screw extractor sets ($10–$25) include a two-ended bit: one end is a spiral pilot drill, the other is the left-hand extraction bit.
- Use the pilot end to drill a hole into the center of the screw head — going in a few mm.
- Flip the bit and insert the extractor end into the pilot hole.
- Set your drill to reverse (counterclockwise) and apply firm downward pressure.
- The extractor bites into the screw and the left-hand rotation drives the screw out.
Warning: Extractor bits are hardened and brittle — they can snap inside the hole if you apply too much torque. Turn slowly.
Method 6: Vice-grip pliers (head above surface only)
If the screw head protrudes above the surface even slightly:
- Grip the screw head with vice-grip locking pliers — lock them as tight as possible on the head.
- Turn counterclockwise. The pliers provide enough grip to turn even completely smooth screw heads.
Method 7: Drill out the head (last resort)
- Choose a drill bit the same diameter as the screw head (not the shank — just the head).
- Drill straight down through only the head, until it falls off.
- Remove the piece being fastened. The screw shank remains in the substrate.
- Grip the shank with pliers and unscrew or pull it out.
After drilling out: fill the hole with wood glue + toothpick, let cure, and re-drive a new screw slightly offset if needed.
Prevent stripped screws next time
- Match the bit size exactly. PH2 is the most common, but drywall screws use PH2, #8 wood screws often take PH2, and smaller cabinet screws take PH1. Using PH2 in a PH1 recess guarantees stripping.
- Set your drill clutch low. Higher clutch = more cam-out force. The clutch setting that drives the screw without over-driving is the right setting.
- Apply downward pressure. Half the time, screws strip because the bit didn’t stay seated before torque was applied. Push the bit in before pulling the trigger.
- Use quality screws. GRK, Spax, and Hillman are better than generic box-store screws — harder steel, better-formed heads.
Related guides
- How to Patch Drywall — repair the wall after removing stubborn fasteners
- New Homeowner Toolkit — screwdrivers, bits, and basics for every job
- How to Hang Shelves — get the fastening right the first time
- Try rubber band or Torx bit (try these first)
Rubber band method: place a wide flat rubber band over the stripped screw head, press the driver bit firmly into it, apply strong downward pressure, and turn slowly counterclockwise. The rubber fills the stripped recess and creates friction. Torx override: press a T10–T15 Torx bit firmly into the stripped Phillips recess and turn counterclockwise — the star points bite into remaining metal. These two methods work on most partially stripped screws.
- Cut a new slot or use a manual driver
If low-tech methods fail: cut a straight slot across the screw head with an oscillating multi-tool or Dremel with a metal-cutting disc, then use a flat-head screwdriver. Alternatively, switch to a manual screwdriver (not a drill) — the direct control over downward pressure frequently succeeds where a drill camming out caused the strip in the first place.
- Use a screw extractor
Insert the pilot-drill end of a screw extractor bit into the screw head center and drill a few millimeters deep. Flip the bit to the extractor end, set the drill to reverse, press firmly, and turn counterclockwise — the left-hand thread bites and drives the screw out. Turn slowly: extractor bits are hardened and brittle, and will snap inside the hole if over-torqued.
- Drill out the head (last resort)
Choose a drill bit the same diameter as the screw head (not the shank). Drill straight down only through the head — stop when it falls free. The piece being fastened can now be removed. The screw shank stays in the substrate; pull it with pliers or leave it. Fill the hole with wood glue and a toothpick, let cure, and re-drive a screw in the same or slightly offset location.
Free: 10-Point Home Maintenance Checklist
Prevent costly repairs with this seasonal checklist. Save hundreds every year by catching problems early.
Your checklist is ready!
Open Checklist →Something went wrong. View the checklist here.