How to Install Gutter Guards: DIY Types, Steps, and What Actually Works
Cut gutter cleaning from twice a year to once every few years by installing the right gutter guard for your tree situation.
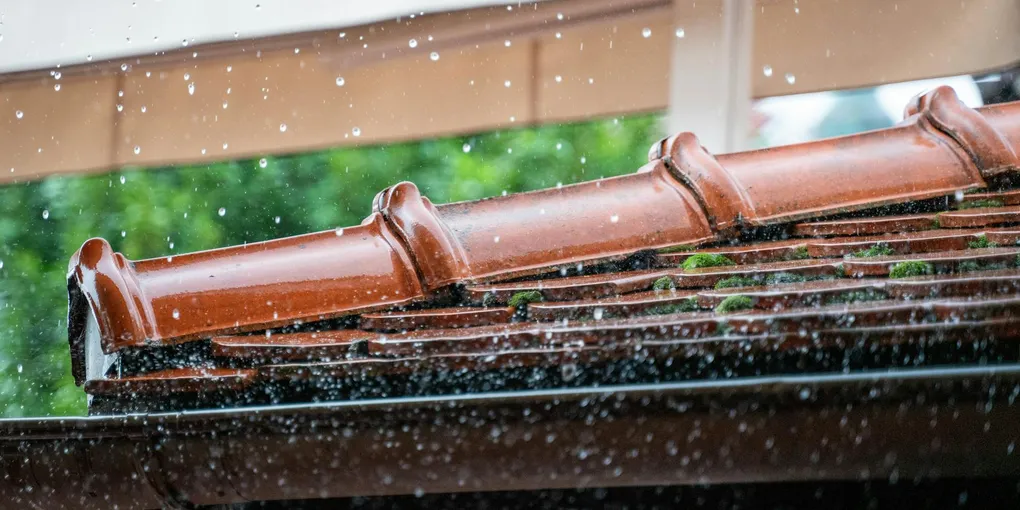
Installing gutter guards: (1) Clean the gutters thoroughly first — guards installed over debris trap the mess inside permanently. (2) Choose the right type for your tree situation: micro-mesh (best overall, keeps out pine needles and shingle grit), surface tension/reverse curve (works well for larger debris, fails with pine needles), foam inserts (inexpensive but trap debris inside the foam). (3) For snap-in or slide-under guards: align each section under the first row of shingles and snap into the front lip of the gutter. Cut to length with tin snips at corners and ends. (4) For screw-down guards: pre-drill and use sheet metal screws. (5) Test with a hose — water should flow freely into the gutter while debris washes off. Gutter guards reduce cleaning from twice yearly to every 2 to 3 years, not zero. Budget $1.50 to $10 per linear foot for DIY products.
Frequently Asked Questions
Do gutter guards really work?
Yes, but with an important caveat: gutter guards reduce maintenance, they don't eliminate it. The best gutter guards (micro-mesh) keep large debris out and allow water through freely. They still require an annual check and occasional rinse to clear fine debris like shingle grit and pine pollen from the mesh. Cheap foam and brush inserts often create more problems than they solve by trapping debris inside the gutter. Micro-mesh guards on gutters near deciduous trees can extend the cleaning interval from twice a year to once every 2 to 3 years.
What type of gutter guard is best?
Micro-mesh gutter guards are the top-performing DIY option. The fine stainless steel mesh blocks nearly all debris while allowing water to flow freely. They outperform reverse-curve, brush, foam, and perforated screen guards in head-to-head testing. The trade-off is cost: $1.50 to $4 per linear foot for DIY micro-mesh versus $0.50 to $1 per linear foot for basic screens. For gutters under heavy deciduous tree coverage, the micro-mesh cost is worth it.
Can you install gutter guards yourself?
Yes. Snap-on and clip-in gutter guards are straightforward DIY installs — no special tools, no roofing experience required. The only requirement is comfort working on a ladder. Micro-mesh guards with screw-in attachment take slightly longer but are still within DIY skill range. Hidden-fastener systems that slide under the first row of shingles require more care to avoid lifting shingles — follow manufacturer instructions to avoid voiding your roof warranty.
How long do gutter guards last?
Aluminum micro-mesh guards: 20 to 30 years. Aluminum perforated screen guards: 10 to 20 years. Plastic snap-on screens: 3 to 7 years (UV degrades the plastic). Foam inserts: 2 to 5 years before they deteriorate and become a debris trap. Brush inserts: 2 to 5 years. The longevity difference between a quality aluminum guard and a plastic insert is dramatic — buy once, buy aluminum.
Do gutter guards cause ice dams?
Gutter guards themselves do not cause ice dams — inadequate attic insulation and ventilation do. However, some solid-top reverse-curve guards can collect ice and icicles more than open gutters. Micro-mesh guards generally do not worsen ice dam situations. If you live in a cold climate with ice dam history, focus on attic insulation before worrying about gutter guards.
Do I need to clean gutters before installing gutter guards?
Yes, always. Installing gutter guards over debris traps existing material against the guard, accelerates clogging, and can cause the gutters to pull away from the fascia under the added weight. Clean and flush the gutters completely, check that all hangers are secure, and repair any sags before installing guards. Installing over a clean system gives the guards the best chance to perform well.
Installing gutter guards: (1) Clean the gutters thoroughly first — guards installed over debris trap the mess inside permanently.
Gutter guards are one of the most practical home maintenance upgrades you can make. Climbing a ladder twice a year to scoop out decomposing leaves is not just unpleasant — it often doesn’t happen on schedule, and a single clogged gutter during a heavy rainstorm can dump water against your foundation or behind your siding. Gutter guards cut that risk significantly.
This guide covers choosing the right type for your situation and installing the most common DIY-friendly styles.
What You Need
- Micro-mesh gutter guards — the highest-performing DIY option for most homes
- Gutter screws — for securing guards that require screw attachment
- Gutter cleaning tool — to flush gutters clean before installation
- Cordless drill with hex bit — for screw-in guard installation
- Tin snips — to cut aluminum guards to length at corners and downspouts
- Extension ladder — must reach your gutters safely with 3 feet above the roofline
Types of Gutter Guards: Which Is Right for You?
Before buying, understand the landscape. Not all gutter guards are equal.
Micro-Mesh Guards (Best Performance)
Micro-mesh guards have a fine stainless steel or aluminum mesh stretched over a solid frame. The mesh holes are small enough (150 to 450 microns) to block most tree debris, shingle grit, and seeds while allowing water to flow through freely.
Best for: Homes near deciduous trees, pine trees, or any heavy debris situation. Cost: $1.50 to $4 per linear foot DIY. Install method: Slides under the first row of shingles on the high side and clips or screws to the front gutter lip.
Recommended brands for DIY: Amerimax, LeafFilter (DIY version), FlexxPoint.
Perforated Aluminum Screen Guards (Good Mid-Range)
Stamped aluminum sheets with small holes. More effective than plastic screens but less so than micro-mesh because the larger holes allow small debris through.
Best for: Light tree coverage, mostly large leaves (oak, maple). Cost: $0.75 to $1.50 per linear foot. Install method: Slides under shingles or clips to the gutter lip.
Snap-On Plastic Screens (Budget Option)
Snap-on plastic screens clip to the gutter lip with no tools required. Effective at blocking large debris but UV degrades them in 3 to 5 years and they don’t handle fine debris well.
Best for: Minimal tree coverage, tight budget. Cost: $0.25 to $0.75 per linear foot. Install method: Snap onto the front lip of the gutter — no tools required.
Foam and Brush Inserts (Not Recommended)
Foam and brush inserts sit inside the gutter and let water through while theoretically blocking debris on top. In practice, they trap debris, hold moisture, and can become a growth medium for moss and weeds. They also compress over time and slow drainage.
Verdict: Avoid. The short-term ease of installation is not worth the long-term problems.
Step 1: Clean the Gutters Completely
Do not skip this step. Install over a clean system.
- Remove all debris from gutters by hand or with a gutter scoop.
- Flush with a garden hose, working from the far end of each run toward the downspout.
- Check that water flows freely to and through the downspout. If the downspout is slow, flush with a hose at pressure or use a plumber’s snake to clear it.
- Check for sags and low spots. Resecure any loose hangers with gutter screws before installing guards.
- Let the gutters dry for a few hours before installation.
Step 2: Measure and Order the Right Amount
Measure the total linear footage of gutters on your home. Add 10% for waste at corners, downspouts, and end caps.
Measure from ground level by counting the sections you can see, or measure using a long tape from the ladder. A typical single-story ranch is 100 to 150 linear feet of gutter. A two-story home is often 150 to 250 linear feet.
Order guards that match your gutter width — the most common residential gutter is 5 inches (K-style profile). Six-inch gutters are also common on larger homes. Measure across the top opening of your gutter before ordering.
Step 3: Install Micro-Mesh Guards (Screw-In Method)
This is the most secure and durable installation method for micro-mesh guards.
Tools needed: Drill, hex bit, tin snips, ladder.
-
Start at one end of the gutter run, away from the downspout.
-
Slide the rear tab of the guard under the first row of shingles. The guard should rest with its back edge under the shingle, not forced under multiple rows. This angle helps direct water into the gutter instead of over the front edge.
- On metal roofs: clip or screw the rear edge to the back of the gutter instead of sliding under roofing.
-
Snap or press the front edge down over the outer lip of the gutter. The front lip of most guards clips around the gutter lip.
-
Drive one gutter screw through the pre-drilled hole in the guard frame, through the front of the gutter, and into the fascia board. This locks the guard in place and prevents wind from lifting it.
-
Move the ladder and install the next guard, overlapping the previous guard by 1 to 2 inches at the seam.
-
At corners: Cut the guard to the corner with tin snips. For inside corners, cut a notch so both runs fit cleanly. For outside corners, miter-cut at 45 degrees or overlap and trim.
-
At downspouts: Cut the guard so it ends just at the downspout opening. Do not block the downspout opening with guard material.
-
At end caps: Trim the guard flush with the gutter end cap.
Step 4: Install Snap-On Plastic Screen Guards (No-Tool Method)
For snap-on plastic guards, the process is simpler:
- Start at one end of the gutter run.
- Snap the rear edge of the screen over the back lip of the gutter (inside the gutter, hooked over the back wall).
- Snap the front edge over the front lip of the gutter.
- The screen should be taut with no sagging between attachment points.
- Overlap seams by 1 to 2 inches.
- Cut to length with tin snips or heavy scissors at corners and downspouts.
Important: Snap-on guards are not screwed down and can be lifted by wind in storms. In areas with high winds, add a gutter screw through the guard every 3 to 4 feet.
Step 5: Inspect the Slope and Water Flow
After installation, run a garden hose at the far end of each gutter run:
- Water should flow steadily toward the downspout with no pooling.
- No water should run over the outer edge of the guard (this indicates too much flow for the guard mesh or a clogged downspout).
- Guards should be flat against the gutter — no lifting at seams or corners.
If water overshoots the front of the guard during heavy rainfall: this is a common micro-mesh issue when rain falls faster than the mesh can accept it. Solutions include adding a second downspout to the run (reduces the volume per linear foot of guard) or switching to a slightly coarser mesh that flows faster.
Ongoing Maintenance
Annual inspection (spring or fall):
- Walk the perimeter and look for sections where debris has accumulated on top of the guards.
- Brush off debris with a soft broom from the ground using an extension wand if possible.
- Check for any sections that have lifted, come unclipped, or show visible damage.
Every 2 to 3 years:
- Climb up and do a hands-on inspection. Open a section of guard and check the gutter floor for any fine debris accumulation (sand, shingle grit, seed pods).
- Flush the gutters with a hose to confirm clear flow to all downspouts.
After major storms:
- Check that guards haven’t been lifted or displaced by wind or falling branches.
- Clear any large debris piles from the guard surface.
Cost Summary
| Option | Material Cost (150 LF) | DIY Labor | Professional Install |
|---|---|---|---|
| Plastic snap-on screens | $40–$110 | 2–3 hours | $300–$600 |
| Perforated aluminum | $110–$225 | 3–4 hours | $400–$900 |
| Micro-mesh aluminum | $225–$600 | 4–6 hours | $900–$2,500 |
The price gap between DIY and professional installation for micro-mesh guards is substantial — typically $600 to $1,500 in labor savings on a standard home. The installation itself is not technically difficult; the main barrier is comfort on a ladder.
What Gutter Guards Won’t Fix
Gutter guards reduce the frequency of cleaning but do not solve:
- Improperly pitched gutters that don’t drain toward the downspout — fix the pitch first
- Gutters with existing hangers failing — reinforce before installing guards or the added weight will accelerate the sag
- Downspout discharge that pools at the foundation — extend downspouts 4 to 6 feet from the house regardless of whether you install guards
- Ice dams — caused by attic insulation problems, not gutters
Related Reading
- How to Clean Gutters — clean before installing guards and for ongoing maintenance
- How to Fix a Sagging Gutter — repair hangers before adding guard weight
- Gutter Guard Cost — professional installation pricing and brand comparisons
- Winterize Your Home Checklist — fall maintenance before freezing weather
- Clean the Gutters Completely
Do not skip this step. Install over a clean system.
- Measure and Order the Right Amount
Measure the total linear footage of gutters on your home. Add 10% for waste at corners, downspouts, and end caps.
- Install Micro-Mesh Guards (Screw-In Method)
This is the most secure and durable installation method for micro-mesh guards.
- Install Snap-On Plastic Screen Guards (No-Tool Method)
For snap-on plastic guards, the process is simpler:
- Inspect the Slope and Water Flow
After installation, run a garden hose at the far end of each gutter run:
Free: 10-Point Home Maintenance Checklist
Prevent costly repairs with this seasonal checklist. Save hundreds every year by catching problems early.
Your checklist is ready!
Open Checklist →Something went wrong. View the checklist here.