How to Fix Toilet Condensation (Sweating Toilet Tank): Causes and Solutions (2026)
A toilet tank that drips water on the outside is sweating — cold tank water causes warm humid air to condense on the porcelain. This guide covers the three fixes: insulating the tank, installing an anti-sweat valve, and improving bathroom ventilation.
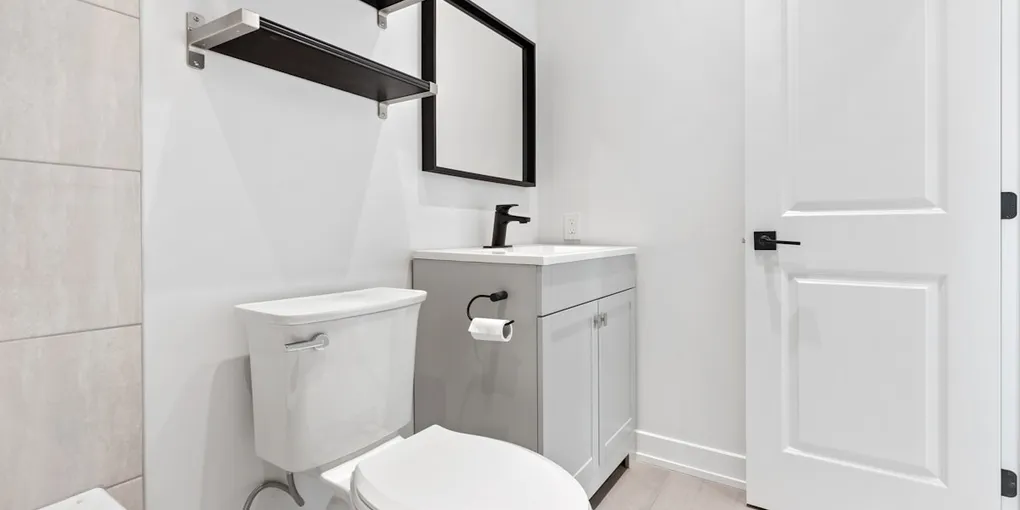
Toilet tank sweating (condensation): (1) Tank insulation kit — line the inside of the tank with foam panels (Fluidmaster Flusher Fixer or generic foam liner kit). This insulates the cold water from the warm exterior porcelain surface. Stops condensation in most cases. Cost: $15–$25, 45-minute install. (2) Anti-sweat valve — a mixing valve on the cold supply line adds a small amount of hot water to raise the tank water temperature above the dew point. Requires a hot water line nearby. (3) Bathroom exhaust fan — reducing humidity in the bathroom reduces the dew point and eliminates condensation at the source. Run the fan during and 20 minutes after every shower.
Frequently Asked Questions
Why does my toilet tank sweat in summer but not in winter?
Toilet tank condensation is a summer problem because: (1) In summer, municipal water arriving in the tank is cold (ground temperature, often 50–60°F). (2) Summer air is warm and humid — it holds significant moisture. (3) When warm humid air contacts the cold porcelain tank exterior, the air cools below its dew point and water vapor condenses on the surface. (4) In winter, air is cold and dry — even though the water supply temperature is similar, the low humidity means there is less moisture to condense. (5) Condensation is worse in: homes without air conditioning (higher indoor humidity), bathrooms with poor ventilation, homes on well water (colder supply temperature), and in basements (consistently cold tank water, higher humidity).
How do I install a tank insulation kit?
Tank foam liner installation: (1) Turn off the supply valve. Flush to drain the tank completely. Sponge out the remaining water. (2) Dry the inside of the tank surfaces thoroughly — the foam liner must bond to a dry surface. Use a hair dryer on the interior for 5 minutes if needed. (3) Trim the foam panels to fit each side, front, back, and bottom of the tank. Most kits include pre-cut panels; custom trim with scissors. (4) Apply adhesive (included in the kit) to the foam back and press each panel against the inside tank wall. Hold each panel for 30–60 seconds. (5) Let the adhesive cure per the kit instructions (usually 1–2 hours) before refilling. (6) Turn the supply valve back on and allow the tank to refill. Flush a few times and inspect the exterior for condensation over the next few humid days. (7) The liner reduces the cold surface area and creates a thermal break between the tank water and the porcelain exterior.
What is an anti-sweat valve and how does it work?
An anti-sweat (anti-condensation) mixing valve is installed on the cold water supply line feeding the toilet. It mixes a small amount of hot water with the cold to raise the tank water temperature above the ambient dew point, preventing condensation. Installation: (1) Turn off the main water supply and hot water supply. (2) The valve tees into both the hot and cold supply lines near the toilet. It requires a hot water line within a few feet — practical in bathrooms next to utility rooms or kitchens, but not in bathrooms far from hot water. (3) The mixing ratio is adjustable — increase the hot water fraction until condensation stops. Too much hot water wastes energy and affects flush performance of fill valves designed for cold water. (4) Anti-sweat valves cost $20–$60 and are a permanent solution if a hot water line is accessible. They are the preferred fix for heavy condensation in high-humidity climates where tank liners are not sufficient.
Is toilet tank condensation causing water damage to my floor?
Yes — toilet tank condensation is a real source of floor damage: (1) Drips from the tank exterior fall to the floor and run under the toilet base. Over months and years, this causes softening of vinyl flooring, rot in wood subfloors, and mold growth around the toilet base. (2) Condensation is often confused with a leaking wax ring because both produce water at the toilet base. To distinguish: dry the floor and toilet completely, then wait 30 minutes. In humid weather: condensation appears on the tank exterior. A wax ring leak only produces water after flushing. (3) If floor damage has occurred: after resolving the condensation, replace damaged flooring and treat any molded subfloor with an antifungal agent. (4) If you cannot determine whether the water is from condensation or a supply line leak: place a paper towel under the supply line connection and a separate one under the tank. Check which is wet after 1 hour.
My toilet tank drips constantly even when not sweating. Is that a leak?
Constant dripping from the toilet (not sweating) is a water supply leak: (1) Supply line connection — the braided steel or plastic supply line connects to the bottom of the tank. The compression fitting at either end can develop a slow drip. Tighten the lower fitting (counter-clockwise = wrong direction — tighten clockwise). If it still drips: replace the supply line ($8–$15). (2) Tank fill valve leaking externally — the fill valve shank at the tank bottom may be dripping. This is separate from condensation. Remove the tank lid: if water is visible dripping down the outside of the fill valve shank (not inside the tank), replace the fill valve. (3) Hairline crack in the tank — uncommon, but a cracked tank produces a constant drip along the crack line. If you see a crack in the porcelain tank: replace the tank or the entire toilet.
Toilet tank sweating (condensation): (1) Tank insulation kit — line the inside of the tank with foam panels (Fluidmaster Flusher Fixer or generic foam liner kit). This insulates the cold water from the warm exterior porcelain surface.
Install a foam tank liner first — it solves condensation in 80% of cases and costs under $25.
What you need
- Toilet tank insulation kit (Fluidmaster or generic foam liner)
- Sponge (for draining the tank)
- Hair dryer (for drying the tank interior)
- Scissors (for trimming foam panels)
Step 1: Shut off supply and drain tank
Turn the supply valve clockwise. Flush and hold. Sponge out remaining water. Dry the interior with a hair dryer on low heat.
Step 2: Trim and install foam panels
Cut foam panels to fit the tank sides, back, front, and bottom. Apply adhesive to the foam back. Press each panel against the tank interior wall and hold for 60 seconds.
Step 3: Cure and refill
Let adhesive cure per kit instructions (1–2 hours). Turn supply valve back on. Refill the tank and flush several times.
Step 4: If condensation persists — improve ventilation
Run the bathroom exhaust fan during and 20 minutes after every shower to lower indoor humidity. Verify the fan exhausts outside, not into the attic.
Related guides
- How to Fix a Running Toilet — fill valve and flapper diagnosis
- How to Replace a Toilet Fill Valve — fill valve replacement procedure
- How to Fix a Noisy Bathroom Exhaust Fan — exhaust fan repair and airflow improvement
- Turn off supply and drain the tank
Turn the toilet supply valve clockwise to shut off. Flush and hold the handle to drain as much water as possible. Sponge out all remaining water from the tank bottom — the foam liner adhesive requires a completely dry surface. Use a hair dryer on low heat inside the tank for 5 minutes to remove residual moisture.
- Trim and install foam panels
Open the tank insulation kit. Trim the foam panels with scissors to fit each surface: back wall, both side walls, and the tank bottom. Apply the included adhesive to the back of each foam panel. Press each panel firmly against the inside tank wall and hold for 60 seconds. The foam creates a thermal break between the cold tank water and the porcelain exterior, preventing warm humid air from condensing on the outer surface.
- Cure, refill, and test
Let the adhesive cure per kit instructions (typically 1–2 hours) before refilling. Turn the supply valve back on. Allow the tank to refill completely, then flush several times to confirm normal operation. Check the exterior tank surface over the next few humid days — condensation should be absent or dramatically reduced.
- If condensation persists, reduce bathroom humidity
If the tank liner doesn't fully eliminate condensation, the bathroom humidity is too high. Run the exhaust fan during and 20 minutes after every shower. Verify the fan vents outside — not into the attic. If a hot water supply line is accessible near the toilet: an anti-sweat mixing valve ($20–$60) tees into the cold supply and adds a small amount of hot water to raise tank water temperature above the dew point, providing a permanent solution.
Free: 10-Point Home Maintenance Checklist
Prevent costly repairs with this seasonal checklist. Save hundreds every year by catching problems early.
Your checklist is ready!
Open Checklist →Something went wrong. View the checklist here.