How to Fix Peeling Bathroom Paint
Learn how to fix peeling bathroom paint by addressing moisture, scraping properly, priming, and applying a durable bathroom-grade finish coat.
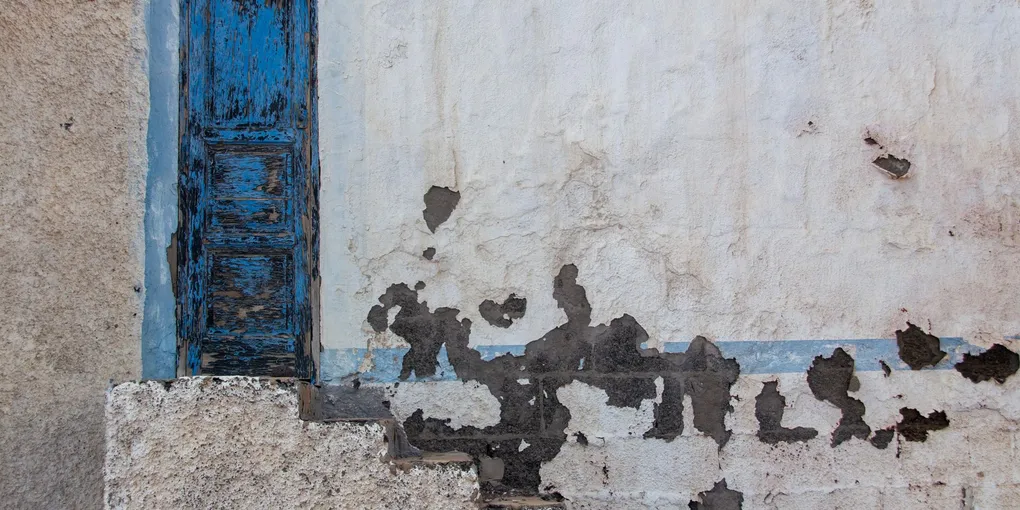
Peeling bathroom paint is a frustrating but very fixable problem. The most important thing to understand is that peeling is almost always a symptom of moisture — not just a cosmetic issue.
Peeling bathroom paint is a frustrating but very fixable problem. The most important thing to understand is that peeling is almost always a symptom of moisture — not just a cosmetic issue. If you repaint without addressing the underlying cause, the new paint will peel just as quickly. This guide walks you through fixing the moisture source, removing damaged paint correctly, and applying a finish that will last.
What You Will Need
- Paint scraper or 5-in-1 tool
- 80-grit and 120-grit sandpaper or sanding block
- Drywall joint compound or spackling paste
- Putty knife
- Painter’s tape
- Bathroom-specific primer (mold-resistant)
- Satin or semi-gloss bathroom paint
- 2.5-inch angled brush
- 9-inch roller with 3/8-inch nap
- Drop cloth
- Exhaust fan or portable fan
For primer, the Zinsser Mold Killing Primer is an excellent choice for bathrooms because it kills existing mold spores and seals the surface against future moisture penetration.
Step 1: Fix the Moisture Source
Before touching a brush, find and fix what is causing the moisture problem.
Check that your exhaust fan is working. Hold a piece of toilet paper near the grille while the fan runs — it should pull the paper firmly against the grille. If it does not, the fan is either too weak or the duct is blocked or disconnected. A properly sized bathroom exhaust fan rated for your bathroom square footage makes a significant difference.
Inspect the caulk around the bathtub, shower pan, and sink. Any cracked, missing, or discolored caulk allows water to seep behind the wall. Use a utility knife to cut out old caulk and apply fresh 100-percent silicone caulk rated for kitchens and bathrooms.
Step 2: Remove All Loose and Peeling Paint
Protect the floor with a drop cloth. Using a paint scraper or the blade of a 5-in-1 tool, scrape away every area of peeling or bubbling paint. Work with firm, angled strokes and be thorough — any paint that is not solidly bonded to the wall will cause your new finish to fail.
After scraping, sand the edges of the scraped areas with 80-grit sandpaper to feather them smooth so there is no sharp edge visible under the new coat. Follow with 120-grit sandpaper to smooth the surface and scuff the remaining painted areas to improve adhesion.
Wipe the walls down with a damp cloth to remove all dust and debris, then allow the surface to dry completely.
Step 3: Patch Any Damaged Areas
Scraping often reveals small gouges or damaged drywall paper. Apply a thin coat of spackling paste or lightweight joint compound to these spots with a putty knife. Feather the edges outward so the patch blends smoothly with the surrounding wall.
Allow the compound to dry fully — at least two hours, or overnight for deeper patches. Sand smooth with 120-grit sandpaper and wipe clean.
Step 4: Apply Mold-Resistant Primer
Primer is not optional in a bathroom repair. It seals bare drywall and creates a consistent surface for the topcoat to bond to.
Apply one full coat of mold-resistant bathroom primer using a brush on the edges and corners and a roller on the flat wall sections. Work in overlapping passes to avoid streaks. Allow the primer to dry for the time specified on the label — typically one to two hours.
If the wall shows any gray or brown staining from mold or water damage, apply a stain-blocking primer like Zinsser BIN Shellac-Based Primer over the affected areas before applying the standard bathroom primer.
Step 5: Apply the First Coat of Bathroom Paint
Use a satin or semi-gloss paint formulated specifically for bathrooms. These finishes cure to a harder surface that resists moisture and wiping better than flat or eggshell paints.
Cut in along the ceiling, corners, and trim with a 2.5-inch angled brush. Then use a 9-inch roller to apply the paint in a W-pattern across the wall, filling in the W with overlapping strokes. This technique ensures even coverage without roller marks.
Apply the paint in thin, even coats rather than one thick coat. A thick coat takes longer to dry and is more prone to running and sagging in a humid environment.
Allow the first coat to dry fully — typically two hours for latex bathroom paint.
Step 6: Apply the Second Coat and Clean Up
Inspect the first coat after it dries. You will likely see minor thin spots or uneven areas. Apply a second coat using the same technique. Two thin coats always outperform one thick coat in coverage, adhesion, and durability.
Remove painter’s tape while the second coat is still slightly tacky — peeling tape from fully dried paint can pull the new finish along with it. Pull the tape back at a 45-degree angle rather than straight off the wall.
Allow the paint to cure for at least 24 hours before exposing it to steam from the shower. Most bathroom paints reach full hardness after seven days, so treat the surface gently during that time.
Keeping the Paint in Good Shape
The single best thing you can do to extend the life of your bathroom paint is to run the exhaust fan consistently. Make it a household habit to turn it on before the shower starts and leave it running for 20 minutes after everyone is done. A simple fan timer switch makes this automatic. The Lutron Maestro Fan Timer can be set to run for 10, 20, or 30 minutes and shuts off automatically.
Inspect the caulk lines annually and reapply wherever you see cracking or separation. A bathroom with good ventilation and intact caulk will hold paint for seven to ten years before needing a refresh.
- Fix the Moisture Source
Before touching a brush, find and fix what is causing the moisture problem.
- Remove All Loose and Peeling Paint
Protect the floor with a drop cloth. Using a paint scraper or the blade of a 5-in-1 tool, scrape away every area of peeling or bubbling paint.
- Patch Any Damaged Areas
Scraping often reveals small gouges or damaged drywall paper. Apply a thin coat of spackling paste or lightweight joint compound to these spots with a putty knife. Feather the edges outward so the patch blends smoothly with the surrounding wall.
- Apply Mold-Resistant Primer
Primer is not optional in a bathroom repair. It seals bare drywall and creates a consistent surface for the topcoat to bond to.
- Apply the First Coat of Bathroom Paint
Use a satin or semi-gloss paint formulated specifically for bathrooms. These finishes cure to a harder surface that resists moisture and wiping better than flat or eggshell paints.
- Apply the Second Coat and Clean Up
Inspect the first coat after it dries. You will likely see minor thin spots or uneven areas. Apply a second coat using the same technique. Two thin coats always outperform one thick coat in coverage, adhesion, and durability.
Free: 10-Point Home Maintenance Checklist
Prevent costly repairs with this seasonal checklist. Save hundreds every year by catching problems early.
Your checklist is ready!
Open Checklist →Something went wrong. View the checklist here.