How to Fix Paint Drips on a Wall
Learn how to sand out, fill, and repaint dried paint drips on walls so the repair is completely invisible.
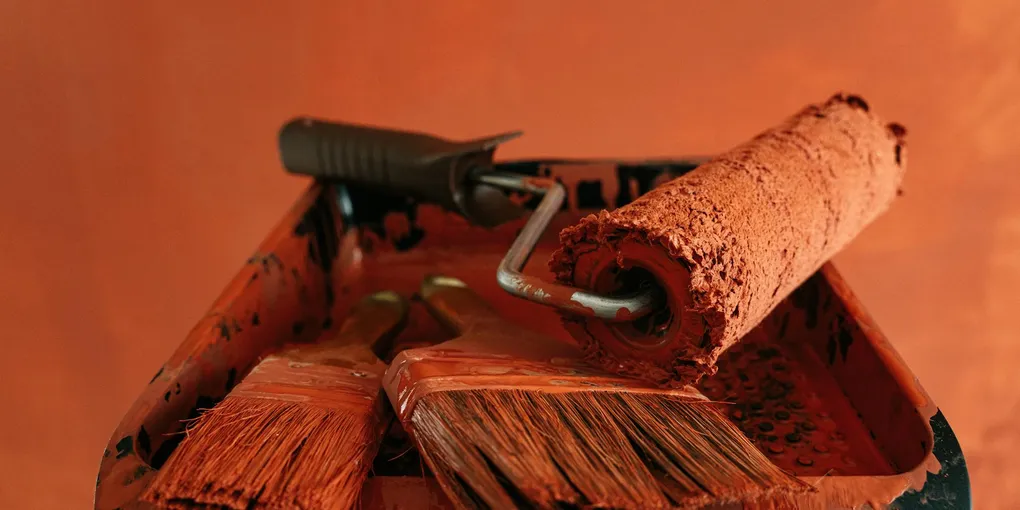
A paint drip that dries on the wall is a permanent ridge until you fix it. The repair takes less than an hour of active work but requires patience between steps.
A paint drip that dries on the wall is a permanent ridge until you fix it. The repair takes less than an hour of active work but requires patience between steps. Done correctly, the result is completely invisible.
What You Need
- Sandpaper assortment 120 and 220 grit — 120-grit to remove the drip, 220-grit to smooth before painting
- Sanding sponge fine grit — conforms to the wall surface better than flat sandpaper for blending
- Drywall touch-up primer — needed only if you sand through to bare drywall paper
- Small foam paint roller 4 inch — produces a smoother finish than a brush for touch-up work
- Angled trim paintbrush — for cutting in near edges and trim
- Painters tape — to protect baseboards and trim during touch-up painting
Why Paint Drips Happen and Why They Must Be Sanded
A paint drip forms when too much paint accumulates in one spot and the surface tension can no longer hold it level. As it dries, the drip hardens into a raised ridge or tear-shaped bump. Simply painting over a dried drip does not fix the problem — the ridge is still there under the new layer, and in raking light it is more visible than ever.
The only reliable fix is to mechanically remove the ridge by sanding it flat. Every other step in this repair — feathering, priming, and repainting — only works if the surface underneath is truly flat before paint is applied.
Step 1: Wait for the Paint to Fully Cure
This is the most skipped step and the one that causes the most problems.
Latex paint feels dry to the touch in 30 to 60 minutes. It is not actually cured. Sanding or scraping uncured latex paint creates smears and tears, not clean cuts. The paint gums up the sandpaper and can actually make the drip worse.
Wait at least 24 hours after the final coat was applied. If the drip is thick — thicker than 1/8 inch — wait 48 hours. In cold or humid conditions, wait longer still.
You can test cure by pressing a fingernail firmly into the drip for three seconds. If the paint dents or smears, wait another 12 hours and test again. If the paint is hard and the nail leaves no impression, it is ready to sand.
Step 2: Sand the Drip Flat
Fold a piece of 120-grit sandpaper to create a firm edge. You need the abrasive to cut the high point of the drip without creating a wide divot in the surrounding flat wall. A folded piece of sandpaper held between two fingers gives you good control.
Sand across the drip in short strokes, not along it. Working perpendicular to the ridge removes it faster and prevents you from accidentally extending it. Use moderate pressure — you want to cut the paint, not press it.
Feel the surface frequently. Run a clean finger across the area every 15 to 20 strokes. You are feeling for any remaining ridge. Stop sanding when the surface feels uniformly flat compared to the wall two inches to either side of the repair.
Switch to 220-grit. Once the ridge is gone, switch to the finer grit and sand the entire repair area — the spot where the drip was plus about 3 inches of surrounding wall in all directions. This blends the repair zone into the surrounding finish and scuffs the surface so the new paint adheres well.
Wipe away dust. Use a slightly damp microfiber cloth to remove all sanding dust. Let the surface dry for 15 to 20 minutes before painting. Painting over sanding dust causes adhesion failures and a gritty texture.
Step 3: Check for Bare Drywall
Look closely at the sanded area. If you can see the beige or cream-colored paper face of the drywall showing through — not just lighter paint, but the actual paper texture — you have sanded through the paint layer.
Bare drywall paper is highly absorbent. Paint applied directly over it will soak in unevenly, creating a dull spot even after it dries. This is called flashing.
If you see bare paper: apply one thin coat of PVA drywall primer to the sanded area. Let it dry fully — about 30 minutes for water-based primer. Do not skip this step. Once the primer is dry, lightly scuff with 220-grit, wipe clean, and proceed to painting.
If the paint layer is intact throughout: skip the primer and go directly to repainting.
Step 4: Apply Touch-Up Paint
Use the original paint if possible. Even a small color variation is visible on a flat wall. If you do not have the original paint, take a large chip to a paint store for a computerized color match.
Load a small foam roller lightly. Foam rollers produce a smoother finish than brush bristles on flat or eggshell walls. Pour a small amount of paint into a tray, load the roller, and roll it out on the flat part of the tray until no thick spots remain. A lightly loaded roller applies thinner coats that dry faster and blend better.
Apply the first coat to the repair area only. Roll over the sanded zone with light, even pressure. Feather the edges by gradually reducing roller pressure as you move out from the center of the repair toward the untouched wall. Do not try to blend perfectly on the first coat.
Let it dry completely. Latex paint needs 1 to 2 hours between coats in normal conditions. Rushing the second coat traps moisture and causes the paint to wrinkle or sag — creating new drips.
Apply a second coat and feather wider. The second coat should extend 1 to 2 inches beyond the first coat. Feathering the edges wider on each successive coat helps the repair blend into the surrounding wall. Two thin coats almost always blend better than one thick coat.
Step 5: Evaluate in Raking Light
Once the final coat is dry, hold a work light or a flashlight at a very low angle to the wall — nearly parallel to the surface. This raking light reveals any surface irregularities that are invisible under normal lighting.
If you see a subtle outline of the repair area, the texture or sheen may be slightly different. Scuff the area lightly with 220-grit, wipe clean, and apply one more thin coat feathered even wider. Repeat until the repair is invisible under raking light.
Preventing Future Paint Drips
The most effective prevention is simple: load your brush or roller with less paint and apply two coats instead of one. If paint is running on the brush or roller before you even touch the wall, it will definitely drip. Roll the brush on the edge of the bucket or use the flat section of the paint tray to remove excess before applying.
Also check your paint temperature. Most latex paints should be applied at 50 to 85 degrees Fahrenheit. Cold paint is thicker and more prone to heavy runs when it finally lets go on the wall.
Related Reading
- How to Patch Drywall — fix holes and dents before painting
- How to Paint a Room Like a Pro — prep, technique, and cleanup
- How to Fix Popcorn Ceiling — a bigger project that starts with the same prep discipline
- Wait for the Paint to Fully Cure
This is the most skipped step and the one that causes the most problems.
- Sand the Drip Flat
Fold a piece of 120-grit sandpaper to create a firm edge. You need the abrasive to cut the high point of the drip without creating a wide divot in the surrounding flat wall. A folded piece of sandpaper held between two fingers gives you good control.
- Check for Bare Drywall
Look closely at the sanded area. If you can see the beige or cream-colored paper face of the drywall showing through — not just lighter paint, but the actual paper texture — you have sanded through the paint layer.
- Apply Touch-Up Paint
Use the original paint if possible. Even a small color variation is visible on a flat wall. If you do not have the original paint, take a large chip to a paint store for a computerized color match.
- Evaluate in Raking Light
Once the final coat is dry, hold a work light or a flashlight at a very low angle to the wall — nearly parallel to the surface. This raking light reveals any surface irregularities that are invisible under normal lighting.
Free: 10-Point Home Maintenance Checklist
Prevent costly repairs with this seasonal checklist. Save hundreds every year by catching problems early.
Your checklist is ready!
Open Checklist →Something went wrong. View the checklist here.