How to Fix Gaps Between Hardwood Floor Boards: Rope, Putty, Caulk, and Humidity Control
Gaps between hardwood floor boards are usually seasonal and fixable with rope filler, wood putty, flexible caulk, or humidity control — learn which method works for your gap type.
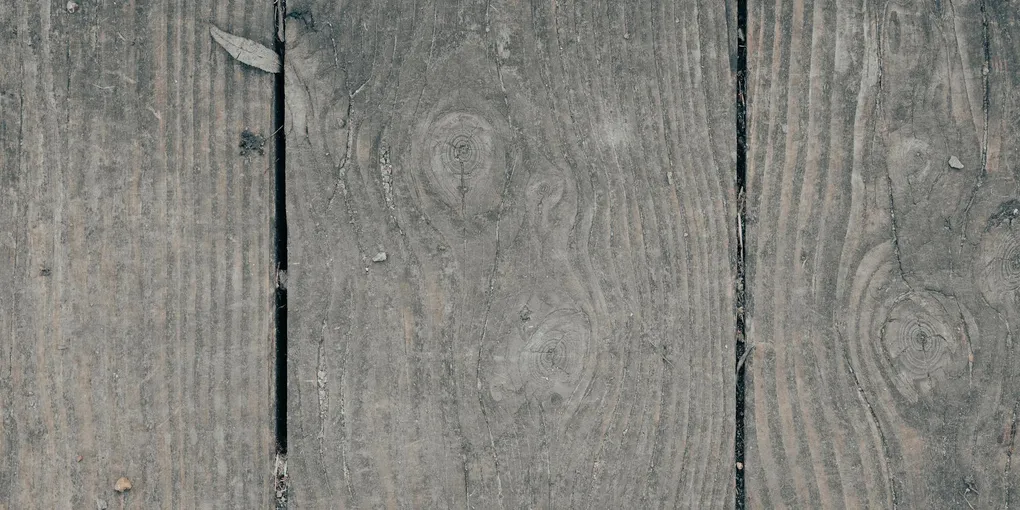
Gaps between hardwood floorboards are one of those problems that bothers homeowners every winter and mostly resolves itself by June. But when gaps are large, permanent, or filled with trapped dirt, they need attention.
Gaps between hardwood floorboards are one of those problems that bothers homeowners every winter and mostly resolves itself by June. But when gaps are large, permanent, or filled with trapped dirt, they need attention. The right repair depends on the gap width, whether the gap is seasonal or permanent, and whether the floor has been finished with stain and polyurethane or painted. This guide covers all four methods — rope, wood putty, flexible caulk, and humidity control — so you can match the fix to the floor.
What You Need
Before picking a filler, measure the gap width with a business card or feeler gauge. Gaps under 1/16 inch: leave alone or humidity-control. Gaps 1/16 to 3/16 inch: wood putty or flexible caulk. Gaps 3/16 inch to 1/2 inch: rope filler or epoxy wood filler. Gaps over 1/2 inch: consult a flooring contractor — individual board replacement may be needed.
- Flexible wood filler (color-matched) ($10–$20) — Timbermate or DAP Plastic Wood in the closest color to your floor
- Natural fiber rope (cotton or hemp, 1/4-inch diameter) ($8–$15) — for the traditional rope filling method on wide-plank floors
- Paintable latex caulk in wood tones ($5–$10 per tube) — for narrow, flexible gaps; must be paintable/stainable, not silicone
- Whole-home humidifier or room humidifier ($50–$300) — the most effective long-term solution for seasonal gaps
- Putty knife set ($10–$20) — a flexible 3-inch knife for applying filler; a stiff knife for pressing rope
- Sandpaper assortment (120–220 grit) ($8–$15) — for smoothing filler flush with the floor surface
Understanding Why Gaps Form
Hardwood floor boards are almost always solid wood — typically red oak, white oak, maple, or pine — and solid wood moves with changes in relative humidity. The wood fibers swell when they absorb moisture and shrink when they dry out. In most climates, indoor relative humidity drops in winter (cold air holds less moisture, forced-air heating dries the air further), and this is when floor gaps appear.
A gap that was 1/8 inch wide in January and closes to nothing by May is behaving exactly as expected. Filling a seasonal gap with a rigid filler is a mistake — the filler gets crushed out when the boards swell, and you end up with filler debris on your floor and an even worse appearance.
Permanent gaps form when boards have shifted and lost contact with each other without seasonal cycling (often in rooms with low humidity year-round), when boards have dried so far below the installed moisture content that they have no room to swell back, or when individual boards have physically moved due to nail failure.
Method 1: Humidity Control (Best Long-Term Fix)
Before any physical repair, consider whether your winter humidity is simply too low. The National Wood Flooring Association recommends maintaining indoor relative humidity between 35% and 55% for hardwood floors. In dry climates or tightly sealed homes with forced-air heat, winter humidity can drop below 20%, causing dramatic board shrinkage.
Purchase a hygrometer ($10–$20 at any hardware store) and measure your indoor humidity in January. If it reads below 35%, run a humidifier during heating season. A whole-home humidifier attached to your HVAC system is the most effective option — it maintains consistent humidity throughout the house without refilling. A large console room humidifier is a good alternative for a single story or apartment.
For many homeowners with moderate seasonal gaps (under 3/16 inch), bringing humidity up to 40–45% in winter is enough to close the gaps without any filler. This is also the best protection against warping, checking, and other moisture-related hardwood damage.
Method 2: Wood Putty or Flexible Wood Filler (Best for Narrow Gaps)
Flexible wood filler (also sold as wood putty or wood floor filler) is the standard repair for permanent gaps under 3/16 inch. Key word: flexible. Products like Timbermate, Bona Gap Master, and DAP Plastic Wood (in the right color) remain slightly pliable after drying, allowing them to accommodate some seasonal movement without cracking.
Step 1: Clean the gaps. Use a vacuum crevice tool to remove all dust, grit, and debris from inside the gap. A shop vac with a narrow attachment works best. The filler will not bond to a dirty or dusty gap.
Step 2: Color match. Purchase the closest pre-tinted product you can find. Bring a piece of the floor trim or a photograph to the hardware store. You can also mix a small amount of your floor stain into a neutral putty to custom-match. Test the color on a scrap piece before applying to the floor.
Step 3: Apply the filler. Use a flexible putty knife to press filler firmly into the gap. Overfill slightly — above the level of the floor surface. Work in 3-foot sections.
Step 4: Wipe and smooth. While the filler is still wet, wipe across the boards perpendicular to the grain with a damp rag. This removes excess filler from the board surface and smooths the top of the filler in the gap.
Step 5: Sand flush. After the filler dries completely (usually 1–4 hours depending on gap depth and product), use 120-grit sandpaper on a sanding block to sand the filled area flush with the floor surface. Follow with 150-grit, then 220-grit for a smooth finish.
Step 6: Refinish if needed. If the floor has a poly coating, apply a thin coat of matching finish over the repaired areas. A wipe-on poly (applied with a clean rag) allows you to spot-finish without doing the whole floor.
Method 3: Rope Filler (Best for Wide, Irregular Gaps in Old Floors)
The rope method is traditional, flexible, and ideal for wide-plank or antique floors with large, irregular gaps that would take an excessive amount of putty to fill. It uses twisted natural fiber rope stuffed into the gap as a backer, then sealed with finish.
Select the rope diameter. The rope should be slightly wider than the gap — a gap that is 1/4 inch wide needs 1/4- to 5/16-inch rope. Cotton piping cord and hemp rope are both traditional choices; avoid synthetic rope (it does not stain).
Stain the rope. Cut the rope to length for each gap run. Brush or soak the rope with a stain that matches your floor color (gel stain works well for this, as it clings to the fibers). Allow to dry.
Press the rope into the gap. Use a stiff putty knife or a dull chisel to work the rope into the gap. The rope should be compressed slightly as it goes in — it should sit just below the floor surface, not raised above it.
Seal the top. Brush a thin coat of oil-based polyurethane or wipe-on poly over the rope and the adjacent boards. This locks the rope in place and blends the repair visually.
The rope stays flexible, so when the boards close in summer, the rope simply compresses. When they open in winter, the rope expands to fill. It is a durable, low-maintenance repair for floors with significant seasonal movement.
Method 4: Flexible Latex Caulk (Best for Narrow, Uniform Gaps)
Paintable or stainable latex caulk is a fast, inexpensive option for narrow gaps (under 1/4 inch) in floors that are painted or where the gap is uniform and runs the length of several boards.
Never use silicone caulk — it cannot be painted or stained and has a glossy sheen that will never match a wood floor.
Purchase the right caulk. Alex Plus or DAP Latex Caulk are good choices. Select the closest color to your floor, or choose a neutral color you can paint over.
Apply in a thin bead. Use a caulk gun to run a bead into the gap. Hold the gun at a low angle and move at a steady pace. Do not overfill.
Smooth immediately. Run a wet finger along the bead within 30 seconds of application. This presses the caulk into the gap and leaves a smooth, concave surface.
Wipe excess. Use a damp cloth to clean any caulk from the board surfaces before it dries.
Allow to cure. Most latex caulks skin over in 30 minutes and are fully cured in 24 hours. Avoid foot traffic on the filled area for at least 2 hours.
When Filler Is Not Enough: Re-Nailing and Board Replacement
If individual boards have shifted laterally (creating gaps on one side and tight-fit on the other), or if boards are loose and rocking when walked on, the problem is nail failure — the floor nails have pulled out or bent, and the board is no longer held in position.
Face nailing is the accessible repair: drill a pilot hole at an angle through the face of the board (not through the tongue), drive a finish nail into the subfloor, and countersink the nail head. Fill the nail hole with color-matched putty. This is visible but effective, and on older floors is hard to distinguish from original face nails.
Secret nailing through the tongue — the traditional method — requires prying the adjacent board slightly or starting from the end of a board run, and is more involved. It leaves no visible nail holes but requires more clearance to execute.
If a board is badly damaged, split, or has lost its tongue-and-groove connection entirely, replacement is the cleanest option. Source a matching board from a flooring salvage shop or a leftover piece from the original installation, and install with construction adhesive plus face nails.
Related Reading
- How to Fix Squeaky Floors — squeak repairs using nails, screws, and talcum powder
- How to Fix a Sagging Floor — structural repairs for floors with significant bounce or dip
- How to Install Vinyl Plank Flooring — an alternative flooring option when hardwood repair is not cost-effective
- Understanding Why Gaps Form
Hardwood floor boards are almost always solid wood — typically red oak, white oak, maple, or pine — and solid wood moves with changes in relative humidity. The wood fibers swell when they absorb moisture and shrink when they dry out.
- Method 1: Humidity Control (Best Long-Term Fix)
Before any physical repair, consider whether your winter humidity is simply too low. The National Wood Flooring Association recommends maintaining indoor relative humidity between 35% and 55% for hardwood floors.
- Method 2: Wood Putty or Flexible Wood Filler (Best for Narrow Gaps)
Flexible wood filler (also sold as wood putty or wood floor filler) is the standard repair for permanent gaps under 3/16 inch. Key word: flexible.
- Method 3: Rope Filler (Best for Wide, Irregular Gaps in Old Floors)
The rope method is traditional, flexible, and ideal for wide-plank or antique floors with large, irregular gaps that would take an excessive amount of putty to fill.
- Method 4: Flexible Latex Caulk (Best for Narrow, Uniform Gaps)
Paintable or stainable latex caulk is a fast, inexpensive option for narrow gaps (under 1/4 inch) in floors that are painted or where the gap is uniform and runs the length of several boards.
- When Filler Is Not Enough: Re-Nailing and Board Replacement
If individual boards have shifted laterally (creating gaps on one side and tight-fit on the other), or if boards are loose and rocking when walked on, the problem is nail failure — the floor nails have pulled out or bent, and the board is no longer h...
Free: 10-Point Home Maintenance Checklist
Prevent costly repairs with this seasonal checklist. Save hundreds every year by catching problems early.
Your checklist is ready!
Open Checklist →Something went wrong. View the checklist here.