How to Fix a Wobbly Stair Banister
Tighten a loose stair banister by securing newel posts, re-gluing spindles, and reinforcing rail connections so your railing is solid and safe again.
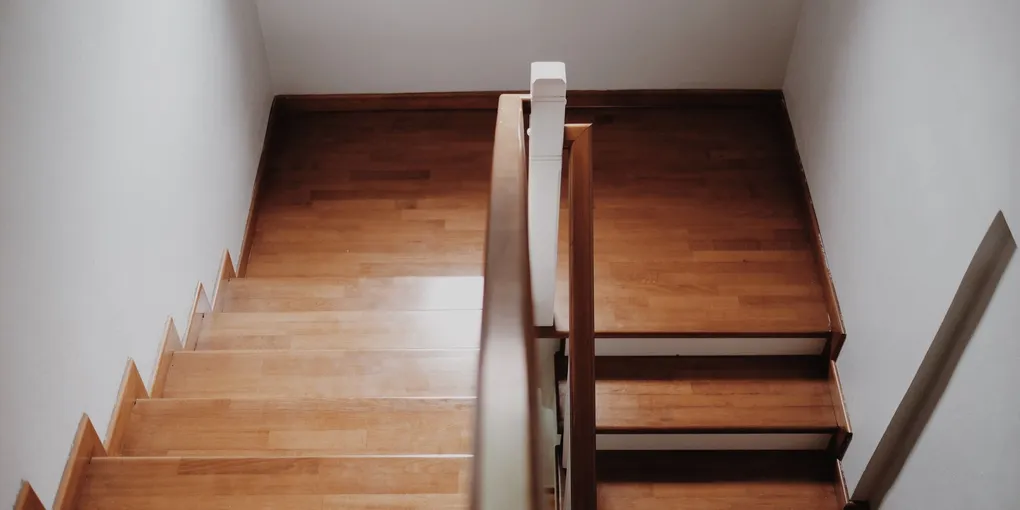
A wobbly stair banister is both a safety risk and an annoyance, but it is usually a straightforward fix once you identify which component is loose. Most banister wobble traces back to one or two specific failure points — a loose newel post, a few detached spindles, or a rail connection that has worked free.
A wobbly stair banister is both a safety risk and an annoyance, but it is usually a straightforward fix once you identify which component is loose. Most banister wobble traces back to one or two specific failure points — a loose newel post, a few detached spindles, or a rail connection that has worked free. This guide walks through diagnosing and fixing each one.
What You Need
- Construction adhesive or wood glue — for re-bonding loose spindles and rail connections
- Wood glue syringe applicator — allows you to inject adhesive into tight joints without disassembly
- 3-inch structural screws — stronger than standard wood screws for securing newel posts and rail brackets
- Lag screws and washers — for through-bolting a newel post to floor framing
- Wood filler or dowel plugs — for filling and hiding screw holes
- Wrench and socket set
- Drill and drill bits
- Hammer
- Clamps or masking tape (for clamping spindles while glue dries)
- Screwdrivers (flathead and Phillips)
- Pry bar (for separating stubborn joints)
- Flashlight
- Level
- Sandpaper (120 and 220 grit) and touch-up paint or stain
Step 1: Diagnose the Wobble
Grip the handrail firmly and push it side to side, front to back, and up and down. Pay attention to where the movement originates:
- Movement starts at the bottom newel post: The post is loose at the floor — the most common problem.
- Movement starts at the top newel post or landing post: Same issue, different location.
- The rail sways but the posts are solid: Rail bracket connections or the individual spindles are loose.
- One section of rail moves but not others: A specific rail-to-newel connection has failed.
- Individual spindles rattle or lean: The spindle-to-rail or spindle-to-tread joints have let go.
Identifying the source precisely saves time — tightening spindles while the newel post is still loose will not make the railing feel solid.
Step 2: Tighten a Loose Newel Post
Newel posts are attached in one of three main ways, and the fix depends on which method was used.
Method 1: Threaded rod through the post This is the most common approach in newer construction. A long all-thread rod runs down through the hollow center of the post and into a lag screw embedded in the floor framing or stair carriage.
- Look for a decorative cap or plug on the very top of the newel post. Pry it off gently with a flathead screwdriver.
- Inside you will see the top of the all-thread rod and a nut. The nut may have been covered by a finish washer.
- Use a socket wrench to tighten the nut clockwise until the post no longer moves. Do not overtighten — snug plus a quarter-turn is sufficient.
- Replace the cap plug.
Method 2: Lag screws through the base Some posts are secured with large lag screws driven through the base of the post into the floor framing.
- Check the base of the newel post for a decorative shoe or base trim. Remove it by unscrewing or prying carefully.
- Locate the lag screw heads (usually 1/2-inch hex heads).
- Tighten each lag screw with a socket wrench.
- If the lag screws are stripped (they spin but do not tighten), remove them, inject construction adhesive into the hole, and replace with slightly larger diameter lag screws.
Method 3: Mortise base with no visible fasteners Older newel posts are set on a mortised tenon that fits into the floor — there is no accessible bolt.
- Drill two angled holes (called toe-nail holes) through the base of the newel post at opposing 45-degree angles, down into the floor framing.
- Drive 3-inch structural screws into the holes.
- Fill the screw holes with wood filler, sand flush when dry, and touch up with paint or stain.
Alternatively, add a newel post bolt kit through the stair tread and into the bottom of the post — these kits are available at flooring and stair specialty retailers and provide excellent holding power without modifying the post exterior.
Step 3: Secure a Loose Rail-to-Newel Connection
The handrail is typically connected to the newel post with a bolt-and-rail bolt fitting, or with construction adhesive and finish nails.
- Check whether the rail end is pulling away from the post face or simply rotating at the joint. A pulling gap means the mechanical fastener has failed; rotation means the adhesive has let go.
- For a bolt connection: look for a decorative plug on the side of the newel post opposite the rail joint. Remove the plug and tighten the nut inside with a socket wrench.
- For a nail or adhesive connection: inject construction adhesive into the gap between the rail end and the newel post face. Clamp the joint or drive a 3-inch finish nail at an angle through the rail end and into the newel post. Fill the nail hole with wood filler.
Step 4: Re-Secure Loose Spindles
Spindles attach to the handrail above and the stair tread or bottom shoe rail below. Common failure points are these upper and lower joints.
For loose upper joints (spindle to handrail):
- Insert the tip of a wood glue syringe applicator into the gap at the top of the spindle where it meets the handrail groove.
- Inject enough glue to fill the joint — the glue will spread along the gap.
- Press the spindle into its correct position and tape it in place with masking tape wrapped around the spindle and handrail above. Leave for 24 hours.
For loose lower joints (spindle to tread or shoe rail):
- Inject construction adhesive or wood glue into the base joint in the same way.
- Drive a 2-inch finish nail at a slight angle through the spindle base into the tread or shoe rail to hold it while the adhesive cures.
- Set the nail head below the surface with a nail set and fill with wood filler.
For spindles that have completely separated:
- Clean the old glue off the tenon (the peg) and mortise (the hole) with a chisel or sandpaper.
- Apply fresh wood glue, insert the tenon into the mortise, and clamp or tape for 24 hours.
Step 5: Tighten Rail Bracket Connections
Wall-mounted handrails use bracket hardware that screws into wall studs. If the bracket screws have worked loose:
- Locate the stud behind the bracket using a stud finder.
- Remove the bracket’s cover plate (usually a decorative cap that unscrews or pops off).
- Drive fresh 3-inch screws into the stud, or if the original screws are stripped in the stud, apply wood glue into the holes, tap in wooden toothpicks to fill the voids, let dry, and drive new screws into the reinforced hole.
Step 6: Test and Finish
Apply firm lateral pressure to the rail at the newel post, mid-span, and near the top. The railing should feel solid with no perceptible movement. Touch up any visible wood filler, nail holes, or screw plugs with matching stain or paint. Reinstall any trim pieces, base shoes, or decorative caps removed during the repair.
Prevent Future Loosening
- Check banister tightness once a year — a quick shake test takes five seconds.
- Tighten the newel post nut at the first sign of movement before the connection degrades further.
- If you have children who use the rail heavily, check connections more frequently.
Related Reading
- Diagnose the Wobble
Grip the handrail firmly and push it side to side, front to back, and up and down. Pay attention to where the movement originates:
- Tighten a Loose Newel Post
Newel posts are attached in one of three main ways, and the fix depends on which method was used.
- Secure a Loose Rail-to-Newel Connection
The handrail is typically connected to the newel post with a bolt-and-rail bolt fitting, or with construction adhesive and finish nails.
- Re-Secure Loose Spindles
Spindles attach to the handrail above and the stair tread or bottom shoe rail below. Common failure points are these upper and lower joints.
- Tighten Rail Bracket Connections
Wall-mounted handrails use bracket hardware that screws into wall studs. If the bracket screws have worked loose:
- Test and Finish
Apply firm lateral pressure to the rail at the newel post, mid-span, and near the top. The railing should feel solid with no perceptible movement. Touch up any visible wood filler, nail holes, or screw plugs with matching stain or paint.
Free: 10-Point Home Maintenance Checklist
Prevent costly repairs with this seasonal checklist. Save hundreds every year by catching problems early.
Your checklist is ready!
Open Checklist →Something went wrong. View the checklist here.