How to Fix a Toilet That Won't Flush: Handle, Chain, and Flapper Fixes (2026)
A toilet that won't flush or flushes weakly usually has a disconnected flush chain, a broken handle, or low water in the tank. This guide covers each cause and the quick fix for each — most take under 10 minutes.
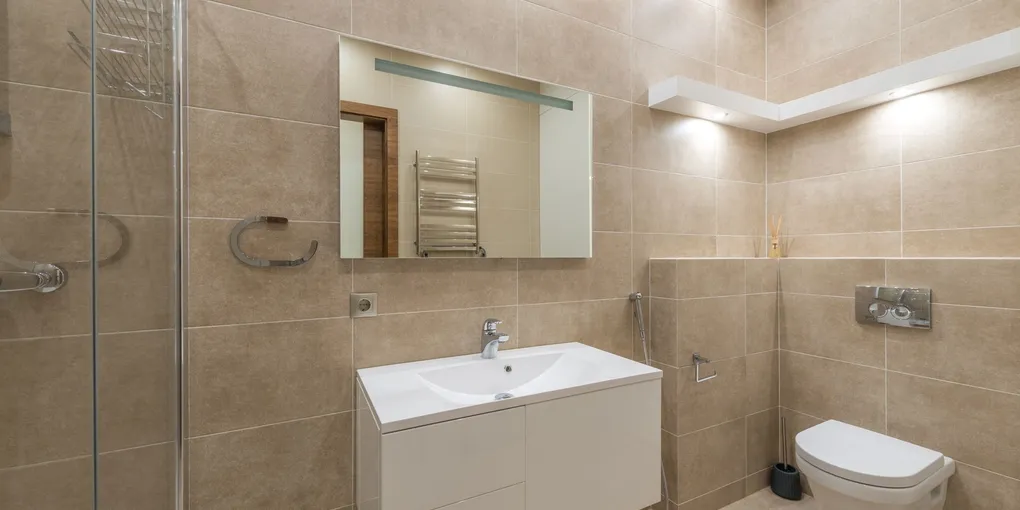
Toilet flush handle goes down but nothing happens: the chain connecting the handle arm to the flapper has come off or is too long. Look inside the tank — if the chain is disconnected from the flapper or from the handle arm, reconnect it. If the chain is connected but too long (lying in a pile at the bottom): adjust it so there is 1/2 inch of slack when the handle is at rest. If the tank doesn't fill to the marked water line: adjust the fill valve float up.
Frequently Asked Questions
The handle jiggles but doesn't flush. What is wrong?
A loose or jiggling flush handle usually means the nut inside the tank that holds the handle in place is loose. Remove the tank lid and look at the handle from inside — the handle arm passes through the hole and is secured by a nut. Turn the nut clockwise to tighten (note: toilet handle nuts are reverse-threaded — turn counterclockwise to loosen, clockwise to tighten — the opposite of most fasteners). If the handle arm is cracked or broken: replace the entire handle assembly ($10–$20).
What is the correct chain slack and why does it matter?
The flush chain connects the handle arm to the flapper. When you push the handle: the arm lifts the chain, which lifts the flapper, which opens the drain. Too much slack: the chain doesn't lift the flapper fully — the flush is incomplete or the handle has to be held down. Too little slack: the chain holds the flapper partially open after flushing — the tank never fully seals and the toilet runs constantly. Target: 1/2 inch of slack in the chain when the handle is at rest.
The toilet flushes but very weakly — not everything goes down. What causes that?
Weak flush has two main causes: (1) Low water level in the tank — if the tank doesn't have enough water, the flush lacks the necessary volume. Check the water level: it should be 1 inch below the top of the overflow tube. Raise the fill valve float to increase the water level. (2) Clogged rim jets — the small holes under the toilet bowl rim inject water during the flush cycle. If these are clogged with mineral deposits: the flush is weak. Clean with a mirror to see the holes, and push a piece of wire or a thin screwdriver into each hole. Pour a cup of white vinegar into the overflow tube (in the tank) to dissolve deposits.
My toilet needs to be held down to flush completely. Is that normal?
No — you should be able to press and release the handle and the toilet flushes on its own. If you have to hold the handle down: the chain is too long and the flapper drops back down before it can seat against the drain hole. Shorten the chain by moving the connection point up one or two links on the handle arm. Alternatively: the flapper itself may be warped or waterlogged and not staying open for the full flush — replace the flapper.
The toilet handle broke — can I replace just the handle?
Yes. Flush handle replacement is a 5-minute repair: remove the old handle from inside the tank (loosen the reverse-threaded nut counterclockwise), insert the new handle arm through the hole, thread the nut on and tighten (clockwise), and reattach the chain to the new arm at the same link. Handles are universal — a standard toilet handle fits most toilets for about $10. Note: the arm inside the tank must clear the tank walls when the toilet is flushed, so confirm the new arm length before buying.
Toilet flush handle goes down but nothing happens: the chain connecting the handle arm to the flapper has come off or is too long. Look inside the tank — if the chain is disconnected from the flapper or from the handle arm, reconnect it.
Almost all flush failures are fixed in under 15 minutes without any tools.
What you need
- Nothing for most fixes (chain and handle adjustments by hand)
- Replacement handle ($10–$20) if handle is broken
- Replacement flapper ($5–$10) if flapper is warped
- Mirror and wire (to clean rim jets)
Fix 1: Reconnect or shorten the chain
Remove the tank lid. Check the chain: connected to both the handle arm and the flapper? If disconnected: reconnect it to the closest link that leaves 1/2 inch of slack.
If the chain has too much slack (lying in a pile at the bottom): count the links and move the connection 4–5 links higher on the chain. Test by flushing.
Fix 2: Tighten the handle
From inside the tank, grip the mounting nut and turn clockwise (it’s reverse-threaded). The handle should become firm.
Fix 3: Raise the water level
Look at the water level in the tank. It should be about 1 inch below the overflow tube top. If it’s lower: locate the float adjustment on the fill valve and raise it (see fill valve instructions — most float-cup valves: squeeze the clip and slide the float up).
Fix 4: Clean the rim jets
Pour 1 cup of white vinegar into the overflow tube inside the tank. Let it flow into the rim feed tube and soak for 30 minutes. Use a handheld mirror to see the rim holes under the bowl edge and a piece of wire to clear any that are blocked.
Related guides
- How to Fix a Running Toilet — tank mechanism diagnosis when the toilet runs after flushing
- How to Replace a Toilet Flapper — replace the flapper if it won’t stay up
- How to Fix a Toilet Handle — detailed handle replacement
- Check the chain first
Remove the tank lid and look at the chain connecting the handle arm to the flapper. If disconnected from either end: reconnect it. If the chain has excessive slack (piled at the bottom): move the connection point to a link that leaves 1/2 inch of slack when the handle is at rest. This is the fix for most flush failures — takes 30 seconds.
- Tighten or replace the handle
If the handle jiggles loosely without lifting the chain: the lock nut is loose. Grip the nut inside the tank and turn counterclockwise to tighten (reverse threads). If the handle arm is cracked or broken: replace the whole handle assembly. Turn the lock nut clockwise to remove, slide the old handle out, slide the new one in, thread the nut counterclockwise to tighten, and reconnect the chain with 1/2 inch of slack.
- Check the water level in the tank
The tank must hold enough water to generate a full flush. Look at the water level — it should be 1 inch below the top of the overflow tube (the center standpipe). If the level is lower: adjust the fill valve float upward. For a Fluidmaster tower valve: squeeze the clip and slide the float up, or turn the adjustment screw counterclockwise. Flush and verify the tank refills to the correct level.
- Clean clogged rim jets
If the handle and water level are correct but the flush is still weak: the rim jets under the bowl rim are clogged. Pour 1 cup of white vinegar into the overflow tube in the tank. Let it flow into the rim channel for 30 minutes. Use a wire or zip tie to poke each jet hole under the rim. Flush vigorously. Repeat if needed — this restores swirl and flush volume.
Free: 10-Point Home Maintenance Checklist
Prevent costly repairs with this seasonal checklist. Save hundreds every year by catching problems early.
Your checklist is ready!
Open Checklist →Something went wrong. View the checklist here.