How to Fix a Toilet Flush Handle: Step-by-Step Guide
Learn how to diagnose and replace a broken or loose toilet flush handle so your toilet flushes reliably again with a simple 20-minute repair.
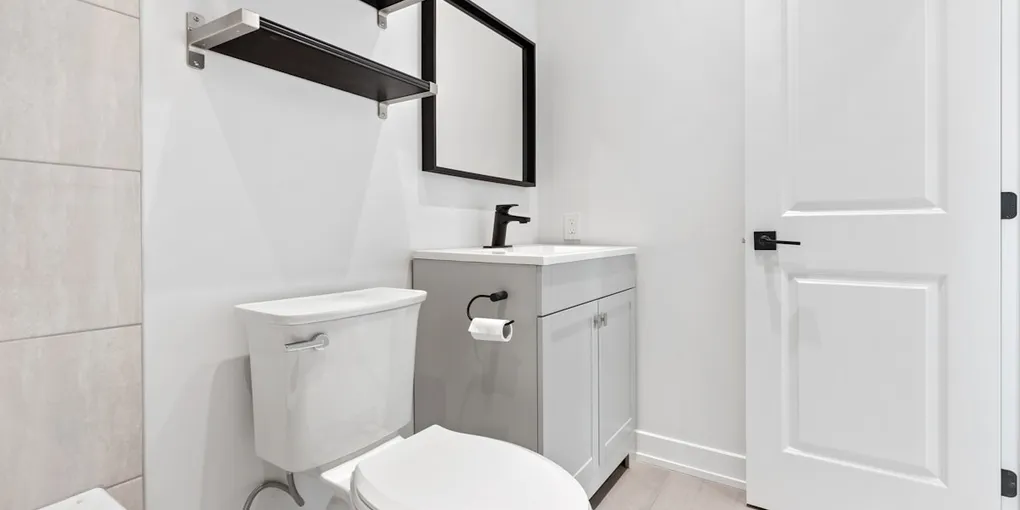
A toilet flush handle that wobbles, sticks, or does nothing when pressed is an easy repair that requires no plumbing knowledge and no water shutoff.
A toilet flush handle that wobbles, sticks, or does nothing when pressed is an easy repair that requires no plumbing knowledge and no water shutoff. The entire repair takes about 20 minutes, and replacement handles cost less than $10 at any hardware store.
How the Flush Handle System Works
The handle is a lever. One end is the button or handle you press from outside the tank. The other end — inside the tank — is a lift arm, a horizontal rod that rises when you press the handle. Attached to the lift arm by a chain is the flapper, a rubber seal at the bottom of the tank. When you press the handle, the arm rises, the chain lifts the flapper, and water flows from the tank into the bowl. When you release, the flapper drops back down and the tank refills.
When the handle is loose, the arm is broken, or the chain has come off, the system fails at that link.
Tools and Materials
- Adjustable pliers or channel-lock pliers
- Towel
- Universal toilet flush handle replacement kit
- Penetrating oil (if the nut is corroded)
No water shutoff is needed for this repair. You will be working inside the tank, which contains clean water.
Step 1: Open the Tank and Diagnose the Problem
Remove the tank lid and set it aside on a folded towel (porcelain lids crack easily on hard surfaces). Look inside at the handle mechanism.
- If the lift arm is broken or has snapped off, replace the full handle assembly.
- If the chain has come off the arm, simply rehook it and test the flush. You are done in 30 seconds.
- If the chain is tangled around the arm or another component, untangle it and adjust the length.
- If the handle feels loose, check the mounting nut — it may need tightening.
Step 2: Disconnect the Chain
Unhook the chain from the lift arm by pinching the clip and sliding it off. Note which link the chain is attached to — you will use this as a reference when connecting the new handle.
Step 3: Remove the Old Handle
Reach inside the tank and grip the mounting nut with your fingers or pliers. Remember: toilet handle mounting nuts use reverse threading. Turn the nut clockwise to loosen it (opposite from a standard nut). Once loose, remove the nut and pull the handle and arm out through the mounting hole from the outside.
If the nut is corroded and does not move, apply penetrating oil, wait 15 minutes, and try again.
Step 4: Install the New Handle
Slide the new handle through the mounting hole from the outside. Make sure the lift arm inside the tank is oriented horizontally and pointing toward the flapper — not angled up or down. Thread the mounting nut onto the handle shaft from inside the tank. Tighten by turning the nut counterclockwise until snug. Hand-tight is usually sufficient; avoid overtightening, which can crack the porcelain.
Most replacement flush handles include a new chain clip and are adjustable in length to work with most tank configurations.
Step 5: Connect the Chain
Hook the chain clip onto the lift arm. Use the same link position you noted in Step 2, or adjust so there is about half an inch of slack in the chain when the handle is at rest. Too much slack: the flapper will not fully lift and the toilet will flush weakly. Too little slack: the chain may hold the flapper slightly open, causing a running toilet.
Step 6: Test the Flush
Press the handle. The arm should rise, the chain should lift the flapper completely, and the tank should drain quickly. Release the handle and confirm the flapper drops back into place cleanly. Listen for a minute — the tank should refill and go completely silent with no trickling sounds.
If the tank continues to run, shorten the chain by one or two links so the flapper seals more positively when the handle is released.
Adjusting for Dual-Flush Handles
Some modern toilets use dual-flush handles or buttons with two chains — one for a partial flush and one for a full flush. The replacement process is the same, but pay close attention to which chain attaches to which position on the actuator. Many dual-flush kits include labeled chains or instructions showing correct chain routing.
When to Call a Plumber
The flush handle itself almost never requires a plumber. However, if you open the tank and find a cracked tank wall, a damaged trip lever seat, or water leaking from the base of the handle hole, you may have a more serious issue. Cracked tanks are not repairable and require full toilet replacement.
For a running toilet that persists after handle and chain adjustment, check the fill valve and flapper next — those two components cover the vast majority of toilet running problems.
- Open the Tank and Diagnose the Problem
Remove the tank lid and set it aside on a folded towel (porcelain lids crack easily on hard surfaces). Look inside at the handle mechanism.
- Disconnect the Chain
Unhook the chain from the lift arm by pinching the clip and sliding it off. Note which link the chain is attached to — you will use this as a reference when connecting the new handle.
- Remove the Old Handle
Reach inside the tank and grip the mounting nut with your fingers or pliers. Remember: toilet handle mounting nuts use reverse threading. Turn the nut clockwise to loosen it (opposite from a standard nut).
- Install the New Handle
Slide the new handle through the mounting hole from the outside. Make sure the lift arm inside the tank is oriented horizontally and pointing toward the flapper — not angled up or down.
- Connect the Chain
Hook the chain clip onto the lift arm. Use the same link position you noted in Step 2, or adjust so there is about half an inch of slack in the chain when the handle is at rest.
- Test the Flush
Press the handle. The arm should rise, the chain should lift the flapper completely, and the tank should drain quickly. Release the handle and confirm the flapper drops back into place cleanly.
Free: 10-Point Home Maintenance Checklist
Prevent costly repairs with this seasonal checklist. Save hundreds every year by catching problems early.
Your checklist is ready!
Open Checklist →Something went wrong. View the checklist here.