How to Fix a Sunken Concrete Patio
Learn how to lift, level, and stabilize a sunken concrete patio slab using mudjacking, foam leveling, or DIY resurfacing techniques.
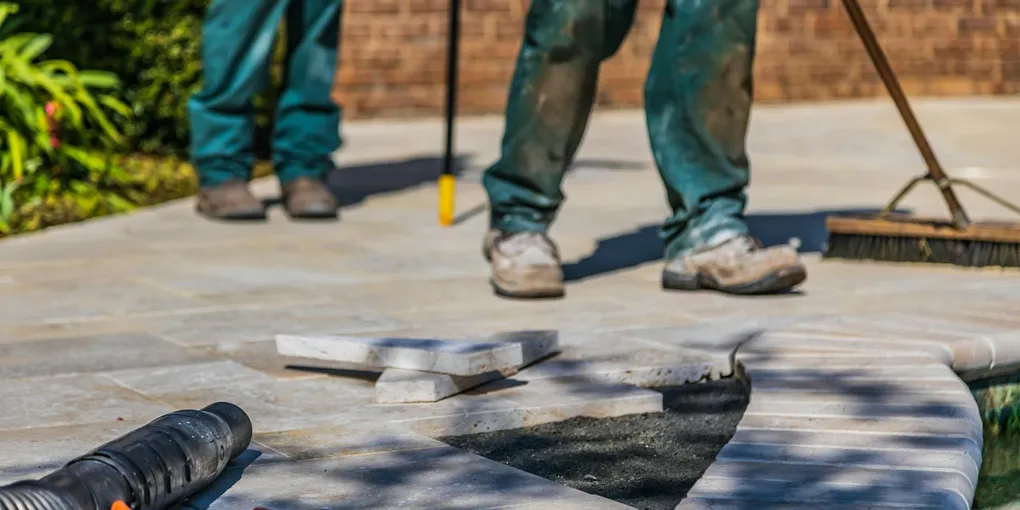
A sunken concrete patio is not just an eyesore — the step-down edge creates a trip hazard, and water pooling in the sunken section accelerates damage through freeze-thaw cycles. The good news is that a settled patio does not automatically mean full replacement.
A sunken concrete patio is not just an eyesore — the step-down edge creates a trip hazard, and water pooling in the sunken section accelerates damage through freeze-thaw cycles. The good news is that a settled patio does not automatically mean full replacement. Lifting and leveling is almost always cheaper, and with small amounts of settlement, there are even DIY-friendly approaches.
This guide covers diagnosing the cause of sinking, DIY options for minor settlement, and a clear explanation of professional lifting methods so you can make an informed decision.
What You Need
For DIY repairs on minor settlement (under 3/4 inch):
- Self-leveling concrete topping compound — for building up sunken areas and creating a smooth transition
- Concrete bonding adhesive — applied to existing concrete before new material
- Concrete resurfacer — for finishing the leveled surface
- Concrete crack filler (polyurethane) — for sealing cracks at the slab edges
- Mixing bucket and drill with paddle mixer
- Long-handled squeegee or concrete float
- Concrete broom for texture
- Safety glasses, gloves, and rubber boots
Step 1 — Assess the Settlement
Walk the patio and measure how much each section has dropped relative to adjacent sections or the house foundation.
Under 3/4 inch: DIY resurfacing and topping compounds can bridge this gap and create a smooth, slip-free surface.
3/4 inch to 3 inches: This range typically requires professional mudjacking or foam leveling to fill the voids beneath the slab and mechanically raise it.
Over 3 inches, or widespread cracking: The slab may need to be broken out and replaced. Get at least two contractor quotes — lifting quotes and replacement quotes — before committing.
Also check whether the slab has tilted toward the house. Water draining toward the foundation is a more urgent problem than a flat sunken section because it can cause basement water intrusion and foundation damage. Drainage toward the house must be corrected.
Step 2 — Identify the Cause
Before repairing the surface, try to understand why the slab sank.
- Probe around the slab perimeter: Use a long screwdriver or a steel rod to probe the soil at the slab edges. If the rod drops easily into a void, there is a cavity beneath the slab that needs filling.
- Check downspout discharge: A downspout discharging next to the patio is the most common cause of sub-base erosion. Extend the downspout so it discharges at least 6 feet from the slab edge.
- Check for tree roots: Roots can push slabs up (less commonly) or displace soil causing uneven settlement.
- Check drainage slope: Water should drain away from the house at a slope of 1/4 inch per foot. A patio sloping toward the house traps water at the foundation.
Repairing the surface without correcting drainage or filling voids means the repair will fail again in a few years.
Step 3 — DIY Option: Fill Minor Settlement with Topping Compound
For a sunken section of 3/4 inch or less that is otherwise in good condition, self-leveling concrete topping can build up the low area to match surrounding surfaces.
- Clean the sunken area thoroughly with a pressure washer. Allow to dry for 24 hours.
- Use painter’s tape and plastic sheeting to mask adjacent surfaces.
- Build a temporary form using lumber to contain the topping compound at the edges of the work area.
- Apply concrete bonding adhesive to the entire sunken area with a brush. Allow to become tacky per label instructions.
- Mix the self-leveling topping compound per the manufacturer’s directions. Work quickly — most products have a 20 to 30 minute working time.
- Pour the compound into the low area. Self-leveling products spread themselves, but use a gauge rake or long-handled squeegee to guide the material and verify depth.
- For a slip-resistant surface, drag a concrete broom lightly across the surface before it sets.
- Protect from rain and foot traffic for at least 24 hours. Full cure is typically 72 hours.
Step 4 — Understand Mudjacking (Professional Option)
If the voids beneath the slab are significant or the settlement exceeds what a topping compound can bridge, mudjacking (also called slabjacking or pressure grouting) is the standard professional solution.
A mudjacking contractor drills 1.5 to 2 inch holes in a grid pattern through the slab. A slurry of cement, soil, fly ash, and water is pumped under pressure through the holes. The slurry fills the voids and the pressure lifts the slab to the target elevation. The holes are patched with concrete and the work is done in a single visit.
Pros: Lower cost than foam, well-established process, available in most markets. Cons: Heavier than foam (does not help if weak sub-base is the root cause), 24 to 48 hour cure time before use, slightly larger drill holes.
Step 5 — Understand Foam Leveling (Professional Option)
Polyurethane foam leveling follows the same concept but injects expanding foam through smaller (5/8 inch) holes. The foam expands to fill voids and lifts the slab within minutes, curing in about 15 minutes.
Pros: Faster cure, lighter material, longer-lasting, smaller holes to patch, better in areas with ongoing moisture. Cons: Higher cost per square foot than mudjacking.
Both methods require the contractor to monitor slab elevation during injection to stop at the correct height — raising a slab too high creates a new trip hazard on the opposite side.
Step 6 — Seal and Protect the Repair
After any leveling method, seal all control joints and the perimeter of the patio.
Apply a penetrating concrete sealer to the entire patio surface once repairs have cured. This reduces water infiltration that caused the sub-base erosion in the first place. Reapply every 3 to 5 years.
Address any downspout discharge issues and consider installing a channel drain at the patio perimeter to divert runoff away from the sub-base.
Long-Term Maintenance
- Reseal the patio every 3 to 5 years.
- Check control joint sealant annually and reapply where cracked or missing.
- Keep downspouts discharging well away from the patio and foundation.
- Watch for early signs of settlement (small cracks at slab edges, visible gaps) and address them before they grow.
Related Reading
- How to Fix a Cracked Concrete Walkway
- How to Clean and Seal a Concrete Patio
- Spring Home Maintenance Checklist
- Step 1 — Assess the Settlement
Walk the patio and measure how much each section has dropped relative to adjacent sections or the house foundation.
- Step 2 — Identify the Cause
Before repairing the surface, try to understand why the slab sank.
- Step 3 — DIY Option: Fill Minor Settlement with Topping Compound
For a sunken section of 3/4 inch or less that is otherwise in good condition, self-leveling concrete topping can build up the low area to match surrounding surfaces.
- Step 4 — Understand Mudjacking (Professional Option)
If the voids beneath the slab are significant or the settlement exceeds what a topping compound can bridge, mudjacking (also called slabjacking or pressure grouting) is the standard professional solution.
- Step 5 — Understand Foam Leveling (Professional Option)
Polyurethane foam leveling follows the same concept but injects expanding foam through smaller (5/8 inch) holes. The foam expands to fill voids and lifts the slab within minutes, curing in about 15 minutes.
- Step 6 — Seal and Protect the Repair
After any leveling method, seal all control joints and the perimeter of the patio.
Free: 10-Point Home Maintenance Checklist
Prevent costly repairs with this seasonal checklist. Save hundreds every year by catching problems early.
Your checklist is ready!
Open Checklist →Something went wrong. View the checklist here.