How to Fix a Sticking Door Latch: Strike Plate, Hinge Shims, and Sag Repairs
Learn how to fix a door latch that won't catch by adjusting the strike plate, replacing the latch plunger, shimming sagging hinges, and correcting door sag for a smooth, secure close every time.
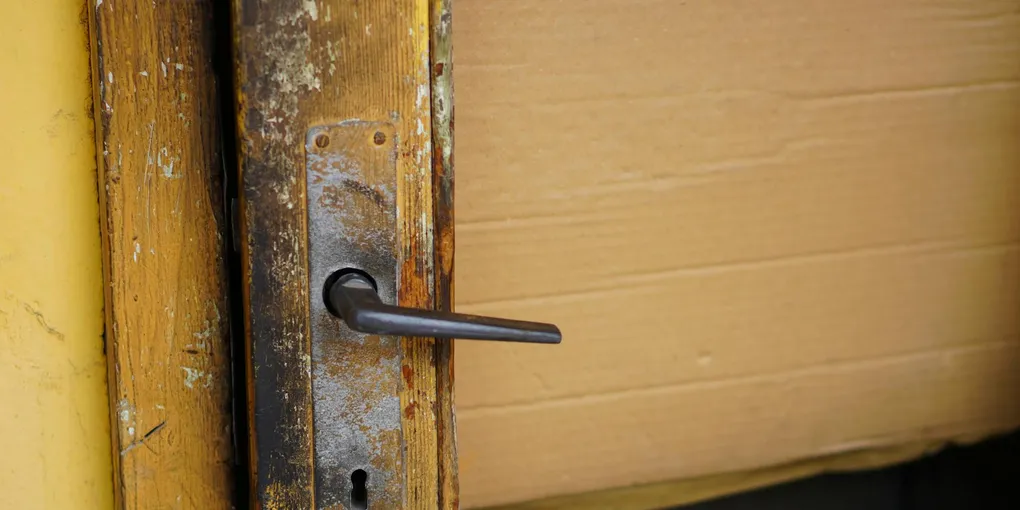
Few household annoyances are as persistent as a door latch that will not catch. You push the door closed and the latch just bounces off the strike plate, or it requires a firm shoulder shove to click into place.
Few household annoyances are as persistent as a door latch that will not catch. You push the door closed and the latch just bounces off the strike plate, or it requires a firm shoulder shove to click into place. The fix is almost always mechanical — a strike plate in the wrong position, a sagging hinge, a worn latch plunger, or door sag from years of use. This guide covers every cause and gives you a clear repair path for each one.
What You Need
Gather these tools and materials before you start. Most door latch repairs require only a few items.
- Stanley 6-Piece Screwdriver Set — A #2 Phillips and a flat-head are the two you will use constantly on door hardware.
- Kwikset SmartKey Passage Latch with Strike Plate — Replacement latch assembly when the plunger mechanism is worn out.
- 3-inch Construction Screws for Hinge Repair — Long screws that reach into the framing stud to pull a sagging door back into alignment.
- Hinge Shim Kit for Door Alignment — Pre-cut fiber shims sized for standard hinges to correct a door that binds at the top or bottom.
- Wood Chisel Set 3/4-inch — For deepening or enlarging hinge mortises and strike plate recesses.
- Nickel-Plated Steel Strike Plate with 2-inch Box — A box strike plate offers more latch engagement and is more forgiving of minor misalignment.
Step 1: Diagnose the Problem with the Lipstick Test
Before you pick up a screwdriver, figure out exactly where the latch bolt is landing on the strike plate. This takes 90 seconds and prevents you from adjusting in the wrong direction.
- Apply a coat of lipstick, crayon, or even chalk to the face of the latch bolt.
- Close the door slowly until you feel resistance, then retract the latch and open the door.
- Examine the strike plate and the door jamb around it. The transfer mark tells you everything:
- Mark above the strike opening: latch is hitting high — door has dropped or strike plate needs to move up
- Mark below the strike opening: latch is hitting low — door has risen or frame has settled
- Mark on the edge of the plate not in the hole: latch is misaligned side to side
- No mark on the plate at all: latch is missing the plate entirely and hitting the jamb
Keep the door closed and note the gap spacing around the perimeter — this tells you whether the door itself has moved or whether the strike plate was just never installed correctly.
Step 2: File or Reposition the Strike Plate
For misalignment of 1/8 inch or less, filing the strike plate opening is the fastest fix.
Filing the strike plate:
- Use a half-round metal file (the flat side for straightening, the round side for enlarging the curved opening).
- File in the direction you need the latch to move — if the latch is hitting the bottom lip of the hole, file the bottom edge of the opening to give the bolt more clearance.
- Work in short strokes, testing the door every few passes. Stop as soon as the latch clicks home cleanly.
- Touch up the exposed metal with a matching finish paint or nail polish to prevent rust.
Relocating the strike plate (for larger corrections):
- Remove the two strike plate screws and the plate.
- Fill the old screw holes with toothpicks dipped in wood glue. Let cure for an hour, then snap off flush.
- Use the lipstick mark on the jamb to center the new location for the strike plate opening.
- Deepen or recut the mortise (the recess the plate sits in) with a sharp chisel if you are moving the plate up or down more than 1/8 inch.
- Hold the strike plate in the new position and drill new pilot holes. Drive the screws snug.
- Test the latch — it should snap in with light hand pressure.
Step 3: Fix a Sagging Door with Long Hinge Screws
Door sag is one of the most common causes of a latch that will not catch, and the most common cause of door sag is loose hinge screws — specifically, the short screws in the top hinge pulling out of the door jamb.
Testing for hinge-caused sag:
Open the door and grab the knob, then gently lift up. If the door rises and the gap at the top latch corner closes noticeably, the hinges are the problem.
The long-screw fix:
- With the door open, remove one screw from the top hinge — start with the topmost screw in the jamb leaf (the hinge half mortised into the door jamb, not the door itself).
- Drive a 3-inch construction screw in its place. Do not predrill — you want the screw to grab aggressively into the framing stud.
- The stud is typically right behind the hinge location. As the 3-inch screw bites into the stud, it pulls the jamb tight and draws the door back up toward its correct position.
- Repeat for the remaining screws in the top hinge jamb leaf.
- Close the door and check the latch alignment. Many doors are fully corrected at this step.
If the door is still sagging after the long-screw fix, proceed to shimming.
Step 4: Shim Hinges to Correct Alignment
Shimming adds material behind a hinge to change the door’s angle in the frame. The bottom hinge is where you add shims to lift a sagging latch side; the top hinge is where you shim to push the latch side of the door away from the jamb if it is binding.
Adding a shim behind the bottom hinge:
- Open the door and block it open to take the weight off the hinges.
- Unscrew the bottom hinge jamb leaf completely.
- Slide one or two fiber hinge shims into the mortise between the hinge leaf and the jamb.
- Reinstall the hinge screws through the shims.
- Close the door and check alignment. Add more shims in small increments if needed.
Shim thickness guide:
- 1/32 inch shim moves the latch side approximately 1/16 inch
- 1/16 inch shim moves the latch side approximately 1/8 inch
- Never stack more than 3 shims — at that point, the hinge mortise needs to be re-chiseled to the new depth
Step 5: Replace a Worn Latch Plunger Assembly
If the latch bolt is not springing back fully, moves sluggishly, or does not retract smoothly when you turn the knob, the latch mechanism itself needs replacement — no amount of strike plate adjustment will fix a mechanically failed latch.
Removing the old latch:
- Remove the door knob or lever handle set. Most have a small release pin or slot on the rose plate — insert a small screwdriver or pin to release the handle.
- Unscrew the two faceplate screws on the edge of the door.
- Slide the entire latch assembly straight out from the door edge.
Measuring for a replacement:
Two dimensions matter:
- Backset: the distance from the door edge to the center of the knob hole. Standard is 2-3/8 inch or 2-3/4 inch.
- Faceplate dimensions: height and width of the rectangular plate on the door edge. Standard faceplate is 2-1/4 x 1 inch.
Take the old latch to the hardware store to match it, or photograph both dimensions.
Installing the new latch:
- Slide the new latch into the door edge cavity with the plunger’s angled face pointed in the direction the door closes.
- Secure the faceplate screws.
- Reinstall the knob set, reconnecting the square spindle to the latch mechanism.
- Test the plunger by hand — it should spring back instantly with light pressure.
Step 6: Correct a Warped or Twisted Door
A door that has developed a twist — where one corner contacts the stop while the opposite corner has a large gap — requires a different approach. Humidity changes cause wood doors to swell and distort seasonally.
Seasonal adjustment: If the door sticks only in summer, try sealing the top and bottom edges of the door with paint or polyurethane. Bare wood absorbs moisture; sealing it reduces seasonal movement.
Planing a binding door: If the door binds at a specific corner, you can plane or sand that area to fit the current frame geometry. Mark the contact area with a pencil while the door is in place, remove the door, and carefully remove material with a hand plane or belt sander. Seal the planed area immediately to prevent moisture uptake.
Installing a heavy-duty strike plate with a larger opening: Sometimes the easiest fix for a slightly twisted door is a full-mortise box strike plate. The deeper box recess and larger opening accepts the latch even when the door is slightly misaligned, giving you a latch that catches even during humid months.
Step 7: Test and Fine-Tune
After any repair, do a thorough function test:
- Close the door from a distance without pushing — it should latch from the momentum of a normal swing.
- Lock and unlock the deadbolt if present — resistance here can indicate the bolt is slightly misaligned even if the latch is fine.
- Check the door stop gap: the door should contact the stop molding evenly across the top and both sides. A gap on one side means the door is still twisted or the strike plate is pulling the door out of plane.
- Test in both directions — push and pull against the closed latch to make sure it has solid engagement. There should be no rattle and no play.
Related Reading
- How to Fix a Squeaky Door: Hinges, Pins, and Frame Repairs
- How to Install a Deadbolt Lock on an Exterior Door
- How to Weatherstrip a Door to Stop Drafts
- Diagnose the Problem with the Lipstick Test
Before you pick up a screwdriver, figure out exactly where the latch bolt is landing on the strike plate. This takes 90 seconds and prevents you from adjusting in the wrong direction.
- File or Reposition the Strike Plate
For misalignment of 1/8 inch or less, filing the strike plate opening is the fastest fix.
- Fix a Sagging Door with Long Hinge Screws
Door sag is one of the most common causes of a latch that will not catch, and the most common cause of door sag is loose hinge screws — specifically, the short screws in the top hinge pulling out of the door jamb.
- Shim Hinges to Correct Alignment
Shimming adds material behind a hinge to change the door's angle in the frame. The bottom hinge is where you add shims to lift a sagging latch side; the top hinge is where you shim to push the latch side of the door away from the jamb if it is bindin...
- Replace a Worn Latch Plunger Assembly
If the latch bolt is not springing back fully, moves sluggishly, or does not retract smoothly when you turn the knob, the latch mechanism itself needs replacement — no amount of strike plate adjustment will fix a mechanically failed latch.
- Correct a Warped or Twisted Door
A door that has developed a twist — where one corner contacts the stop while the opposite corner has a large gap — requires a different approach. Humidity changes cause wood doors to swell and distort seasonally.
Free: 10-Point Home Maintenance Checklist
Prevent costly repairs with this seasonal checklist. Save hundreds every year by catching problems early.
Your checklist is ready!
Open Checklist →Something went wrong. View the checklist here.