How to Fix a Squeaky Stair Tread
Learn how to silence a squeaky stair tread from above or below using screws, construction adhesive, and shims for a permanent, noise-free fix.
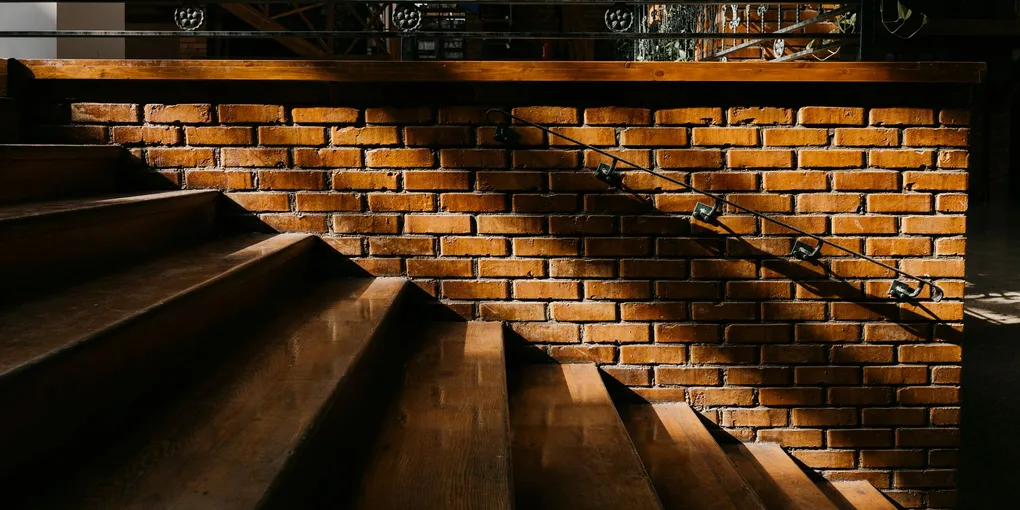
A squeaky stair tread is one of those household annoyances that seems impossible to ignore once you notice it — especially at night. The squeak is caused by wood movement, and the fix is straightforward: stop the movement.
A squeaky stair tread is one of those household annoyances that seems impossible to ignore once you notice it — especially at night. The squeak is caused by wood movement, and the fix is straightforward: stop the movement. Whether you are working from above on a finished staircase or from below where the structure is open, you can silence most stair squeaks permanently with basic tools and an afternoon of work.
Understanding Why Stairs Squeak
Each stair step is composed of a horizontal tread (the surface you step on) and a vertical riser (the board at the back of each step). These pieces are glued and nailed together during construction. Over time, the glue joint dries out, the wood shrinks seasonally, and the original nails back out slightly — leaving a gap where the tread meets the riser. When you step on the tread, it deflects slightly and rubs against the riser, creating the creak.
The fix is to re-connect those two pieces firmly so there is no movement between them.
Tools and Materials
- Drill and Phillips bit
- Countersink drill bit
- 2-inch to 3-inch trim-head screws
- Stainable or paintable wood putty
- Putty knife
- Construction adhesive
- Thin wood shims
- Powdered graphite or talcum powder (for quick lubrication)
- Trim-head screws for stairs
- Knee pads
Step 1: Locate the Squeak
Step slowly on each tread and note exactly where the squeak originates. Walk heel-to-toe across the width of the tread — squeaks at the front of the tread point to a loose tread-riser joint; squeaks at the sides suggest the tread is rubbing the stringer. Mark the problem area with tape.
Step 2: Try Lubrication First (Optional Quick Fix)
If the squeak is mild, sprinkle powdered graphite or talcum powder into the joint between the tread and the riser. Work it into the gap by stepping on the tread repeatedly to pump the powder deeper into the joint. This eliminates friction temporarily and may quiet a minor squeak for several months, though it is not a permanent solution.
Step 3: Screw Through the Tread from Above
This is the most reliable fix for finished staircases where the underside is not accessible.
Identify where the riser is located under the front edge of the tread — the riser sits directly below the front lip of the tread you are working on. Using a countersink bit, pre-drill two or three angled pilot holes through the face of the tread, aiming the drill at a slight downward angle so the screws will bite into the top edge of the riser below.
Drive 2.5-inch trim-head screws into the pre-drilled holes until the heads are slightly below the wood surface. Do not overdrive — you want the screw fully seated but not crushing the wood grain.
Step on the tread and test. The squeak should be gone or significantly reduced.
Step 4: Fill Screw Holes
Press wood putty into the countersunk holes with a putty knife. For stained wood treads, use a putty color that matches the stain. For painted treads, any paintable filler works. Let the putty dry fully (30 to 60 minutes for most products), then sand lightly flush with fine-grit sandpaper. Touch up with paint or stain as needed.
Step 5: Add Construction Adhesive (from Below, If Accessible)
If the underside of the staircase is open — basement stairs or an unfinished utility stair — you can make a more complete structural repair. Apply a bead of construction adhesive into the joint between the tread and the riser from underneath. Force the adhesive as far into the gap as possible.
Have a helper stand on the tread above to compress the joint while the adhesive cures. Let the adhesive set according to the label (typically 24 hours before full load).
Step 6: Drive Screws from Below (Open Staircase)
For open basement stairs, drive 1.5-inch screws upward through the riser and into the underside of the tread above it at a slight upward angle. This pulls the tread down firmly against the riser. Space two or three screws evenly across the width of the step.
For the tread-to-riser joint at the back of the step, cut a small wood block (about 2 x 2 inches) and glue and screw it into the inside corner where the tread meets the riser. This right-angle block distributes load across both pieces and eliminates the rocking motion that causes squeaks. Drive screws through the block into both the tread above and the riser below.
Step 7: Address Side Squeaks at the Stringers
If the squeak comes from the sides of the step where the tread meets the stringer (the angled board running along the side of the staircase), the tread may be rubbing the stringer wall. Slide a thin wood shim into the gap between the tread edge and the stringer, apply a small amount of construction adhesive, and let it cure. This fills the gap and prevents the rubbing motion.
Squeaky Carpeted Stairs
Carpeted stairs are harder to diagnose visually. Find the squeak by pressing methodically with your hands and knees before bringing in tools. Drive 2-inch screws through the carpet and pad directly into the riser below the tread, using a drill with firm pressure. The carpet material will compress around the screw head and the screw will not be visible through the pile.
Preventing Future Squeaks
Stair squeaks are partly seasonal — they may worsen in winter as wood dries and shrinks indoors. Maintaining stable indoor humidity (between 35 and 55 percent) with a whole-house humidifier slows the wood movement that causes joints to loosen over time. Annual checks on stair fasteners as part of home maintenance catch loose connections before they become noisy.
- Locate the Squeak
Step slowly on each tread and note exactly where the squeak originates. Walk heel-to-toe across the width of the tread — squeaks at the front of the tread point to a loose tread-riser joint; squeaks at the sides suggest the tread is rubbing the strin...
- Try Lubrication First (Optional Quick Fix)
If the squeak is mild, sprinkle powdered graphite or talcum powder into the joint between the tread and the riser. Work it into the gap by stepping on the tread repeatedly to pump the powder deeper into the joint.
- Screw Through the Tread from Above
This is the most reliable fix for finished staircases where the underside is not accessible.
- Fill Screw Holes
Press wood putty into the countersunk holes with a putty knife. For stained wood treads, use a putty color that matches the stain. For painted treads, any paintable filler works.
- Add Construction Adhesive (from Below, If Accessible)
If the underside of the staircase is open — basement stairs or an unfinished utility stair — you can make a more complete structural repair. Apply a bead of construction adhesive into the joint between the tread and the riser from underneath.
- Drive Screws from Below (Open Staircase)
For open basement stairs, drive 1.5-inch screws upward through the riser and into the underside of the tread above it at a slight upward angle. This pulls the tread down firmly against the riser.
Free: 10-Point Home Maintenance Checklist
Prevent costly repairs with this seasonal checklist. Save hundreds every year by catching problems early.
Your checklist is ready!
Open Checklist →Something went wrong. View the checklist here.