How to Fix a Squeaky Hardwood Floor
Stop squeaky hardwood floors permanently using screws from above, screws from below through floor joists, graphite powder for quick fixes, or the Squeeeeek No More kit for a clean finish.
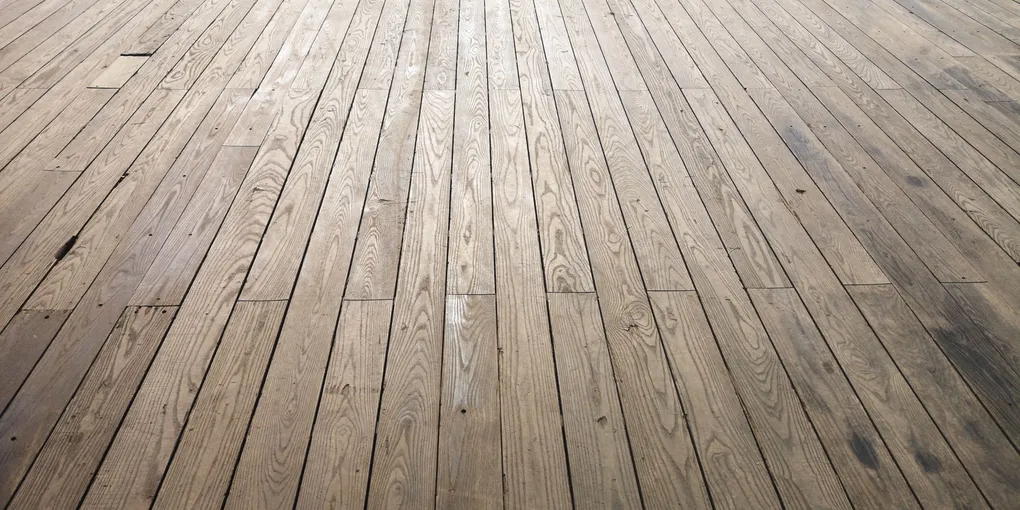
Few home annoyances are as persistent as a squeaky hardwood floor. Every step broadcasts your presence through the house, and the creak seems to grow louder the more you focus on it.
Few home annoyances are as persistent as a squeaky hardwood floor. Every step broadcasts your presence through the house, and the creak seems to grow louder the more you focus on it. The encouraging truth is that squeaky floors are almost always fixable with tools you already own, often without leaving a visible mark on the finished surface.
There are four main approaches: graphite powder for a fast no-drill fix, screws driven from above using a break-off kit, screws driven from below through the subfloor, and construction adhesive applied to joists. The right method depends on whether you have access from below, whether you can see the substructure, and how invisible you need the repair to be.
This guide walks through all four methods in detail, plus how to locate the exact source of a squeak and how to prevent new ones from forming.
What You Need
- Squeeeeek No More or Counter-Snap kit — the cleanest above-floor repair; includes special break-off screws
- Powdered graphite lubricant — fastest fix, no drilling required
- 1-5/8-inch wood screws — for subfloor-to-hardwood repairs from below
- Construction adhesive — for gluing subfloor to joists from below, eliminating bounce
- Cordless drill — needed for screw-based repairs from either direction
- Color-matched wood filler — for filling screw holes after above-floor repairs
Understanding Why Floors Squeak
Hardwood floors make noise when two wood surfaces rub against each other during the flex of normal foot traffic. There are three main rubbing scenarios:
Board-to-board rubbing: Boards rub against each other at the tongue-and-groove joints when boards have dried, shrunk, and developed gaps. This is the most common squeak in strip hardwood floors and is what graphite powder addresses.
Board-to-nail rubbing: Flooring nails hold the hardwood to the subfloor. When a board loosens, it rises and falls with each step, and the nail shank rubs in the enlarged nail hole. This type of squeak responds best to screwing the board back down.
Subfloor-to-joist separation: The plywood or OSB subfloor has pulled away from the framing below, creating a gap that allows the subfloor to flex. Each flex compresses the hardwood above and produces a low-frequency creak that is often felt underfoot as well as heard. Construction adhesive and screws from below address this.
Identifying which type of squeak you have guides which repair you choose.
Step 1 — Locate the Squeak Precisely
Before you can fix a squeak, you need to know exactly where it is coming from.
Mapping from above: Walk the squeaky area slowly in bare feet. When you hear a creak, stop with your full weight on that foot. Shift your weight forward, backward, and side to side. The squeak should be loudest at a specific point — often at the joint between two boards or over a specific nail.
Mark the squeaky zone with painter’s tape. Note whether the squeak is loudest when stepping on a single board (probably a board-to-nail squeak) or in a line along a joint (probably board-to-board rubbing).
Investigating from below: If you have basement or crawlspace access, have a helper walk the squeaky area while you watch from below with a flashlight. You will be able to see the subfloor flex and often spot exactly where it lifts away from the joist. Shine the light along the top of the joist — daylight visible between the joist and the subfloor confirms a gap that is causing subfloor bounce.
Step 2 — Graphite Powder (Fastest Fix, No Drilling)
This method takes two minutes and leaves the floor undamaged. It works specifically on board-to-board squeaks.
- Identify the joint between the two boards that are rubbing. This is typically the vertical crack you see between adjacent strips.
- Squirt a small amount of powdered graphite directly into the joint. Standard lock lubricant with a precision nozzle works well.
- Cover the area with a thin cloth or a paper towel.
- Work the graphite in by stepping on the boards repeatedly and by rubbing the cloth back and forth along the joint. The graphite needs to work down into the joint where the tongue and groove are rubbing.
- Vacuum or wipe away any visible powder on the surface.
The squeak should disappear immediately or after a few minutes of traffic. Graphite is dry, so it will not stain or damage the finish. However, it does not cure the underlying looseness, so the squeak may gradually return as the lubricant disperses. Reapplication is quick.
Talcum powder works nearly as well as graphite and is more readily available. Boric acid powder is another option some older sources recommend. All three dry lubricants follow the same application process.
Step 3 — Squeeeeek No More Kit (Clean Repair From Above)
The Squeeeeek No More system is the best above-floor solution when you want a nearly invisible result. The kit uses a special jig that aligns a breakaway screw with the grain of the flooring. You drive the screw deep enough to pull the floor board tight, then snap the screw shank off just below the wood surface. The small remaining hole is filled with color-matched putty.
Using the kit:
- Place the jig on the squeaky board, aligned with the grain direction.
- Drive the included screw through the jig and into the subfloor below until the depth stop bottoms out.
- Engage the breakaway notch on the screw — rock the drill side to side while pulling up to snap the top of the screw off. The fracture point is designed to snap precisely below the surface.
- Run your finger across the hole. You should feel a slight depression but no protruding screw head.
- Fill the hole with color-matched wood filler. Apply, let cure, then lightly sand and apply a small dab of touch-up finish.
When the filler dries, the repair is nearly invisible unless examined at close range. The Counter-Snap kit works on the same principle and is widely available at hardware stores.
Important: Know the thickness of your subfloor and hardwood combined before using these kits. Typical first-floor installations have 3/4-inch hardwood over 3/4-inch plywood subfloor = 1.5 inches total. The screws must reach the subfloor to be effective but must not break through the top face of the hardwood.
Step 4 — Screws From Above (Visible Repair, Maximum Hold)
For a strong repair where cosmetics are less critical (inside closets, under area rugs, or in spaces that will be refinished), standard screws from above provide the most holding power.
- Drill a pilot hole through the hardwood and into the subfloor, sized slightly smaller than your screw shank. Predrill through a scrap of the same wood species first to confirm the right bit size — hardwood splits if the hole is too small.
- Countersink the pilot hole so the screw head will sit below the surface.
- Drive a 1-5/8-inch or 2-inch wood screw to pull the board tight to the subfloor.
- Check the board — it should no longer flex underfoot.
- Fill the countersunk hole with wood filler, sand flush, and finish to match.
For squeaks that are board-to-board rather than board-to-subfloor, you can drive screws at an angle (toenail style) through the tongue of one board into the groove of the adjacent board. This is a more advanced technique that requires care to avoid splitting the tongue.
Step 5 — Screws and Adhesive From Below (Best Result, No Surface Damage)
If you have access to the area below the squeaky floor, this method produces the most permanent repair with zero visible marks on the finished surface.
Driving screws from below:
- Have a helper stand on the squeaky spot while you work below.
- Measure the combined thickness of the subfloor and hardwood. Subtract 1/4 inch — that is your maximum screw length. A 1-1/4-inch screw is typically safe for 3/4-inch subfloor plus 3/4-inch hardwood.
- Drive the screw up through the subfloor and into the hardwood, pulling the two layers tightly together.
- Have the helper confirm the squeak is gone before you drive any more screws.
Construction adhesive for subfloor-to-joist gaps:
- Identify a gap between the joist and the subfloor (visible with your flashlight when the helper steps on the squeaky area).
- Apply a bead of construction adhesive along the top of the joist where the gap is.
- Drive 2-inch screws up through the joist flange into the subfloor alongside the adhesive bead to pull the subfloor down while the adhesive cures.
- Allow 24 hours for full cure.
This is the most permanent fix available, and because it addresses the root cause (subfloor separation), it is unlikely to ever return.
Step 6 — Stair Squeaks
Stairs squeak from the same mechanism as floors — wood rubbing on wood at the tread-riser junction or at the tread-stringer connection. The fixes are analogous:
- Graphite into the tread-riser joint: Same as board-to-board application above.
- Screw the tread from above: Drive 2-inch screws through the tread into the riser (front edge) and into the tread support below, countersinking and filling the holes.
- **Glue blocks from below (open stair): ** If the underside of the stairs is accessible (open basement stair), glue and screw small wood blocks into the corner between tread and riser. This is the same principle as a construction adhesive repair on a flat floor.
Preventing Future Squeaks
- Maintain consistent indoor humidity (40–50 percent relative humidity): Seasonal drying below 30 percent causes hardwood to shrink and develop the board-to-board gaps that cause most squeaks. A whole-home humidifier or room humidifiers during dry winter months reduce movement significantly.
- Use construction adhesive during installation: When replacing flooring or installing new hardwood over a subfloor, running a bead of subfloor adhesive along every joist before laying the subfloor prevents the bounce that causes nail-rubbing squeaks.
- Secure the subfloor during installation: New squeaks in relatively new floors are often the result of an under-fastened subfloor. Running a row of subfloor screws along each joist line from above, staying between the hardwood flooring nails, tightens the assembly.
Related Reading
- How to Fix a Sticking Pocket Door
- How to Install Vinyl Plank Flooring
- How to Patch Hardwood Floors After Removing a Wall
- Step 1 — Locate the Squeak Precisely
Before you can fix a squeak, you need to know exactly where it is coming from.
- Step 2 — Graphite Powder (Fastest Fix, No Drilling)
This method takes two minutes and leaves the floor undamaged. It works specifically on board-to-board squeaks.
- Step 3 — Squeeeeek No More Kit (Clean Repair From Above)
The Squeeeeek No More system is the best above-floor solution when you want a nearly invisible result. The kit uses a special jig that aligns a breakaway screw with the grain of the flooring.
- Step 4 — Screws From Above (Visible Repair, Maximum Hold)
For a strong repair where cosmetics are less critical (inside closets, under area rugs, or in spaces that will be refinished), standard screws from above provide the most holding power.
- Step 5 — Screws and Adhesive From Below (Best Result, No Surface Damage)
If you have access to the area below the squeaky floor, this method produces the most permanent repair with zero visible marks on the finished surface.
- Step 6 — Stair Squeaks
Stairs squeak from the same mechanism as floors — wood rubbing on wood at the tread-riser junction or at the tread-stringer connection. The fixes are analogous:
Free: 10-Point Home Maintenance Checklist
Prevent costly repairs with this seasonal checklist. Save hundreds every year by catching problems early.
Your checklist is ready!
Open Checklist →Something went wrong. View the checklist here.