How to Fix a Slow Flushing Toilet: Rim Jets, Flapper, and Water Level
Diagnose and fix a weak or slow-flushing toilet — clearing clogged rim jets, adjusting water level, repairing the flapper, and when to replace the fill valve.
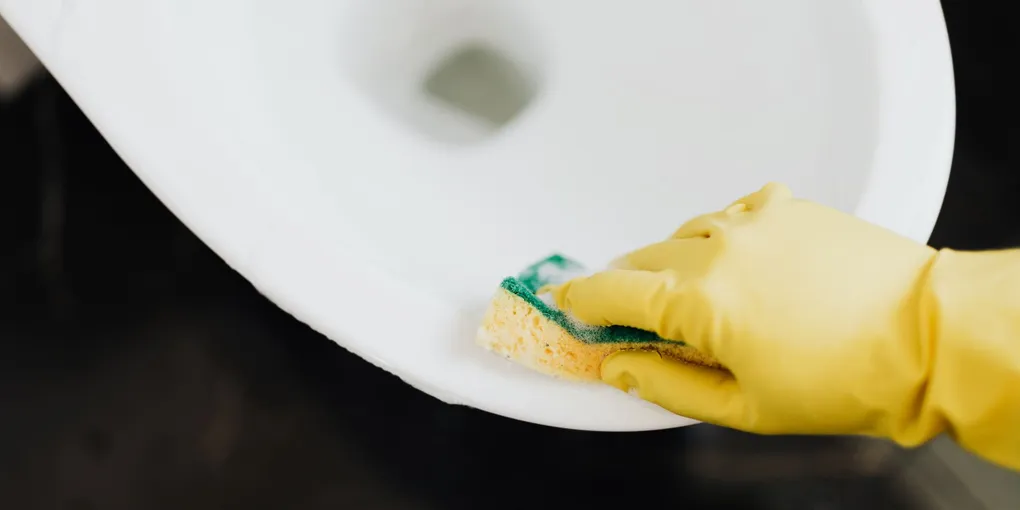
A slow-flushing toilet is almost always caused by one of three things: the water level in the tank is too low, the rim jets under the bowl rim are clogged with mineral deposits, or the flapper is closing too quickly before the full tank empties. Check the water level first — it should sit about 1 inch below the top of the overflow tube. Then inspect the rim jets with a mirror and a flashlight. If jets are partially blocked, pour CLR into the overflow tube, let it soak for an hour, and flush. If the flapper chain is too short, the flapper snaps shut early — adjust or replace it.
Frequently Asked Questions
Why is my toilet flushing slowly but not clogged?
A slow flush without a clog points to one of three causes: low tank water level, clogged rim jets, or a flapper that closes too fast. Low water level means the tank doesn't have enough volume to generate a strong siphon. Clogged rim jets — the small holes under the bowl rim — reduce the swirling water action that clears the bowl. A flapper with a chain that is too short snaps shut before the full tank empties, cutting the flush short. Work through each cause in order: check the tank water level first, then inspect the rim jets, then examine the flapper and chain.
How do I clean toilet rim jets that are clogged with mineral deposits?
Pour 8–10 oz of CLR or white vinegar directly into the overflow tube (the tall tube inside the tank, not the fill valve) using a small funnel. The overflow tube connects directly to the rim jets. Let the solution soak for 1–2 hours or overnight for heavy buildup. Flush several times to clear the loosened deposits. For severe mineral buildup, use a muriatic acid solution (follow label safety instructions, wear gloves and eye protection) poured into the overflow tube. After soaking, use a thin wire, Allen wrench, or angled dental pick to clear individual jets while flushing. Finish with several clean flushes.
How do I increase the water level in my toilet tank?
Remove the tank lid and look at the water level — it should be about 1 inch below the top of the overflow tube. If it is lower, adjust the float. On older toilets with a ball float on an arm, bend the arm slightly upward or turn the adjustment screw at the fill valve to raise the float. On newer toilets with a float cup on the fill valve shaft, pinch the clip and slide the float cup up the shaft, or turn the adjustment screw clockwise. Flush and let the tank refill. The water level should stop 1 inch below the overflow tube. If it won't hold that level, the fill valve may need replacing.
How do I know if my toilet flapper is causing weak flushes?
Two tests: First, check the chain length. The chain from the flush handle arm to the flapper should have about 1/2 inch of slack. If it's too short, the flapper can't open fully, or it gets pulled closed early. Adjust the chain to the correct link. Second, check the flapper for warping or deterioration. Reach into the tank (with the water supply off and tank flushed) and press down on the closed flapper rim with your finger — it should feel pliable and seal flat. If it is stiff, cracked, or warped, replace it. A universal flapper costs under $10 and takes 10 minutes to replace.
Can a slow-flushing toilet fix itself?
No. The causes of a slow flush — mineral-clogged rim jets, low water level, or a worn flapper — do not resolve on their own. Mineral deposits accumulate over time and get worse without treatment. A misadjusted float stays misadjusted. A worn flapper continues to deteriorate. Leaving the problem creates a risk of incomplete waste removal, which can lead to odor and sanitation issues. The fixes are inexpensive and straightforward: most slow-flush problems can be resolved in under an hour with household cleaning products and a $10 flapper.
When should I replace a toilet that flushes slowly?
Replace the toilet if: it is a pre-1994 model using 3.5–7 gallons per flush (modern toilets use 1.28–1.6 GPF, which saves significant water and money), repairs have been repeated on the same toilet over several years, the porcelain is cracked or the toilet rocks on the floor indicating a wax ring failure, or the slow-flushing persists after replacing the flapper, adjusting the water level, and cleaning the rim jets. A new toilet costs $150–$600 for the unit plus installation, and a high-efficiency model will pay back the cost in water savings within a few years.
A slow-flushing toilet is almost always caused by one of three things: the water level in the tank is too low, the rim jets under the bowl rim are clogged with mineral deposits, or the flapper is closing too quickly before the full tank empties. Check the water level first — it should sit about 1 inch below the top of the overflow tube.
A slow-flushing toilet is one of the most common plumbing complaints, and the fix is usually straightforward once you identify the cause.
What causes a weak flush?
Three causes account for most slow-flush problems:
- Low water level in the tank — If the tank doesn’t hold enough water, the flush lacks the volume to create a strong siphon in the trap.
- Clogged rim jets — Small holes under the bowl rim distribute water in a swirling pattern. Mineral deposits narrow these holes over time, reducing flow.
- Flapper closing too fast — The flapper should stay open long enough for the tank to fully empty. A short chain or a stiff, warped flapper cuts the flush short.
Diagnose first
Before touching anything, spend five minutes diagnosing which cause you’re dealing with.
Dye test in the tank: Drop a dye tablet or a few drops of food coloring in the tank. Wait 15 minutes without flushing. If color appears in the bowl without flushing, the flapper is leaking and may not be sealing properly — which can also affect flush volume.
Mirror check for rim jets: Hold a small angled mirror under the bowl rim and use a flashlight. Each jet should have a clear opening. If you see white or orange mineral crust blocking jets, that’s your problem.
Mark the water level: With the tank full and the toilet not recently flushed, put a pencil mark on the inside of the tank at the water line. It should sit about 1 inch below the top of the overflow tube. If it’s lower, you have a water level problem.
Fix 1: Adjust tank water level
The water level in your tank determines how much water enters the bowl with each flush. Too low, and the flush is weak.
Ball float (older toilets): The ball float is a large ball on a metal or plastic arm. Bend the arm gently upward, or look for an adjustment screw where the arm meets the fill valve. Turning the screw raises or lowers the target water level.
Float cup (newer toilets, Fluidmaster style): The float is a cylindrical cup that slides on the fill valve shaft. Pinch the clip on the side of the cup and slide it up to raise the water level, or turn the adjustment screw on top of the fill valve clockwise to raise it.
After adjusting, flush and let the tank refill fully. The water should stop 1 inch below the top of the overflow tube. If water runs into the overflow tube, the float is set too high — adjust down.
Shop Fluidmaster 400A fill valves
Fix 2: Clean clogged rim jets
Rim jets are the small holes angled under the bowl rim. They create the swirling action that pushes waste toward the trap. Mineral buildup is the most common cause of slow or weak flushes in homes with hard water.
CLR method (mild to moderate buildup):
- Turn off the water supply valve at the wall behind the toilet.
- Flush to empty the tank.
- Pour 8–10 oz of CLR or white vinegar into the overflow tube using a small funnel. The overflow tube connects directly to the rim jets — liquid poured in here goes right to the deposits.
- Let it soak for 1–2 hours. For overnight soaking, turn the supply valve back on after pouring so the tank refills, then turn it off again.
- Restore water supply, flush 3–4 times.
- Check jets with a mirror. Use a thin wire or dental pick to clear any remaining debris while flushing.
Muriatic acid method (severe buildup):
For heavy orange or white scale that CLR doesn’t clear, diluted muriatic acid works, but requires care.
- Wear chemical-resistant gloves and eye protection.
- Ventilate the bathroom — open a window, run the fan.
- Mix 1 part muriatic acid with 10 parts water (always add acid to water, not water to acid).
- Pour the solution slowly into the overflow tube.
- Let sit 30 minutes — no longer.
- Flush repeatedly. Use a wire to dislodge softened deposits while flushing.
- Follow with a full CLR treatment to neutralize remaining acid residue.
Shop muriatic acid for toilet rim jets | Shop angled inspection mirrors
Fix 3: Fix the flapper
The flapper is the rubber seal at the bottom of the tank. It lifts when you flush and falls back to seal the tank when the water drains. If it closes too early or doesn’t seal flat, flush performance suffers.
Check the chain length: The chain connects the handle arm to the flapper. With the tank lid off, flush the toilet and watch the chain. It should go taut when the handle is pressed, lifting the flapper fully. When you release the handle, the chain should have about 1/2 inch of slack — enough that it doesn’t hold the flapper open, but not so much that it gets caught underneath the flapper. Adjust to the correct link on the chain.
Check the flapper condition: Turn off the water supply, flush to empty the tank, and press your finger around the rim of the closed flapper. It should feel soft and pliable and press flat against the seat. If it feels stiff, is cracked, or has a distorted shape, replace it.
Replace the flapper: Unhook the old flapper from the pegs on either side of the flush valve and disconnect the chain from the handle arm. Take the old flapper to the hardware store to match the size, or buy a universal flapper. Snap the new flapper onto the pegs, connect the chain with 1/2 inch of slack, turn the water back on, and test.
Shop universal toilet flappers
Fix 4: Replace the fill valve
If you’ve adjusted the float and the water level still won’t reach the 1-inch-below-overflow-tube mark, or if the fill valve runs constantly, the fill valve itself needs replacing.
A Fluidmaster 400A is the standard replacement for nearly any toilet. It costs about $12–$18 and takes under 30 minutes.
- Turn off the water supply valve.
- Flush to empty the tank.
- Sponge out remaining water from the tank.
- Disconnect the supply line from the bottom of the fill valve.
- Remove the fill valve lock nut from the outside bottom of the tank (turn counterclockwise).
- Lift the old fill valve out.
- Set the new fill valve to the correct height (per instructions), insert through the tank hole, tighten the lock nut, reconnect the supply line.
- Turn water back on. Adjust the water level to 1 inch below the overflow tube.
Shop Fluidmaster 400A fill valves
When to replace the toilet
Consider replacing the toilet rather than repairing it if:
- It is a pre-1994 model (3.5–7 GPF). A modern 1.28 GPF toilet pays for itself in water savings in a few years.
- The slow flushing continues after you’ve replaced the flapper, adjusted the water level, and cleared the rim jets.
- There is cracking in the porcelain, or the toilet rocks on the floor (failed wax ring combined with a damaged floor flange).
- You’ve made the same repairs more than twice in two years.
A toilet auger can rule out a partial clog deep in the trap before you replace anything.
Related guides
- How to Fix a Toilet That Flushes Slowly
- How to Fix a Running Toilet
- How to Fix a Clogged Toilet
- Check for a partial clog first
A slow flush is often a partial clog in the trap or drain, not a tank problem. Pour a bucket of water (about 1.5 gallons) directly into the bowl quickly — if this produces a full flush, the tank is the problem. If a bucket-flush is also weak: the clog is in the drain. Use a toilet plunger (flange-type, not cup-type) with 10–15 firm plunges to clear a partial clog. A toilet auger (closet snake) reaches further if plunging doesn't help.
- Check the water level in the tank
Lift the tank lid. The water level should be 1 inch below the top of the overflow tube (the tall standpipe). If the level is lower: the flush is weak because there is not enough water. Adjust the fill valve float to raise the water level — for a Fluidmaster-style valve, turn the adjustment screw clockwise or slide the float up the shaft. After adjustment, flush and confirm the tank refills to the correct level.
- Clean clogged rim jets
Rim jets are the small holes under the rim of the toilet bowl that direct water into the bowl during a flush. Hard water mineral deposits block these holes over time, reducing flush volume and swirl. Check each jet by holding a mirror under the rim — you should see clear openings. For clogged jets: turn off the water supply, flush to empty the tank, pour white vinegar into the overflow tube in the tank (about 1 quart) and let it sit for 2–4 hours to dissolve deposits. Use a bent wire or toothpick to clear individual jet openings.
- Replace a worn flapper
A flapper that closes too quickly cuts off the water before the bowl fully clears. Test: open the tank and flush while holding the flapper open manually — if the flush is strong with the flapper held open, the flapper is closing prematurely. Replace the flapper with a matching replacement (check flush valve size: 2-inch or 3-inch). After replacing, adjust the flapper chain length — leave 1/2 inch of slack. Too little slack causes the flapper to stay open (running toilet); too much causes early closure (weak flush).
- Replace the fill valve for low water volume
If the water level is correct but the flush volume feels low even with clean rim jets and a good flapper: the fill valve may be failing to deliver the full tank volume per cycle. Replace the fill valve with a universal fill valve (Fluidmaster 400A, $8–$12). Shut off the supply valve, flush, disconnect the supply line, unscrew the fill valve lock nut from below the tank, and pull out the old valve. Insert the new valve, lock it, reconnect the supply, and adjust the float to the correct water level.
Free: 10-Point Home Maintenance Checklist
Prevent costly repairs with this seasonal checklist. Save hundreds every year by catching problems early.
Your checklist is ready!
Open Checklist →Something went wrong. View the checklist here.