How to Fix a Sagging Kitchen Cabinet Shelf
Repair or reinforce a bowing or sagging kitchen cabinet shelf using stronger shelf pins, a center support, or a replacement shelf made from a stiffer material.
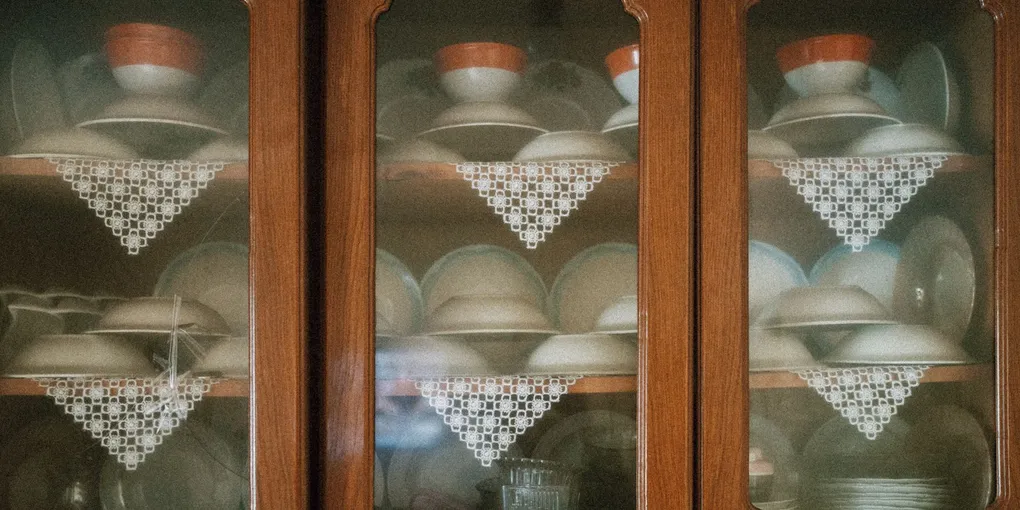
A sagging kitchen cabinet shelf is a common problem in homes with builder-grade cabinets, and it almost always comes down to the same cause: a particleboard shelf spanning too far under too much weight. The fix ranges from a five-dollar shelf support pin to a twenty-dollar replacement shelf cut from plywood.
A sagging kitchen cabinet shelf is a common problem in homes with builder-grade cabinets, and it almost always comes down to the same cause: a particleboard shelf spanning too far under too much weight. The fix ranges from a five-dollar shelf support pin to a twenty-dollar replacement shelf cut from plywood. Either way, it is a straightforward repair that takes less than an hour.
Tools and Materials You Will Need
- Tape measure and pencil
- Circular saw or jigsaw (for cutting a replacement shelf)
- Straightedge or clamped guide
- Iron-on edge banding
- Household iron
- Edge banding trimmer or sharp utility knife
- Cabinet shelf pins (5mm or 1/4-inch)
- Shelf support bracket or center support
- 3/4-inch plywood (for a replacement shelf)
- Sandpaper (120-grit)
Step 1: Remove Everything from the Shelf and Assess It
Empty the shelf completely. Note how much it sags at the center: less than 1/4 inch of deflection under load suggests a support fix will work. More than 1/2 inch of permanent sag, or any softness when pressed, indicates the shelf material has failed and replacement is the better option.
Check the shelf pins. Standard cabinet shelf pins are 5mm or 1/4-inch diameter metal or plastic pegs that fit into holes drilled in the cabinet side panels. Remove the shelf and check whether the pin holes are stripped or enlarged — enlarged holes cause the pins to tilt, which allows the shelf to slope and eventually sag.
Step 2: Fix Stripped Shelf Pin Holes (If Present)
If the shelf pin holes are enlarged and the pins fall out or tip, fill the holes with a wooden toothpick and wood glue. Break the toothpick flush with the cabinet surface once the glue sets. This builds the hole back to the correct diameter and gives the pin a solid wood surface to grip. Alternatively, drill new shelf pin holes one inch above or below the existing holes using a shelf pin jig to keep the holes level and properly spaced.
Step 3: Add a Center Support (For Minor Sag)
The simplest fix for a sagging shelf is a center support that gives the shelf a third contact point at midspan. Two styles are available:
Shelf support clip: A metal L-bracket that mounts to the back wall of the cabinet interior and supports the underside of the shelf at center. Attach the back half of the bracket to the cabinet back panel with a short screw, set the shelf in place, and snap or screw the front half of the bracket under the shelf. The support lifts the sag and prevents it from returning.
Adjustable center pin: A center pilaster or support track mounted vertically on the back wall at the shelf midpoint. A single shelf pin set into the track supports the shelf center, eliminating the unsupported span.
Test the shelf under a normal load after adding the support. If it no longer deflects, you are done.
Step 4: Replace the Shelf with Plywood (For Severe Sag)
Measure the interior width and depth of the cabinet opening. Subtract 1/8 inch from the width to allow easy sliding, and check the depth — some cabinets have a back rail that reduces the usable depth.
Cut a replacement shelf from 3/4-inch sanded plywood using a circular saw guided by a clamped straightedge. Sand the cut edges smooth with 120-grit sandpaper.
Apply iron-on edge banding to the front edge of the shelf: cut a strip slightly longer than the shelf width, place it adhesive-side-down on the front edge, and run a household iron over it on a medium-dry setting. The heat activates the hot-melt adhesive. Press firmly with a block of wood to ensure full contact. Allow to cool, then trim the overhanging edges with an edge banding trimmer or a sharp utility knife held at a low angle. Sand lightly to remove any sharp corners.
If the cabinet interior is white, prime and paint the shelf face to match, or apply white contact paper to the plywood surface. White melamine-coated plywood panels eliminate this step and are available at most home improvement stores already finished.
Step 5: Install the New Shelf
Set the shelf pins in the desired height holes — ensure all four pins are at exactly the same height by checking with a tape measure from the cabinet bottom. Set the plywood shelf onto the pins. Verify it sits level and does not rock. Install any additional center support if the span exceeds 24 inches.
Load the shelf progressively. Start with a half-load and check for any flex after twenty-four hours. A properly cut plywood shelf spanning 24 inches with four pins will show virtually no deflection under normal kitchen cabinet loads.
Preventing Future Sag
Distribute heavy items such as canned goods and small appliances across multiple shelves rather than stacking everything on one shelf. Store the heaviest items on the lowest cabinet shelves, where the span is usually shorter and the cabinet base provides additional support. Inspect shelves annually for early signs of moisture damage — a small water stain or soft spot addressed early prevents the full sag cycle from beginning again.
A kitchen cabinet shelf replacement is one of the easiest cabinet repairs available, and upgrading from particleboard to plywood makes the repair essentially permanent.
- Remove Everything from the Shelf and Assess It
Empty the shelf completely. Note how much it sags at the center: less than 1/4 inch of deflection under load suggests a support fix will work.
- Fix Stripped Shelf Pin Holes (If Present)
If the shelf pin holes are enlarged and the pins fall out or tip, fill the holes with a wooden toothpick and wood glue. Break the toothpick flush with the cabinet surface once the glue sets.
- Add a Center Support (For Minor Sag)
The simplest fix for a sagging shelf is a center support that gives the shelf a third contact point at midspan. Two styles are available:
- Replace the Shelf with Plywood (For Severe Sag)
Measure the interior width and depth of the cabinet opening. Subtract 1/8 inch from the width to allow easy sliding, and check the depth — some cabinets have a back rail that reduces the usable depth.
- Install the New Shelf
Set the shelf pins in the desired height holes — ensure all four pins are at exactly the same height by checking with a tape measure from the cabinet bottom. Set the plywood shelf onto the pins. Verify it sits level and does not rock.
Free: 10-Point Home Maintenance Checklist
Prevent costly repairs with this seasonal checklist. Save hundreds every year by catching problems early.
Your checklist is ready!
Open Checklist →Something went wrong. View the checklist here.