How to Fix a Sagging Deck Board
Learn how to diagnose, re-fasten, and replace warped, cupped, or sagging deck boards to restore a flat, safe deck surface.
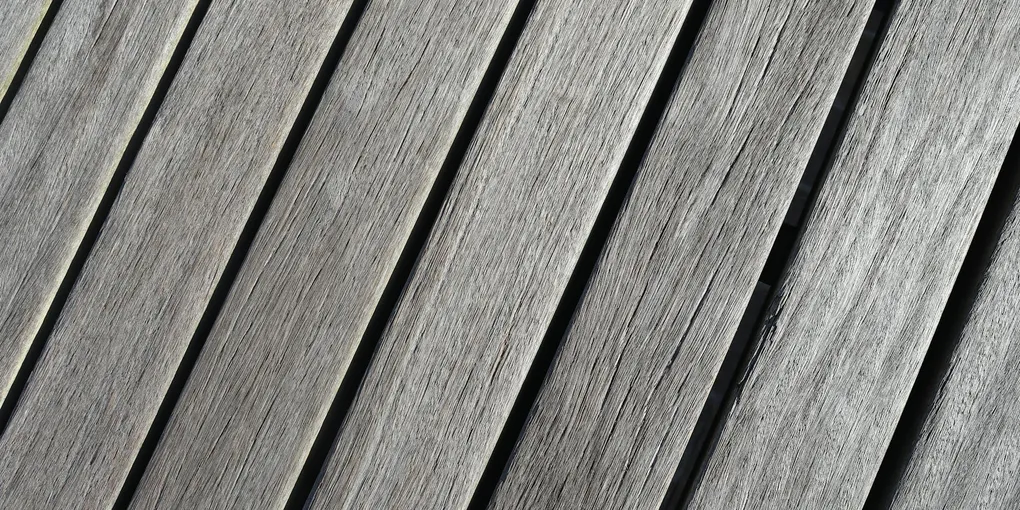
A deck board that sags, cups, or bounces underfoot is a safety issue as much as a cosmetic one. Whether the problem is a loose fastener, moisture-driven warping, or genuine rot, catching it early keeps the repair simple and inexpensive.
A deck board that sags, cups, or bounces underfoot is a safety issue as much as a cosmetic one. Whether the problem is a loose fastener, moisture-driven warping, or genuine rot, catching it early keeps the repair simple and inexpensive. Left alone, a single bad board can mask damage to the joist below — and joist repairs cost many times more than a deck board swap.
This guide covers diagnosing the root cause, re-fastening loose boards, flipping cupped boards, and replacing boards that have gone too far to save.
What You Need
- Exterior deck screws (stainless steel or hot-dipped galvanized) — for re-fastening and replacement
- Replacement decking board (pressure-treated or matching species) — for boards that need replacement
- Wood rot consolidant and filler epoxy — for surface rot that has not gone all the way through
- Drill/driver
- Pry bar and hammer
- Circular saw or jigsaw
- Speed square
- Exterior wood sealer or stain
- Safety glasses and work gloves
Step 1 — Diagnose the Problem
Walk the deck slowly, pressing down with your foot at each board. A sagging or soft spot means one of three things:
Loose fasteners: The board feels solid but has a visible gap or lip between itself and its neighbor. The screws or nails have loosened over time. This is the easiest fix.
Warped or cupped board: The board has curved across its width (cupping) or along its length (bowing). You can see the gap at the edges or center when you sight down it. The board may be salvageable.
Rotted board or joist: The board feels soft and spongy when pressed. A screwdriver pressed into the wood sinks in easily. If the rot is in the board only, replacement is needed. If it goes into the joist, you have a bigger repair on your hands.
Check under the deck too. Inspect the joist beneath any problem board for signs of rot, sagging, or insect galleries.
Step 2 — Re-Fasten a Loose Board
If the board is otherwise solid and flat, re-fastening is all that is needed.
- Identify the joist locations — they run perpendicular to the deck boards and are typically spaced 16 inches apart. Probe with a nail if you cannot see them.
- Pre-drill pilot holes through the deck board and into the joist to prevent splitting.
- Drive new deck screws at a slight angle (toe-screw) for extra holding power. Use screws 3 to 3.5 inches long to penetrate the joist by at least 1.5 inches.
- If old nails are present, leave them in place — pulling them can split an older board. Drive new screws alongside the old nails.
- Set the screw heads just below the surface (countersink) so they do not create a trip hazard.
Step 3 — Flatten a Cupped or Warped Board
Mild to moderate cupping (less than 1/4 inch across the board width) can often be corrected without replacement.
Method A — Flip the board: Remove the board by backing out its fasteners. Flip it over so the crowned (high) side now faces down toward the joist. Re-fasten with new screws through both the edges and the center. The board will flatten under pressure as it acclimates. Sand or plane any sharp edges.
Method B — Wet and dry: For a board that cannot be easily removed, wet the high face thoroughly with water and let it dry in direct sunlight. The differential drying causes the wood to flatten. This only works for mild cupping and needs to be followed by sealing to slow re-cupping.
After flattening, apply exterior wood sealer to all exposed surfaces to lock out moisture and slow future movement.
Step 4 — Repair Surface Rot
If the rot is confined to the surface of the board — no more than 1/3 of the board’s depth — it can sometimes be stabilized and filled rather than replaced.
- Chisel out all soft, spongy wood until you reach solid material.
- Apply a liquid wood consolidant (such as an epoxy consolidant) to harden the remaining soft fibers. Let it cure per label directions.
- Mix epoxy wood filler and pack it firmly into the void, slightly overfilling.
- Allow to cure fully (usually overnight), then sand flush with the surrounding surface.
- Prime and paint or apply a penetrating sealer to protect the repair.
This repair works on decorative surface rot. If a screwdriver penetrates more than halfway through the board, replace the board entirely.
Step 5 — Replace a Damaged Board
For boards with deep rot, through-cracks, or severe warping that cannot be corrected by flipping, full replacement is necessary.
- Use a pry bar to carefully lever the board up from the joists. Protect adjacent boards with a scrap piece of wood under the pry bar.
- Remove any remaining fasteners from the joists.
- Measure the board length and transfer the measurement to your replacement lumber. Mark and cut with a circular saw.
- If any joist below shows rot, address it now before installing new decking on top of it.
- Set the new board in place, leaving 1/8 inch gap between it and neighboring boards for drainage and expansion.
- Pre-drill and fasten with new deck screws at each joist crossing.
- Countersink the screw heads just below the surface.
New boards will look lighter than weathered surrounding boards for the first season. Apply a matching exterior stain or UV-blocking wood finish to blend the repair visually.
Step 6 — Seal and Protect
Once repairs are complete, apply an exterior wood sealer or penetrating stain to all repaired surfaces. This is the most effective way to prevent sagging boards from recurring.
Seal the full deck surface every 2 to 3 years. Clean the deck with a deck cleaner or power washer, allow to dry for 48 hours, then roll or brush on the sealer. Pay extra attention to end grain on cut boards — end grain absorbs water 10 to 15 times faster than face grain and is where rot almost always starts.
Long-Term Maintenance
- Inspect your deck boards every spring, before the heavy use season.
- Clear debris from the gaps between boards — trapped organic matter holds moisture against the wood.
- Trim vegetation growing against or under the deck, which keeps the wood wet.
- Check all joist hangers and ledger board connections annually for rust or loosening.
Related Reading
- How to Build a Deck from Scratch
- How to Clean and Seal a Wood Deck
- Spring Home Maintenance Checklist
- Step 1 — Diagnose the Problem
Walk the deck slowly, pressing down with your foot at each board. A sagging or soft spot means one of three things:
- Step 2 — Re-Fasten a Loose Board
If the board is otherwise solid and flat, re-fastening is all that is needed.
- Step 3 — Flatten a Cupped or Warped Board
Mild to moderate cupping (less than 1/4 inch across the board width) can often be corrected without replacement.
- Step 4 — Repair Surface Rot
If the rot is confined to the surface of the board — no more than 1/3 of the board's depth — it can sometimes be stabilized and filled rather than replaced.
- Step 5 — Replace a Damaged Board
For boards with deep rot, through-cracks, or severe warping that cannot be corrected by flipping, full replacement is necessary.
- Step 6 — Seal and Protect
Once repairs are complete, apply an exterior wood sealer or penetrating stain to all repaired surfaces. This is the most effective way to prevent sagging boards from recurring.
Free: 10-Point Home Maintenance Checklist
Prevent costly repairs with this seasonal checklist. Save hundreds every year by catching problems early.
Your checklist is ready!
Open Checklist →Something went wrong. View the checklist here.