How to Fix a Running Toilet Fill Valve
Learn how to diagnose and replace a faulty toilet fill valve to stop a constantly running toilet and save water with this straightforward DIY repair.
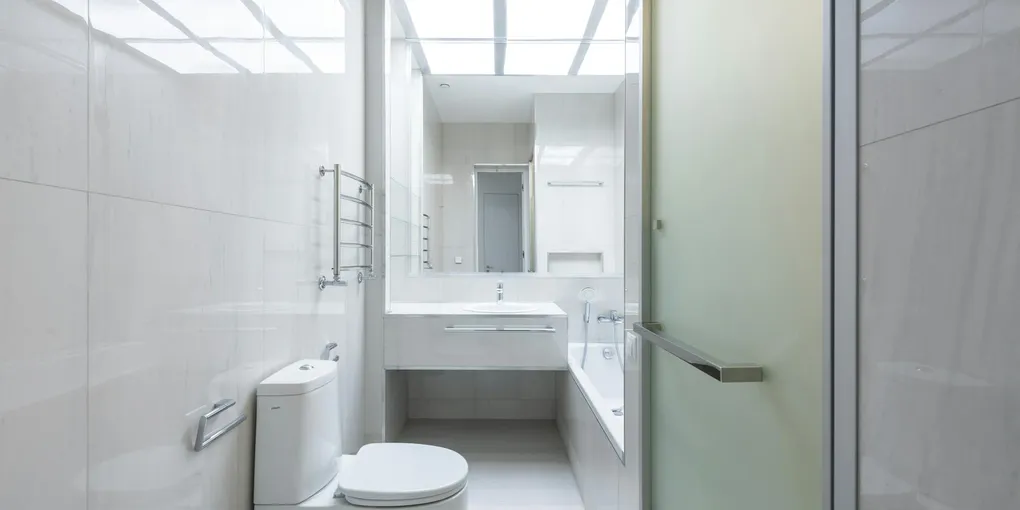
A running toilet is one of the most wasteful plumbing problems in a home, and the fill valve is a top suspect when the tank never seems to fully quiet down. Replacing a fill valve is one of the easiest plumbing repairs you can do — no soldering, no special licenses, and no expensive tools.
A running toilet is one of the most wasteful plumbing problems in a home, and the fill valve is a top suspect when the tank never seems to fully quiet down. Replacing a fill valve is one of the easiest plumbing repairs you can do — no soldering, no special licenses, and no expensive tools. Budget about 30 to 45 minutes and you will have a silent, efficiently filling toilet.
How a Toilet Fill Valve Works
The fill valve sits inside the left side of the tank. When you flush, the flapper opens and water rushes from the tank into the bowl. As the tank empties, the float drops with the water level and opens the fill valve. Water then refills the tank until the float rises to the set level and shuts the valve off. When the valve fails, it either does not fully close — causing continuous running — or it becomes sluggish, leading to long refill times.
Tools and Materials
- Adjustable wrench or channel-lock pliers
- Sponge or small cup
- Bucket or towels
- Universal fill valve replacement kit
- Measuring tape (to check tank height)
A universal toilet fill valve such as the Fluidmaster 400A fits most standard toilets and adjusts from 9 to 14 inches in height.
Step 1: Turn Off the Water and Empty the Tank
Locate the shut-off valve on the supply line behind the toilet and turn it clockwise until it stops. Flush the toilet to drain the tank. Use a sponge and small cup to remove any remaining water from the tank bottom — working in a dry tank is much easier.
Step 2: Disconnect the Water Supply Line
Unscrew the supply line nut from the bottom of the fill valve tailpiece (the threaded post protruding from the bottom of the tank). Have a towel ready for the small amount of water that will drip out.
Step 3: Remove the Old Fill Valve
Reach inside the tank and hold the fill valve body to keep it from spinning. Under the tank, unscrew the large plastic locknut that holds the fill valve in place — counterclockwise to loosen. Once the nut is off, lift the old fill valve straight up and out of the tank. Note the water level mark on the overflow tube — you will use this as your reference.
Step 4: Set the Height on the New Fill Valve
Before installing, adjust the new fill valve to the correct height. Most universal valves extend by twisting the top section. Set the valve so the critical level (CL) mark on the valve body is at least one inch above the top of the overflow tube. This ensures the tank fills to the right level without spilling.
Step 5: Install the New Fill Valve
Insert the new valve through the hole in the tank bottom. The rubber gasket on the tailpiece seals against the inside of the tank — press it down firmly and make sure it seats flat. From underneath, hand-tighten the locknut, then give it an additional quarter turn with the pliers. Do not overtighten — you will crack the tank.
Reconnect the water supply line to the tailpiece and hand-tighten, followed by a firm snug turn with a wrench.
Step 6: Connect the Refill Tube
Clip the small flexible refill tube from the new valve to the top of the overflow tube (not inserted inside it — resting at or just above the opening). This tube sends a small amount of water into the bowl during each fill cycle to reseal the trap. A toilet repair kit often includes a new refill tube clip and flapper in case yours also needs replacement.
Step 7: Turn the Water On and Test
Open the shut-off valve slowly and watch the tank fill. Observe the water level — it should stop filling about one inch below the top of the overflow tube. If it runs past that level, adjust the float height on the new valve per the manufacturer’s instructions (usually a simple adjustment screw on the top of the valve).
Flush the toilet two or three times and confirm the tank fills fully, stops cleanly, and stays quiet afterward.
When the Fill Valve Is Not the Problem
If you replaced the fill valve and water still runs, check the flapper next. Drop food coloring into the tank without flushing — if color appears in the bowl within five minutes without flushing, the flapper has a bad seal and needs replacement.
- Turn Off the Water and Empty the Tank
Locate the shut-off valve on the supply line behind the toilet and turn it clockwise until it stops. Flush the toilet to drain the tank.
- Disconnect the Water Supply Line
Unscrew the supply line nut from the bottom of the fill valve tailpiece (the threaded post protruding from the bottom of the tank). Have a towel ready for the small amount of water that will drip out.
- Remove the Old Fill Valve
Reach inside the tank and hold the fill valve body to keep it from spinning. Under the tank, unscrew the large plastic locknut that holds the fill valve in place — counterclockwise to loosen.
- Set the Height on the New Fill Valve
Before installing, adjust the new fill valve to the correct height. Most universal valves extend by twisting the top section. Set the valve so the critical level (CL) mark on the valve body is at least one inch above the top of the overflow tube.
- Install the New Fill Valve
Insert the new valve through the hole in the tank bottom. The rubber gasket on the tailpiece seals against the inside of the tank — press it down firmly and make sure it seats flat.
- Connect the Refill Tube
Clip the small flexible refill tube from the new valve to the top of the overflow tube (not inserted inside it — resting at or just above the opening). This tube sends a small amount of water into the bowl during each fill cycle to reseal the trap.
Free: 10-Point Home Maintenance Checklist
Prevent costly repairs with this seasonal checklist. Save hundreds every year by catching problems early.
Your checklist is ready!
Open Checklist →Something went wrong. View the checklist here.