How to Fix a Rotted Porch Floorboard
Learn how to identify, remove, and replace rotted porch floorboards safely so your porch looks great and stays structurally sound for years.
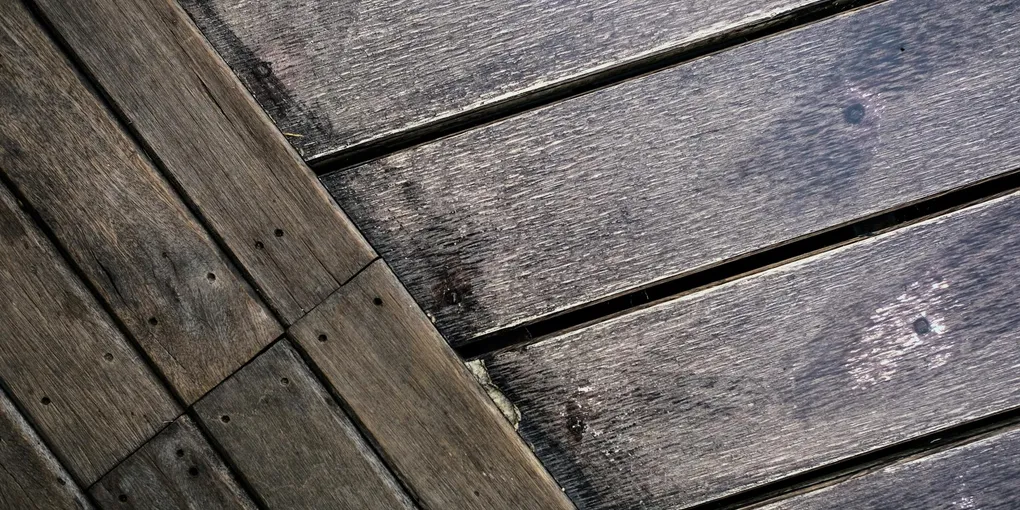
A rotted porch floorboard is more than an eyesore — it is a safety hazard that can give way underfoot without warning. The good news is that replacing one or several boards is a straightforward repair that most homeowners can complete in a single day.
A rotted porch floorboard is more than an eyesore — it is a safety hazard that can give way underfoot without warning. The good news is that replacing one or several boards is a straightforward repair that most homeowners can complete in a single day. You do not need to replace the entire porch, just the damaged sections.
What You Will Need
- Safety glasses and work gloves
- Pry bar or flat bar
- Hammer
- Circular saw or reciprocating saw
- Drill and bits
- Tape measure
- Carpenter square
- Screwdriver or impact driver
- Replacement porch boards (pressure-treated pine, cedar, or composite) — WeatherShield Pressure-Treated Lumber on Amazon
- Exterior wood screws (2-1/2 inch to 3 inch) — GRK R4 Exterior Screws on Amazon
- Wood end-grain sealer
- Exterior wood stain or paint (to match existing porch)
- Putty knife
- Epoxy wood filler (for minor surface rot on adjacent boards)
Step 1: Assess the Full Extent of the Damage
Before pulling anything apart, probe every board in the affected area with a flathead screwdriver. Rot spreads through moisture, so boards adjacent to a visibly bad board are often compromised as well. Mark every board that feels soft or punky — you want to remove everything that is structurally compromised in one pass.
Also inspect the joists beneath the rotted boards. Push the screwdriver into any exposed joist wood you can reach through gaps. If a joist is soft, you will need to sister a new joist alongside the damaged one before relaying boards.
Step 2: Remove the Rotted Boards
Work methodically from the most damaged board outward.
- If the boards are nailed, use a pry bar and hammer to lift the boards. Work near the nails to avoid splitting sound wood.
- If the boards are screwed, back out the screws with a drill or impact driver. Use a screw extractor bit if any screw heads are stripped.
- For boards that are difficult to remove intact, make two cuts across the board with a circular saw set to the exact board depth. This splits the board into sections you can pry up in pieces. Set the blade depth carefully — you do not want to cut into the joist below.
- Use a reciprocating saw to cut through any rusted nails that are holding stubborn boards to the joists.
Step 3: Inspect and Treat the Joists
Once the bad boards are removed, examine all the joists beneath.
- Sound joists: Brush off any debris and apply a wood preservative such as copper naphthenate to protect against future rot. Allow it to dry fully before laying new boards.
- Partially rotted joists: Sistering is the best fix. Cut a new pressure-treated joist the same length and screw or bolt it tightly alongside the damaged one using construction screws or carriage bolts. This restores full load-bearing capacity.
- Fully rotted joists: These must be replaced entirely. This is a larger structural repair, but the process is the same — remove the old joist, install a new one, and secure it to the beam or ledger at each end.
Step 4: Cut Replacement Boards to Length
Measure the opening carefully. Allow a 1/8-inch gap between boards for drainage and expansion — porch boards swell in humid weather and need room to move.
- Measure the length and width of the opening.
- Cut replacement boards to length with a circular saw. Use a carpenter square to ensure square cuts.
- If using pressure-treated lumber, coat all end cuts immediately with end-grain sealer. End grain absorbs moisture far faster than face grain and is the primary entry point for rot.
Step 5: Install the New Boards
- Position the first replacement board in the opening. Check that it sits flush with the surrounding boards and that the spacing gap is consistent.
- Drill pilot holes through the board and into the joist below to prevent splitting. This step is especially important near board ends.
- Drive exterior screws at each joist location. Two screws per joist crossing is standard — one near each edge of the board.
- Continue installing boards until the opening is filled. Use a scrap of 1/8-inch plywood or a nail as a spacer to maintain consistent gaps between boards.
Step 6: Sand and Finish the New Boards
New boards will stand out against weathered existing boards until they are finished to match.
- Sand the new boards lightly with 80-grit sandpaper to open the grain and help finish absorption.
- Apply a wood stain or exterior paint that matches the existing porch finish. You may need to apply two coats to new wood.
- Feather the finish slightly onto adjacent boards to blend the repair visually.
- For pressure-treated lumber, check the product label — some types need to dry for 30 to 90 days before they accept stain or paint. If so, apply end-grain sealer now and plan to paint or stain later.
Step 7: Address the Root Cause
New boards will rot again if the underlying moisture problem is not corrected.
- Clean your gutters so they do not overflow onto the porch surface.
- Trim any plants or shrubs touching the porch. Vegetation holds moisture against wood.
- Check the slope of the porch floor. It should pitch away from the house at about 1/8 inch per foot to shed water. If boards are level or sloping toward the house, water will pool and rot will return.
- Apply a penetrating wood sealant to the entire porch floor every two to three years to lock out moisture.
When to Call a Professional
If more than one-third of the porch floor is rotted, or if multiple joists are compromised, the scope of the repair starts to approach a full porch reconstruction. A licensed contractor can assess whether targeted repairs are still cost-effective or whether a full rebuild makes more sense structurally and economically.
Catching porch rot early and replacing individual boards yourself is one of the best value-for-money exterior repairs a homeowner can make — keeping both curb appeal and home safety where they belong.
- Assess the Full Extent of the Damage
Before pulling anything apart, probe every board in the affected area with a flathead screwdriver. Rot spreads through moisture, so boards adjacent to a visibly bad board are often compromised as well.
- Remove the Rotted Boards
Work methodically from the most damaged board outward.
- Inspect and Treat the Joists
Once the bad boards are removed, examine all the joists beneath.
- Cut Replacement Boards to Length
Measure the opening carefully. Allow a 1/8-inch gap between boards for drainage and expansion — porch boards swell in humid weather and need room to move.
- Install the New Boards
Position the first replacement board in the opening. Check that it sits flush with the surrounding boards and that the spacing gap is consistent.
- Sand and Finish the New Boards
New boards will stand out against weathered existing boards until they are finished to match.
Free: 10-Point Home Maintenance Checklist
Prevent costly repairs with this seasonal checklist. Save hundreds every year by catching problems early.
Your checklist is ready!
Open Checklist →Something went wrong. View the checklist here.