How to Fix a Rotted Deck Ledger Board
Learn how to safely repair or replace a rotted deck ledger board to restore structural integrity and prevent your deck from pulling away from the house.
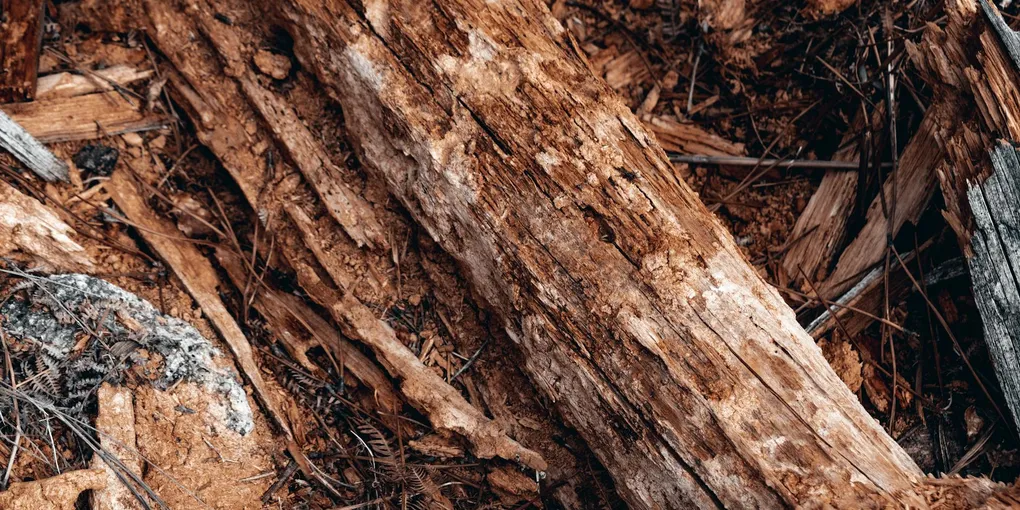
The deck ledger board is the horizontal piece of lumber fastened directly to your house rim joist or band board. It anchors one end of every deck joist and transfers the entire live load of the deck — furniture, people, snow — into the structure of your home.
The deck ledger board is the horizontal piece of lumber fastened directly to your house rim joist or band board. It anchors one end of every deck joist and transfers the entire live load of the deck — furniture, people, snow — into the structure of your home. When this board rots, the deck is at risk of separating from the house. Fixing or replacing a rotted ledger is a demanding but very achievable DIY project if you plan it carefully.
What You Will Need
- Reciprocating saw with demolition blade
- Circular saw
- Drill/driver with bits
- Pry bar and hammer
- Ladder and temporary deck shoring supports
- 2x10 or 2x12 pressure-treated lumber (UC4B or UC4C rated)
- Structural ledger screws or through-bolts
- Joist hangers compatible with PT lumber
- Z-flashing or deck ledger tape
- Self-adhesive waterproof membrane (housewrap tape or sill seal)
- Exterior wood filler (for partial repairs)
- Safety glasses, gloves, and hearing protection
Step 1: Assess the Extent of Rot
Before doing anything, probe the ledger thoroughly with a screwdriver. Work across the full length of the board and focus on:
- Areas directly behind deck boards (water traps here)
- The top edge of the ledger where water pools
- Both ends where the board meets the rim joist or house corner
Mark any spot where the screwdriver sinks more than a quarter inch. If rot is isolated to a section less than 24 inches long, a partial repair may be acceptable. If rot is widespread or centered near fastener locations, plan for full replacement.
Step 2: Shore Up the Deck
Never remove fasteners between the deck joists and the ledger until the outer end of the deck is supported. Set a temporary beam and post under the outermost joist bay, or rent adjustable shoring jacks from a tool rental store. The deck needs to stay level and supported throughout the work.
Step 3: Remove Deck Boards Over the Ledger Area
Use a pry bar to remove the two or three deck boards nearest the house. This gives you clear access to the joist-to-ledger connections and lets you see the full face of the ledger from above.
Step 4: Disconnect the Joists from the Ledger
Remove the joist hanger nails or screws attaching each joist to the ledger. A drill/driver with a screw extractor bit makes quick work of screws. For nails, use a cat’s paw to pop them loose. Slide each joist free of its hanger and rest it on the temporary support.
Step 5: Remove the Rotted Ledger
Locate and remove every through-bolt or structural screw holding the ledger to the house frame. These are typically every 16 inches in a staggered pattern. Use a reciprocating saw to cut through any fasteners that are too corroded to back out. Pry the old ledger away from the house and dispose of it — do not reuse rotted wood anywhere in the project.
Step 6: Inspect and Repair the House Rim Joist
With the ledger gone, inspect the house rim joist (band board) behind it. If rot has spread into the rim joist, you need to repair this area before installing the new ledger. For surface damage, apply a two-part epoxy wood consolidant followed by epoxy filler — LiquidWood and WoodEpox are popular options. For deep structural rot in the rim joist, consult a structural engineer before proceeding.
Step 7: Install Flashing and Waterproof Membrane
This is the most important step for preventing future rot. Cut Z-flashing to the full length of the ledger location and slide the top edge up behind the siding above the ledger line. The lower leg of the Z will cover the top face of the new ledger and direct water outward.
Apply self-adhesive waterproof flashing tape (deck ledger tape) to the face of the rim joist where the ledger will sit. Overlap seams by at least 4 inches and seal the top edge under the Z-flashing. This membrane is the primary barrier between the ledger and the house structure.
Step 8: Cut and Install the New Ledger
Cut pressure-treated lumber to the same dimensions as the original ledger. Pre-drill bolt holes in the new board at the same spacing used in your original installation — typically 16 inches on center, staggered vertically.
Hold the new ledger in position against the rim joist (over the membrane) and transfer the bolt hole locations to the rim joist using a long bit. Drill through the rim joist, insert your through-bolts or LedgerLOK structural screws, and tighten securely. Do not overtighten to the point of crushing the wood fibers.
Step 9: Rehang the Joists
Slide each joist back into a new joist hanger — do not reuse the old hangers, as they are likely corroded. Use hardware rated for pressure-treated lumber (hot-dipped galvanized or stainless steel). Drive every nail or screw specified by the hanger manufacturer — skipping fasteners undermines the load rating.
Step 10: Reinstall Deck Boards and Inspect
Reinstall the deck boards you removed, using hidden deck fasteners or stainless steel screws. Once complete, remove your temporary shoring supports and inspect the deck from underneath. Every joist should be level, all hangers fully fastened, and the ledger flush against the house with no gaps.
Step 11: Caulk and Finish Flashing
Apply a bead of polyurethane caulk along the top of the ledger where it meets the Z-flashing. Do not caulk the bottom edge — leave a gap so any water that does get behind the flashing can escape rather than being trapped.
Preventing Future Rot
- Keep leaves and debris off the ledger area — moisture retention is the primary cause of rot.
- Maintain a small gap (1/8 inch) between deck boards and the house siding for airflow.
- Inspect flashing annually — lift a deck board near the house every spring and check that flashing is intact and undisturbed.
- Apply end-cut preservative to any cut ends of pressure-treated lumber before installation.
A properly flashed and installed ledger board should last 25 to 40 years with basic maintenance. Take the extra time on the waterproofing steps and you will not need to do this repair again.
- Assess the Extent of Rot
Before doing anything, probe the ledger thoroughly with a screwdriver. Work across the full length of the board and focus on:
- Shore Up the Deck
Never remove fasteners between the deck joists and the ledger until the outer end of the deck is supported. Set a temporary beam and post under the outermost joist bay, or rent adjustable shoring jacks from a tool rental store.
- Remove Deck Boards Over the Ledger Area
Use a pry bar to remove the two or three deck boards nearest the house. This gives you clear access to the joist-to-ledger connections and lets you see the full face of the ledger from above.
- Disconnect the Joists from the Ledger
Remove the joist hanger nails or screws attaching each joist to the ledger. A drill/driver with a screw extractor bit makes quick work of screws. For nails, use a cat's paw to pop them loose.
- Remove the Rotted Ledger
Locate and remove every through-bolt or structural screw holding the ledger to the house frame. These are typically every 16 inches in a staggered pattern. Use a reciprocating saw to cut through any fasteners that are too corroded to back out.
- Inspect and Repair the House Rim Joist
With the ledger gone, inspect the house rim joist (band board) behind it. If rot has spread into the rim joist, you need to repair this area before installing the new ledger.
Free: 10-Point Home Maintenance Checklist
Prevent costly repairs with this seasonal checklist. Save hundreds every year by catching problems early.
Your checklist is ready!
Open Checklist →Something went wrong. View the checklist here.