How to Fix a Refrigerator Door Seal: Testing, Cleaning, and Replacing the Gasket
Test and fix a refrigerator door seal that is letting cold air escape — cleaning a sticky gasket, realigning the door, and replacing a worn gasket to save energy.
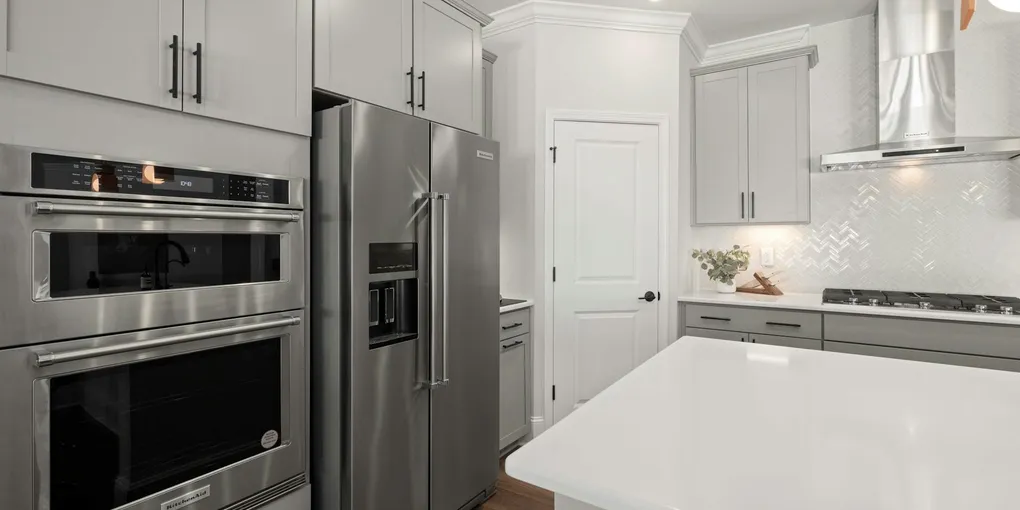
A failing refrigerator door seal raises energy bills 10–25% and makes the compressor work overtime.
A failing refrigerator door seal raises energy bills 10–25% and makes the compressor work overtime. Most seals can be fixed with cleaning or reshaping before replacement is needed.
What you need
- Refrigerator door gasket universal replacement ($20–$100, order by model number for best fit)
- Petroleum jelly ($3–$8, conditions rubber and improves the seal after cleaning)
- Hair dryer ($15–$30, used to soften and reshape a warped gasket)
- Refrigerator gasket adhesive ($8–$15, for gaskets that have partially pulled away from the channel)
- Dollar bill (already in your wallet, the fastest diagnostic tool)
- Brand-specific refrigerator gasket ($30–$80, Frigidaire and Whirlpool are the most widely stocked)
The dollar bill test
Before doing any work, confirm where and how badly the seal is failing.
- Close the refrigerator door on a dollar bill — slide the bill between the door and the frame and close the door normally.
- Grasp the bill and pull it out slowly. You should feel distinct friction as the gasket holds the bill in place.
- If the bill slides out with almost no resistance, the seal is not making proper contact at that location.
- Repeat this test at 8–10 locations around the entire door perimeter: top, bottom, both sides, and all four corners.
Note which areas fail the test. Corners that fail often indicate a warped or cracked gasket. A side that fails uniformly often indicates a misaligned door. A single spot that fails may just be a dirty gasket at that location.
Clean the existing gasket
Cleaning is the fastest fix and works in many cases where the gasket is physically intact but dirty.
- Mix 1 tablespoon of baking soda into 1 quart of warm water.
- Dip an old toothbrush into the solution and scrub the entire gasket, including all the folds. Mold, spilled food, and hardened residue in the folds prevent the gasket from making full contact.
- Rinse with a damp cloth. Dry completely.
- Apply a thin film of petroleum jelly to the outer contact face of the gasket — the surface that presses against the door frame. Petroleum jelly conditions the rubber and creates a slightly improved seal.
- Close the door, wait 30 minutes, and repeat the dollar bill test.
Many gaskets that appeared to be failing are restored fully by cleaning. Mold growth on a rubber gasket can build up enough thickness to prevent magnetic contact — removing it can make a significant difference.
Reshape a warped gasket
If the gasket is physically intact but has developed a flat spot, fold, or curl that prevents it from contacting the door frame evenly, heat can restore its shape.
- Use a hair dryer on medium heat, holding it 4–6 inches from the gasket.
- Work slowly around the warped area, keeping the dryer moving — do not hold it in one spot.
- As the rubber softens (30–60 seconds of heat), use your hands to press and shape the gasket back toward its original curved profile.
- Hold the gasket in the correct position for 30–60 seconds while it cools and retains the new shape.
- Close the refrigerator door and allow it to sit closed for 15 minutes — the magnetic strip inside the gasket will pull it into the correct position as it cools.
- Repeat the dollar bill test.
This method works well for gaskets that have simply lost shape from age or from the door being left open frequently. It does not work for gaskets that are cracked, torn, or have lost their magnetic properties.
Replace the gasket
If cleaning and reshaping do not restore the seal, or if the gasket is visibly cracked or torn, replace it.
- Order the replacement gasket using your refrigerator’s model number.
- Soak the new gasket in warm water for 20–30 minutes to soften it for installation.
- Open the refrigerator door fully and locate the retaining screws around the inner edge of the door liner — typically Phillips or hex head screws spaced every 6–8 inches. Loosen them (do not remove fully) until the old gasket can be pulled free from under the retaining lip.
- Starting at a top corner, pull the old gasket’s flange out from under the retaining strip and work around the door.
- Press the new gasket’s flange under the retaining strip starting at the same top corner, working around the door perimeter. Press firmly all the way around so no sections are lifted.
- Tighten the retaining screws evenly, snugging them without overtightening.
- Close the door, and with the gasket still warm and pliable, allow the door to sit closed for 30–60 minutes.
- Perform the dollar bill test at multiple points to confirm the seal.
Related guides
- How to Fix a Refrigerator Not Cooling — compressor, condenser coils, and thermostat diagnosis
- How to Fix a Refrigerator Door Gasket — step-by-step gasket replacement for common brands
- How to Fix a Leaking Refrigerator Water Line — repair the ice maker supply line behind the fridge
- How to Fix a Leaking Refrigerator — defrost drain and water line troubleshooting
- The dollar bill test
Before doing any work, confirm where and how badly the seal is failing.
- Clean the existing gasket
Cleaning is the fastest fix and works in many cases where the gasket is physically intact but dirty.
- Reshape a warped gasket
If the gasket is physically intact but has developed a flat spot, fold, or curl that prevents it from contacting the door frame evenly, heat can restore its shape.
- Replace the gasket
If cleaning and reshaping do not restore the seal, or if the gasket is visibly cracked or torn, replace it.
Free: 10-Point Home Maintenance Checklist
Prevent costly repairs with this seasonal checklist. Save hundreds every year by catching problems early.
Your checklist is ready!
Open Checklist →Something went wrong. View the checklist here.