How to Fix a Pocket Door That Sticks, Jumps the Track, or Won't Stay Closed
Repair a pocket door that drags, derails, or gaps at the frame by adjusting the track, replacing rollers, fixing the latch, and lubricating the hardware.
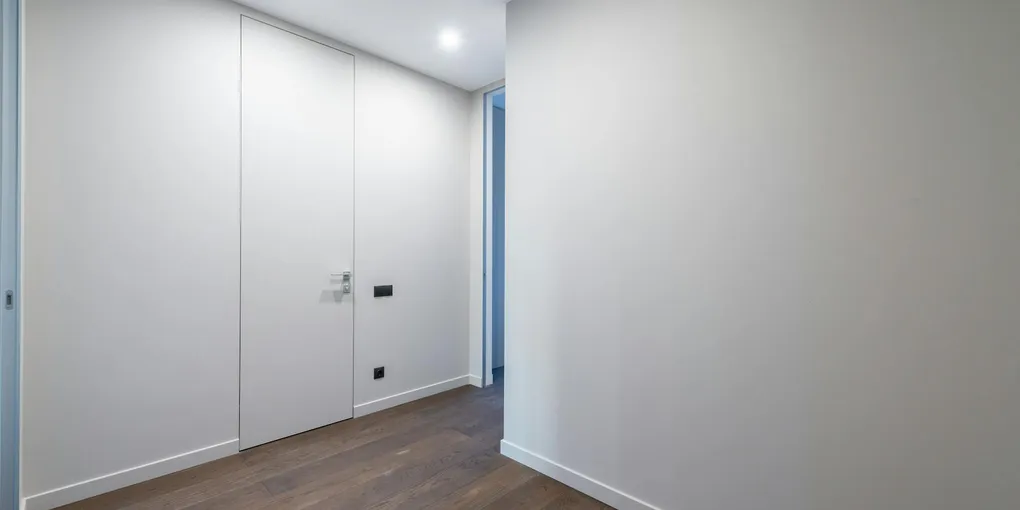
Pocket doors are elegant when they work and infuriating when they don’t. The mechanics are simple: the door hangs from two roller carriages that ride along a steel track inside the wall cavity.
Pocket doors are elegant when they work and infuriating when they don’t. The mechanics are simple: the door hangs from two roller carriages that ride along a steel track inside the wall cavity. When something in that system fails — the rollers, the track, the hangers, or the adjustment hardware — the door drags, tilts, or pops off the track entirely. Every one of those problems is fixable without opening the wall.
What You Need
- Pocket door roller replacement kit — match to door weight (light-duty up to 75 lbs, heavy-duty to 150 lbs)
- Dry silicone spray lubricant
- Pocket door edge pull or privacy latch
- Long Phillips screwdriver (12-inch or longer) for reaching into the pocket
- Adjustable pliers or channel-lock pliers
- Flashlight or headlamp
Step 1: Diagnose the Problem
Before removing the door, observe exactly how it is misbehaving.
Door drags on the floor: The door has sagged — the roller hangers have slipped down, or the hanger adjustment bolts have loosened. The door needs to be raised, which is done by adjusting the hanger height screws.
Door tilts (one side lower than the other): The two roller hangers are set at different heights, or one roller has failed completely. Adjust or replace the lower side first.
Door pops off the track: The rollers are worn and no longer stay engaged with the track, or the track has a damaged section. Inspect rollers and track with a flashlight before deciding which to replace.
Door slides freely but won’t stay in the closed position: The door stop (the thin strip of wood along the jamb that the door contacts when closed) is missing, the door latch is absent or broken, or the door is too lightweight to overcome any air pressure differential between rooms.
Door is extremely stiff to slide: The track needs cleaning and lubrication, the rollers have seized, or the door is rubbing on the split jamb (the thin trim pieces that run along the pocket opening on each side).
Step 2: Remove the Door from the Track
Removing a pocket door from its track is the key to most repairs, and it is easier than it looks.
Open the door halfway so it is centered in the opening. Look at the top corners of the door — you will see the roller hanger hardware where the door attaches to the overhead track. Most pocket door hangers have a small adjusting nut or screw that can be turned to lower the door body, which eventually lowers it enough to tilt the bottom of the door free of the split jamb guides.
Use a long screwdriver to turn the adjustment hardware (usually a square nut or a bolt head) counterclockwise to lower the door body. Lower both sides equally. When the door has dropped 1/4 to 1/2 inch below its normal position, tilt the bottom of the door toward you — the door will swing free of the lower door guides, and you can lift it off the track by maneuvering the roller carriages off the end of the track.
Lay the door on padded sawhorses. The roller hanger assemblies remain clipped to the door or can be unscrewed from the door top.
Step 3: Inspect and Replace Rollers
With the door out, inspect the roller carriages. Each carriage has one or two wheels that ride in the track channel. Spin each wheel — it should spin freely and quietly. A wheel that wobbles, grinds, or does not spin is worn out.
Most pocket door roller carriages are standardized. Common designs include single-axle nylon wheels in a stamped steel carrier, and twin-axle steel ball-bearing wheels in a cast housing. Take the old carriage to a hardware store or home center to match the style, or measure the wheel diameter and carrier mounting bolt spacing to order online.
Installing new rollers: the carriage typically bolts to the top of the door with two bolts accessible through the door face (covered with a small plug or escutcheon). Remove the plugs, unscrew the bolts, swap the carriage for the new one, and reinstall. Leave the adjustment hardware in the middle of its range before reinstalling the door.
If the wheels themselves are replaceable on the carriage (some designs allow this), you may only need to order replacement wheels — usually 7/8-inch or 1-inch nylon wheels available in packs.
Step 4: Clean and Lubricate the Track
With the door out, you have full access to the track from below. Insert a stiff-bristle brush or a cloth wrapped around a long dowel into the track channel and sweep out debris. Dust, drywall particles, and insulation fragments accumulate in the track over years and create significant drag.
Follow with dry silicone spray applied via the thin straw extension — spray a short burst at the entry to the track, then use a long rod to work the spray along the full length of the channel. Wipe out any excess that drips.
Inspect the track for bent sections by sighting along it from one end. Any visible bowing or dents will cause the rollers to bind at that point. A straight track section can be carefully bent back with pliers and a flat piece of wood as a backing anvil. A track that is damaged beyond straightening must be replaced — which requires opening the wall at that location.
Check that all track mounting bracket screws are tight. The brackets attach to the overhead framing inside the wall cavity. Loose brackets allow the track to sag, which causes the door to hang unevenly. Reach up through the pocket opening with a long screwdriver to tighten any accessible bracket screws.
Step 5: Reinstall the Door and Adjust Hanger Height
With new or cleaned rollers and a clean, lubricated track, reinstall the door.
Lift the roller carriages back onto the open end of the track. Slide the carriages along the track until the door hangs in the opening. Tilt the bottom of the door into the split jamb channel on both sides — the door should float in the opening without touching the guides at the bottom.
Turn the adjustment hardware clockwise on both carriages to raise the door body to the correct height. The door should clear the finished floor by 1/8 to 3/8 inch and should be level across the top (equal reveal at the head jamb on both sides).
If the door tilts, raise the low side by turning its adjustment nut clockwise (up) while leaving the other side unchanged. Check level, adjust, and repeat until the door hangs level.
Slide the door through its full travel several times. It should move smoothly with light finger pressure across the full range. Any stiffness at a particular point indicates a debris pocket, track damage, or a bracket screw that is protruding into the track channel.
Step 6: Fix the Door Stop and Latch
A pocket door that slides freely but won’t stay in the closed position needs a door stop, a latch, or both.
The door stop is a strip of 3/8-inch wood nailed to the jamb on the side the door closes against. It gives the door something to seat against and prevents it from sliding past the opening into the wall. If the stop is missing or was removed during a previous repair, cut a new one from stop molding and nail it to the jamb at the correct position — the door face should be flush with the jamb face when it contacts the stop.
The latch is the hardware that holds the door in the closed position. Common pocket door latches include edge pull latches (a lever that projects slightly from the door edge and engages a strike cup in the jamb) and hook latches (a hook that catches a pin or eye in the jamb). Installation requires mortising the door edge for the latch body — use a sharp chisel or a router with a template.
For privacy applications (bathrooms, bedrooms), add a surface-mount or mortised privacy latch that can be engaged from the inside to prevent the door from being slid open. These use a small thumb-turn or lever that locks the door to the jamb.
Step 7: Fix Split Jamb Gaps and Edge Drag
The split jamb is the pair of thin trim pieces (typically 1/2 inch wide, 3/4 inch deep) that run along the pocket opening on each side, guiding the door and covering the gap between the door and the wall. When the split jamb is too tight against the door face, the door drags on the jamb as it slides.
If the door drags on the split jamb: inspect the jamb for paint buildup (common in older homes where the trim was painted in place), swelling from moisture, or a jamb that was reinstalled out of position. Remove paint buildup with a cabinet scraper or 120-grit sandpaper on a block. If the jamb itself has moved too close to the door, pry it gently and renail it with 1/16 inch of clearance from the door face.
If there is a large gap between the door face and the split jamb when the door is open: the door has sagged (address with hanger adjustment) or the split jamb has moved away from the door. Pry the jamb toward the door and renail.
Long-Term Pocket Door Maintenance
Pocket doors require almost no maintenance when installed correctly, but they benefit from annual attention. Once a year, slide the door fully open and spray the track with dry silicone. Tighten the hanger adjustment hardware (it can vibrate loose over years of use). Check that the split jamb screws or nails are holding — loose split jambs are a common cause of perceived door problems that are actually trim problems.
Pocket doors in high-humidity areas (bathrooms) are more prone to swelling and sticking. Use solid-core doors in these locations rather than hollow-core, and ensure the door edges are fully sealed (primed and painted on all four edges) to minimize moisture absorption and seasonal movement.
Related Reading
- How to Fix a Door That Won’t Close — hinged door alignment repairs
- How to Fix a Sliding Door — patio door track and roller repairs
- How to Install a Door Lockset — hardware replacement for hinged and pocket doors
- Diagnose the Problem
Before removing the door, observe exactly how it is misbehaving.
- Remove the Door from the Track
Removing a pocket door from its track is the key to most repairs, and it is easier than it looks.
- Inspect and Replace Rollers
With the door out, inspect the roller carriages. Each carriage has one or two wheels that ride in the track channel. Spin each wheel — it should spin freely and quietly. A wheel that wobbles, grinds, or does not spin is worn out.
- Clean and Lubricate the Track
With the door out, you have full access to the track from below. Insert a stiff-bristle brush or a cloth wrapped around a long dowel into the track channel and sweep out debris.
- Reinstall the Door and Adjust Hanger Height
With new or cleaned rollers and a clean, lubricated track, reinstall the door.
- Fix the Door Stop and Latch
A pocket door that slides freely but won't stay in the closed position needs a door stop, a latch, or both.
Free: 10-Point Home Maintenance Checklist
Prevent costly repairs with this seasonal checklist. Save hundreds every year by catching problems early.
Your checklist is ready!
Open Checklist →Something went wrong. View the checklist here.