How to Fix a Noisy Refrigerator Compressor
Learn how to diagnose and fix a noisy refrigerator compressor with these simple DIY steps.
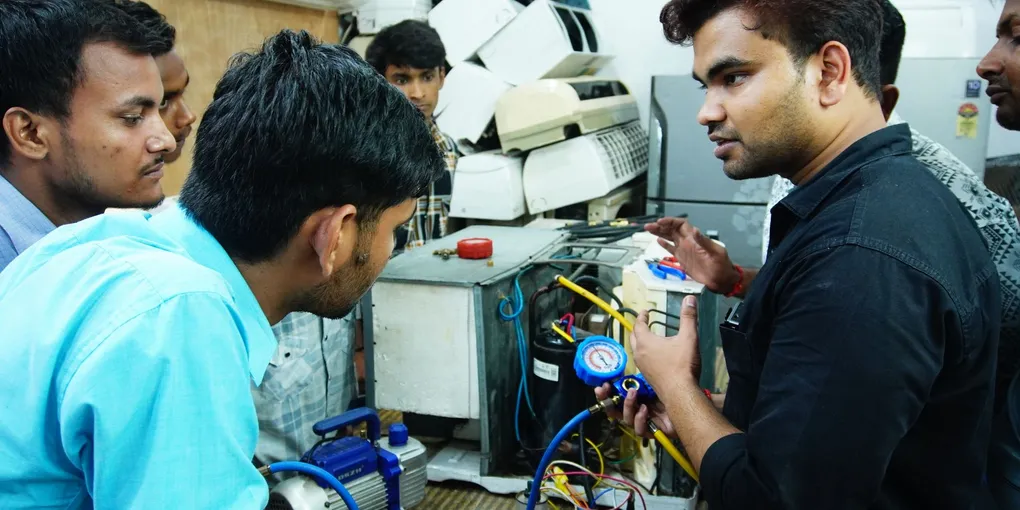
A refrigerator that suddenly starts humming loudly, clicking repeatedly, or rattling can be alarming. The good news is that many compressor noises have straightforward DIY fixes.
A refrigerator that suddenly starts humming loudly, clicking repeatedly, or rattling can be alarming. The good news is that many compressor noises have straightforward DIY fixes. This guide walks you through diagnosing the sound and solving the problem before calling a technician.
What You Will Need
- Screwdrivers (Phillips and flathead)
- Nut driver or wrench set
- Vacuum with brush attachment or refrigerator coil brush
- Replacement start relay (model-specific)
- Level
- Flashlight
- Appliance anti-vibration pads (optional)
Estimated time: 30 to 60 minutes Difficulty: Beginner to Intermediate Cost: $10 to $50 for parts
Step 1: Identify the Type of Noise
Different sounds point to different problems. Before you start wrenching, take a moment to categorize what you hear.
- Loud humming or buzzing: Often indicates dirty condenser coils, a failing start relay, or the compressor struggling under excess load.
- Clicking every few minutes: Almost always the start relay failing to start the compressor.
- Rattling or vibrating: Usually a loose drain pan, unlevel feet, or the fridge sitting too close to a wall or cabinet.
- Gurgling or hissing: Normal refrigerant flow sounds; these are not typically a concern.
Write down when the noise occurs — constantly, during startup, or only at night when the house is quiet — as this helps narrow the cause.
Step 2: Level the Refrigerator
An unlevel fridge causes the compressor to work harder and can create vibration noise. Place a level on top of the refrigerator and check both front-to-back and side-to-side.
Adjust the front leveling legs by turning them clockwise to raise and counterclockwise to lower. Most models allow you to do this by hand or with a wrench on the leg’s hex bolt. The front should sit very slightly higher than the back so the doors swing shut on their own.
Step 3: Clean the Condenser Coils
Dirty coils make the compressor run hot and loud. Unplug the refrigerator before doing this.
- Pull the fridge away from the wall.
- Locate the condenser coils — on most models they are on the back panel or underneath behind a kick plate.
- Use a refrigerator coil brush or vacuum brush attachment to remove all dust and pet hair.
- Wipe down the area with a dry cloth.
- Plug the fridge back in and listen for improvement.
Clean coils allow the compressor to run cooler and quieter. If this solves the problem, plan to clean coils every six months.
Step 4: Check and Replace the Start Relay
The start relay is a small component that helps the compressor start. When it fails, you will hear a repeated clicking sound every few minutes as the compressor tries and fails to kick on.
- Unplug the refrigerator.
- Pull the fridge away from the wall and locate the compressor at the lower rear — it is the large black or silver dome-shaped unit.
- The start relay plugs into the side of the compressor. Pull it straight off.
- Shake it next to your ear. If you hear a rattle, the relay is bad and needs replacement.
- Look up your refrigerator model number (usually printed inside the door on a label) and order a replacement start relay specific to your model.
- Plug in the new relay and restore power.
A working start relay eliminates the clicking cycle and allows the compressor to run normally.
Step 5: Secure Loose Hardware and the Drain Pan
Vibration noises often come from loose parts rather than the compressor itself.
- Check the drain pan at the bottom rear of the fridge. It should sit flat in its tracks. If loose, press it firmly back into place.
- Inspect the back panel screws and tighten any that have worked loose.
- If the fridge vibrates against a cabinet or wall, slip appliance anti-vibration pads under each foot to absorb the movement.
Step 6: Verify Adequate Clearance
Refrigerators need airflow to dissipate heat. Without proper clearance, the compressor overheats and runs loudly. Most manufacturers recommend:
- At least 1 inch on each side
- At least 1 inch above
- At least 2 inches behind
Pull the unit out and measure. If it is wedged tight against cabinetry, rearranging or trimming the space may significantly reduce noise.
Step 7: Test and Monitor
After completing your repairs, plug the refrigerator back in and observe it for 15 to 20 minutes. The compressor will cycle on and off — listen for whether the noise has changed.
If the clicking has stopped and the hum has returned to a low, steady background sound, the fix worked. If the noise persists or the compressor runs continuously without cycling off, the compressor itself may be failing and a licensed appliance technician should assess it.
When to Replace Instead of Repair
If your refrigerator is more than 12 years old and the compressor is failing, repair costs can exceed the value of the appliance. Get a repair quote and compare it against the cost of a new unit before committing. As a rule of thumb, if the repair exceeds 50 percent of a new model’s cost, replacement is the smarter investment.
Final Tips
- Always unplug the fridge before working on the compressor or relay.
- Keep a record of your model number for ordering parts quickly.
- Clean coils twice a year to extend compressor life.
- Listen for changes in noise patterns — catching a failing relay early prevents a full compressor failure.
Related guides
- How to Fix a Leaking Refrigerator Water Line — repair the supply line behind the fridge while you have it pulled out
- How to Fix a Refrigerator Not Cooling — diagnose cooling failures alongside compressor issues
With a little patience and the right parts, most refrigerator compressor noises are DIY-fixable without an expensive service call.
- Identify the Type of Noise
Different sounds point to different problems. Before you start wrenching, take a moment to categorize what you hear.
- Level the Refrigerator
An unlevel fridge causes the compressor to work harder and can create vibration noise. Place a level on top of the refrigerator and check both front-to-back and side-to-side.
- Clean the Condenser Coils
Dirty coils make the compressor run hot and loud. Unplug the refrigerator before doing this.
- Check and Replace the Start Relay
The start relay is a small component that helps the compressor start. When it fails, you will hear a repeated clicking sound every few minutes as the compressor tries and fails to kick on.
- Secure Loose Hardware and the Drain Pan
Vibration noises often come from loose parts rather than the compressor itself.
- Verify Adequate Clearance
Refrigerators need airflow to dissipate heat. Without proper clearance, the compressor overheats and runs loudly. Most manufacturers recommend:
Free: 10-Point Home Maintenance Checklist
Prevent costly repairs with this seasonal checklist. Save hundreds every year by catching problems early.
Your checklist is ready!
Open Checklist →Something went wrong. View the checklist here.