How to Fix a Leaky Kitchen Faucet
Learn how to stop a dripping kitchen faucet by replacing the cartridge, O-rings, or seat washer depending on your faucet type.
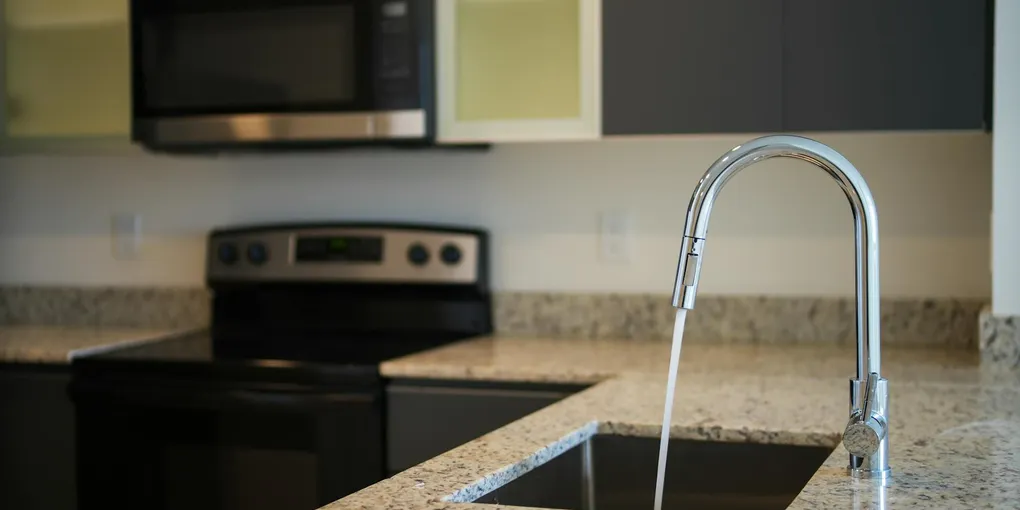
A dripping kitchen faucet is almost always caused by a worn cartridge, O-ring, or washer.
A dripping kitchen faucet is almost always caused by a worn cartridge, O-ring, or washer. The specific fix depends on your faucet type, but the process is straightforward once you identify what you have.
What You Need
- Adjustable wrench or basin wrench
- Flathead and Phillips screwdrivers
- Allen wrench set (hex keys)
- Faucet cartridge replacement (brand-specific — Moen, Delta, Kohler, or Price Pfister)
- Faucet repair kit (includes O-rings, springs, and seats for ball faucets)
- Plumber’s grease
- Needle-nose pliers
- Bucket and towels
Step 1: Shut Off the Water
Close both shutoff valves under the sink. Open the faucet to release pressure and drain the supply lines. Keep a small bucket under the supply connections to catch residual water.
Step 2: Remove the Handle
Most kitchen faucet handles are held by a set screw located under a decorative cap. Pry off the cap with a flathead screwdriver, reveal the screw, and remove it with a Phillips screwdriver or Allen wrench. Pull the handle straight up and off the faucet body.
Some single-lever faucets have the handle screw visible at the side or back of the handle — no cap to remove.
Step 3: Identify and Remove the Cartridge or Stem
Cartridge faucet: Under the handle you will see the cartridge — a cylindrical component. Some cartridges are held by a retaining clip (a small U-shaped metal clip). Remove the clip with needle-nose pliers. Pull the cartridge straight up. Note the orientation before removing (photograph it).
Ball faucet: Under the handle cap is a ball mechanism. Unscrew the cap and collar, remove the ball, and look at the seats and springs underneath — these are small rubber seats pressed against metal springs in the valve body. Replace all seats and springs as a set using a ball faucet repair kit.
Compression faucet: Unscrew the packing nut with an adjustable wrench. Pull out the stem. At the bottom is a rubber washer held by a brass screw. Replace the washer.
Step 4: Match and Install the Replacement Part
Take the old cartridge or parts to the hardware store for matching, or search online using the faucet brand and model number (usually stamped on the faucet body or in the owner’s manual).
For cartridge faucets: coat the O-rings on the new cartridge with plumber’s grease. Insert in the same orientation as the old one. Replace the retaining clip.
For ball faucets: install new springs and seats with needle-nose pliers. Coat the new ball with plumber’s grease and reinstall.
For compression faucets: install the new washer and tighten the brass screw. Apply plumber’s grease to the stem O-ring and reassemble.
Step 5: Reassemble and Test
Reinstall the handle in reverse order. Turn the shutoff valves back on slowly. Turn the faucet on and check for drips at the spout and leaks around the handle base.
If the faucet still drips after the cartridge is replaced, check the valve seat condition — a pitted or scored seat will cause leaking even with a new cartridge.
Related Guides
- How to Replace a Kitchen Faucet — full faucet replacement when repair is not enough
- How to Fix a Slow Draining Sink — drain repair while you have the cabinet open
- How to Fix a Garbage Disposal — disposal troubleshooting and reset
- Shut Off the Water
Close both shutoff valves under the sink. Open the faucet to release pressure and drain the supply lines. Keep a small bucket under the supply connections to catch residual water.
- Remove the Handle
Most kitchen faucet handles are held by a set screw located under a decorative cap. Pry off the cap with a flathead screwdriver, reveal the screw, and remove it with a Phillips screwdriver or Allen wrench.
- Identify and Remove the Cartridge or Stem
Cartridge faucet: Under the handle you will see the cartridge — a cylindrical component. Some cartridges are held by a retaining clip (a small U-shaped metal clip). Remove the clip with needle-nose pliers. Pull the cartridge straight up.
- Match and Install the Replacement Part
Take the old cartridge or parts to the hardware store for matching, or search online using the faucet brand and model number (usually stamped on the faucet body or in the owner's manual).
- Reassemble and Test
Reinstall the handle in reverse order. Turn the shutoff valves back on slowly. Turn the faucet on and check for drips at the spout and leaks around the handle base.
Free: 10-Point Home Maintenance Checklist
Prevent costly repairs with this seasonal checklist. Save hundreds every year by catching problems early.
Your checklist is ready!
Open Checklist →Something went wrong. View the checklist here.