How to Fix a Leaking Whole-House Water Filter
Diagnose and repair a leaking whole-house water filter housing by replacing the O-ring and sump, stopping drips without calling a plumber.
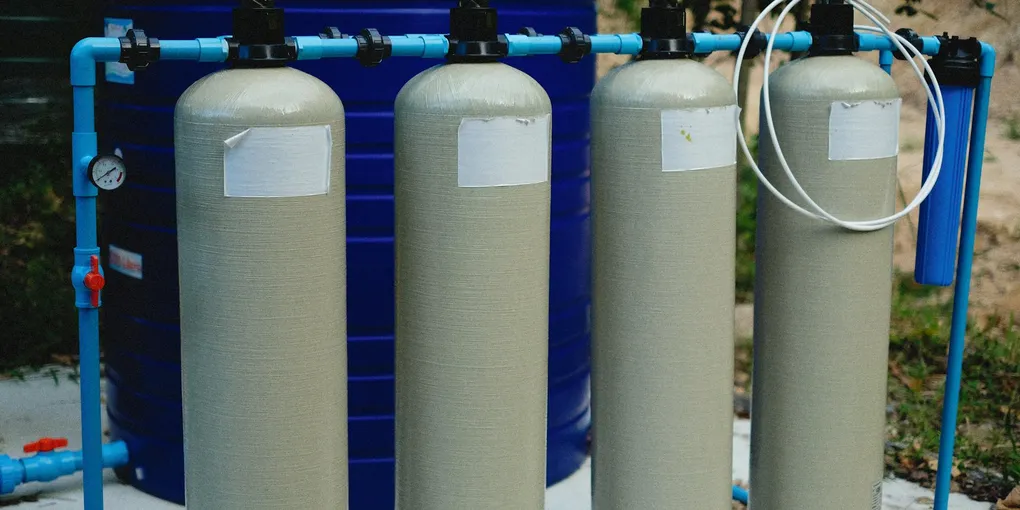
A dripping whole-house water filter housing is one of those small problems that earns a spot on your mental to-do list for months before you finally deal with it. The drip leaves mineral stains on the floor, wastes water, and can eventually damage the area around your main water line.
A dripping whole-house water filter housing is one of those small problems that earns a spot on your mental to-do list for months before you finally deal with it. The drip leaves mineral stains on the floor, wastes water, and can eventually damage the area around your main water line. The fix is almost always a worn or improperly seated O-ring — a rubber gasket that costs less than two dollars. With the right tools and about 30 minutes, you can stop the leak yourself without shutting off water to the house for more than a few minutes.
Understanding How the Housing Seals
A whole-house water filter consists of a filter head (the part mounted to the pipe) and a removable sump (the clear or opaque canister that holds the filter cartridge). The two pieces thread together with a large-diameter acme thread, and a rubber O-ring seated in a groove on the sump creates the watertight seal.
When that O-ring wears, flattens, cracks, or gets a piece of debris trapped under it, water finds its way past the thread and drips — usually from the joint between the sump and the head. This is the leak location this guide addresses. A leak from the inlet or outlet fittings on the head is a separate issue (usually a loose fitting or failing compression ring) and may require a plumber.
Tools and Materials
- Filter housing wrench (should have come with the filter; available at hardware stores if lost)
- Silicone O-ring lubricant — food-grade, not petroleum jelly
- Replacement O-ring matched to your housing (check your housing brand and model number, or bring the old one to the store)
- Replacement filter cartridge (a good time to change it if it is due)
- Bucket or towels
- Clean cloth or paper towels
Step 1: Shut Off the Water Supply to the Filter
Locate the shut-off valve on the inlet side of the filter housing (the pipe leading into it). Close that valve fully. Some whole-house filters are installed with a bypass valve system that lets you maintain water flow to the house during servicing — use the bypass if your setup has one.
Press the red pressure-relief button on the top of the filter head. This bleeds the pressure inside the sump. You will hear a hiss and see a small squirt of water. Hold a towel under the housing when you do this.
Step 2: Remove the Filter Sump
Place your bucket under the housing to catch water in the sump. Use the filter housing wrench to turn the sump counterclockwise (lefty-loosey). The wrench hooks over the bottom of the sump and gives you the leverage to break the seal.
If the sump will not budge, confirm you have fully depressurized the housing. Applying force to a pressurized housing can crack it.
Once loose, unscrew the sump by hand and lower it into the bucket. Remove the spent filter cartridge and set it aside. Pour the remaining water out of the sump.
Step 3: Inspect and Remove the O-Ring
Look in the groove at the top of the sump threads — you will see the O-ring seated there. Use your finger or a blunt pick to lift it out. Do not use a sharp tool that could score the groove.
Inspect the O-ring closely under good light:
- Flat spots or permanent deformation: Replace it.
- Surface cracks, cuts, or brittleness: Replace it.
- Looks fine but has debris on it: Clean it and reinstall if the rubber is still pliable and round, but this is a good time to replace it anyway.
Also inspect the O-ring groove and the mating sealing surface on the filter head. Clean any mineral deposits or debris from both surfaces with a clean damp cloth.
Step 4: Install the New O-Ring
Roll the new O-ring between your fingers to confirm it is the correct size — it should sit in the groove without bunching or pulling tight. If it does not fit properly, do not force it. An incorrect O-ring will not seal.
Apply a thin, even coat of food-grade silicone O-ring lubricant around the entire circumference of the new O-ring. The lubricant prevents the rubber from pinching or rolling out of the groove as you thread the sump on, and it extends the life of the ring significantly. Do not use WD-40 or petroleum-based products — they degrade rubber and are not safe for drinking water.
Seat the lubricated O-ring evenly in the groove, pressing it gently around the full circle to make sure it is not twisted or kinked.
Step 5: Reinstall the Filter and Housing
Insert a fresh filter cartridge into the sump, centering it on the post at the bottom of the sump. Thread the sump back onto the head by hand, turning clockwise. Thread it as far as you can by hand — do not start with the wrench.
Once hand-tight, use the filter housing wrench to snug it down. The manufacturer specification is typically about one-quarter turn past hand-tight. Do not overtighten — you can crack the sump or deform the O-ring, which causes the very leak you are trying to fix.
Step 6: Restore Water and Test
Slowly open the shut-off valve. Water will fill the housing and you may hear air purging through the taps. Let a faucet run for 30 seconds to clear the air.
Dry the housing joint with a paper towel, then watch it closely for 60 seconds. Check again after five minutes. If you see no drips, you are done.
If it still drips, shut off the water, depressurize, remove the sump, and inspect whether the O-ring rolled out of the groove during installation. Reinstall with fresh lubricant and try again.
Preventive Maintenance Tips
- Change your filter cartridge on schedule (typically every three to six months, depending on your water quality and flow rate).
- Inspect the O-ring every time you change the cartridge.
- Keep a spare O-ring taped to the filter housing so it is there when you need it.
- If your water is very hard, mineral buildup in the O-ring groove can cause recurring leaks — clean the groove with white vinegar and a soft brush during each cartridge change.
Cost Comparison
| DIY | Plumber | |
|---|---|---|
| O-ring and lubricant | $2-8 | Included in labor |
| Labor | $0 | $100-200 |
| Total | $2-8 | $100-208 |
A whole-house filter O-ring repair is one of the fastest paybacks in DIY home maintenance. The part is cheap, the skill transfers to any threaded housing in your plumbing system, and you are back to full water pressure in under an hour.
- Shut Off the Water Supply to the Filter
Locate the shut-off valve on the inlet side of the filter housing (the pipe leading into it). Close that valve fully.
- Remove the Filter Sump
Place your bucket under the housing to catch water in the sump. Use the filter housing wrench to turn the sump counterclockwise (lefty-loosey). The wrench hooks over the bottom of the sump and gives you the leverage to break the seal.
- Inspect and Remove the O-Ring
Look in the groove at the top of the sump threads — you will see the O-ring seated there. Use your finger or a blunt pick to lift it out. Do not use a sharp tool that could score the groove.
- Install the New O-Ring
Roll the new O-ring between your fingers to confirm it is the correct size — it should sit in the groove without bunching or pulling tight. If it does not fit properly, do not force it. An incorrect O-ring will not seal.
- Reinstall the Filter and Housing
Insert a fresh filter cartridge into the sump, centering it on the post at the bottom of the sump. Thread the sump back onto the head by hand, turning clockwise. Thread it as far as you can by hand — do not start with the wrench.
- Restore Water and Test
Slowly open the shut-off valve. Water will fill the housing and you may hear air purging through the taps. Let a faucet run for 30 seconds to clear the air.
Free: 10-Point Home Maintenance Checklist
Prevent costly repairs with this seasonal checklist. Save hundreds every year by catching problems early.
Your checklist is ready!
Open Checklist →Something went wrong. View the checklist here.