How to Fix a Leaking Water Softener Brine Tank
Learn how to diagnose and repair a cracked or overflowing water softener brine tank, including crack sealing and float valve adjustment.
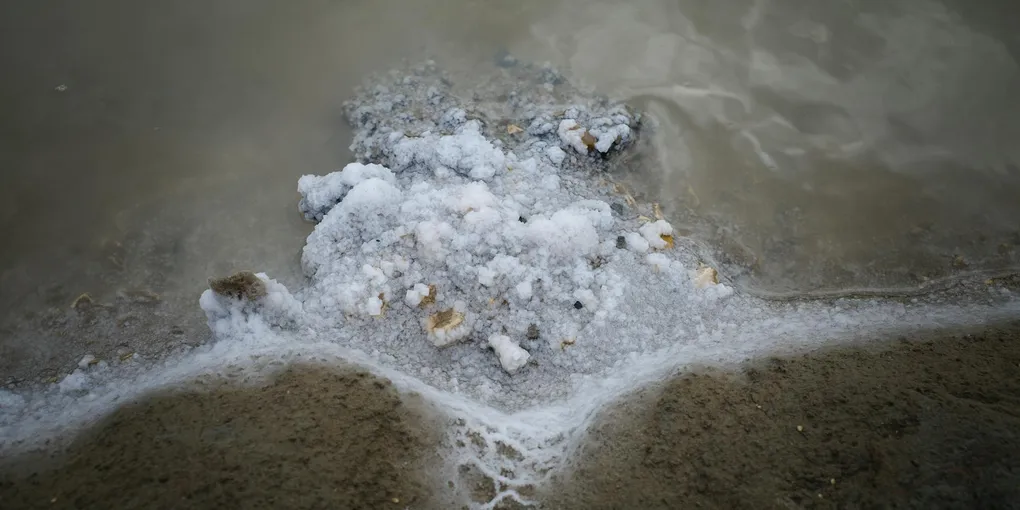
A puddle of salty water around your water softener is a signal that something in the brine tank system has failed. Whether the problem is a cracked tank, an overflowing float valve, or a loose brine line, the repair is well within DIY reach.
A puddle of salty water around your water softener is a signal that something in the brine tank system has failed. Whether the problem is a cracked tank, an overflowing float valve, or a loose brine line, the repair is well within DIY reach. This guide walks you through diagnosing the leak and fixing the most common causes without calling a plumber.
Safety First
Before working on your water softener, unplug the unit from power or set the control valve to bypass mode. This stops the regeneration cycle from running while you work.
Diagnosing the Leak Source
Start by drying the outside of the brine tank and watching carefully for where water first appears:
- Base of the tank: Likely a crack in the tank body
- Around the brine line fitting: Loose or degraded fitting connection
- Overflowing from the top: Float valve stuck open or set too high
- Around the control valve: Separate from the brine tank — a valve body seal issue
Tools and Materials
- Adjustable wrench and pliers
- Bucket and sponge
- Wet/dry shop vacuum
- Waterproof plastic epoxy or polyethylene repair kit
- Replacement float valve assembly (if needed)
- Teflon tape
- Replacement brine line tubing and fittings (if needed)
Loctite Repair Putty All-Purpose bonds to polyethylene and is waterproof when cured — ideal for small cracks in a brine tank. For float valve replacement, W2756 Brine Tank Float Valve Assembly is a universal fit for most major softener brands and includes all hardware.
Repairing a Cracked Brine Tank
Step 1: Empty the Tank
Scoop out as much salt as possible and remove it from the tank. Use a shop vacuum to remove the brine water, then rinse the tank interior with fresh water and let it dry completely. A crack repair will not bond to wet or salt-contaminated plastic.
Step 2: Locate and Mark the Crack
Inspect the full interior and exterior of the tank in good light. Use a pencil to mark the full length of any crack, including hairline extensions beyond the obvious split.
Step 3: Prep the Surface
Lightly sand the area around the crack with 80-grit sandpaper to remove any surface oxidation or residue. Wipe clean with isopropyl alcohol and let it dry.
Step 4: Apply the Repair
Knead the epoxy putty until fully mixed and press it firmly into the crack, extending at least an inch past each end of the marked line. Smooth it with a wet finger and shape it so it seals the crack without leaving a raised edge that could trap water.
Allow full cure time per the product instructions — usually 24 hours — before refilling the tank.
Fixing an Overflowing Float Valve
Step 1: Locate the Float Assembly
Inside the brine tank, the float assembly is a vertical tube (the brine well) with a float and shut-off valve that controls the incoming water level. Remove the brine well cover if present.
Step 2: Check the Float
Lift the float by hand. It should move freely up and down. If it sticks, the float or valve seat is fouled with salt residue. Remove the float assembly per your unit’s manual and rinse thoroughly with warm water, then reinstall.
Step 3: Adjust the Float Height
If the float moves freely but the tank still overfills, the float is set too high. Slide the float down the rod or adjust the clip lower — each brand differs, so consult your manual. The target water level during standby is six to twelve inches from the bottom of the tank.
Step 4: Replace if Damaged
If the float valve body is cracked or the shut-off does not seal even when the float is at the correct height, replace the entire float assembly. Disconnect the brine line fitting at the control valve end, slide out the old assembly, and reverse the process with the new one. Wrap all threaded fittings with Teflon tape before connecting.
Repairing a Leaking Brine Line Fitting
Disconnect the brine line at both ends. Inspect the tubing for cracks and the fittings for stripped threads or cracked bodies. John Guest Speedfit 3/8-Inch Push-Fit Fittings are standard for most residential softener brine lines and make leak-free reconnections without tools.
Returning the System to Service
Once repairs are complete:
- Refill the tank with the appropriate softener salt
- Reconnect power or take the valve off bypass
- Manually initiate a regeneration cycle and watch the brine tank through the entire fill and draw sequence
- Check all repaired areas for leaks during and after the cycle
A properly sealed and calibrated brine tank should run trouble-free for years between inspections.
- Diagnosing the Leak Source
Start by drying the outside of the brine tank and watching carefully for where water first appears:
- Repairing a Leaking Brine Line Fitting
Disconnect the brine line at both ends. Inspect the tubing for cracks and the fittings for stripped threads or cracked bodies.
- Returning the System to Service
Refill the tank with the appropriate softener salt
Free: 10-Point Home Maintenance Checklist
Prevent costly repairs with this seasonal checklist. Save hundreds every year by catching problems early.
Your checklist is ready!
Open Checklist →Something went wrong. View the checklist here.