How to Fix a Leaking Water Meter Pit in 30 Minutes ($0–$20 Seal or Lid Fix)
Diagnose and repair a leaking water meter pit box — lid replacement or seal repairs — in 30 minutes to protect your meter from flooding and freeze damage. Parts cost $0–$20.
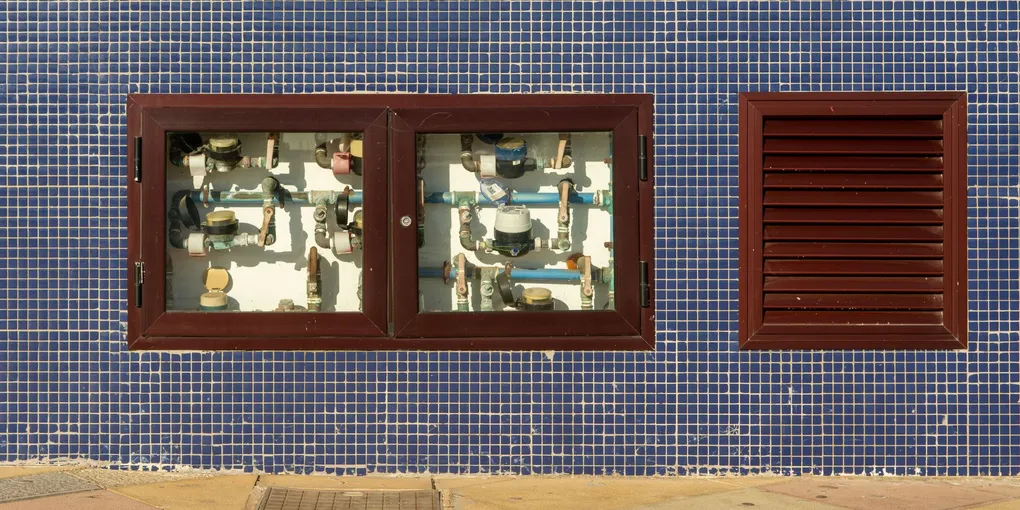
A water meter pit sits in the ground between your home and the street, housing the meter your utility uses to measure consumption. When the pit lid cracks, the seal fails, or the box itself develops a leak, water pools around the meter.
A water meter pit sits in the ground between your home and the street, housing the meter your utility uses to measure consumption. When the pit lid cracks, the seal fails, or the box itself develops a leak, water pools around the meter. That moisture corrodes fittings, can freeze and crack pipes in winter, and may compromise your meter’s accuracy. Most pit repairs are straightforward and require only basic tools and an afternoon.
Identify the Type of Leak
There are three distinct problems that look similar from the surface:
- Lid failure — The lid is cracked, missing, or no longer seats properly, letting rain or surface runoff pour in.
- Box wall cracks — The pit body has a visible crack that admits groundwater or soil water.
- Fitting leak — A connection inside the pit is dripping. This is the one case where you should call your utility before proceeding.
Lift the lid and look inside with a flashlight. If the water is clear and pooled but no drip is visible, it is almost certainly coming in through the lid or walls. If you see an active drip at a fitting, mark it and call your water authority.
Tools and Materials
- Replacement pit lid (match the diameter of your existing lid)
- Hydraulic cement (for concrete pits)
- Waterproof sealant or butyl tape
- Wire brush and stiff scraper
- Shop vacuum or small hand pump (to remove standing water)
- Rubber mallet
- Safety gloves and eye protection
Step 1: Remove Standing Water
Use a shop vacuum or a small hand pump to remove any water in the pit before working. You need a dry surface for patching materials to adhere properly. Set the water aside — do not dump it in storm drains if it may be contaminated with soil.
Step 2: Inspect and Clean the Lid Seat
Scrape away old caulk, dirt, and debris from the rim where the lid rests. Wire-brush any rust or mineral scale off the seat. A clean surface is essential for a new seal to hold.
Step 3: Replace a Cracked or Damaged Lid
Water meter pit lids are standardized in common diameters (8, 10, and 12 inches are most typical). Measure your existing lid or the opening diameter. Replacement cast-iron or polymer lids are available at plumbing supply houses and online.
The NDS 9-Inch Round Valve Box with Lid on Amazon fits many residential installations and is a durable polymer option that will not rust. Drop the new lid into place and test that it sits flush without rocking.
Step 4: Seal the Lid Perimeter
Run a bead of butyl tape or waterproof exterior sealant around the top edge of the pit rim before setting the lid. Press the lid firmly into the sealant. This creates a positive seal against surface water intrusion. If the lid has a locking lug, make sure it engages fully.
Step 5: Patch Cracks in the Pit Wall
For concrete pits, chip out any loose material from the crack with a chisel, widen it slightly to create a mechanical key, then pack in hydraulic cement. Quikrete Hydraulic Water-Stop Cement sets in about 3 to 5 minutes even against active seepage, making it ideal for pit repairs.
For plastic pits with cracks, a two-part epoxy putty rated for HDPE plastics offers the most reliable bond. Rough up the surface around the crack with 80-grit sandpaper before applying.
Step 6: Address Chronic Groundwater Infiltration
If the pit fills repeatedly despite a good lid and sealed walls, the surrounding soil is saturated and pushing water through the base. Two options:
- Raise the grade: Add soil to slope the ground away from the pit so surface water drains elsewhere.
- Add a drain layer: Place a 2-inch layer of coarse gravel at the bottom of the pit. This gives water a place to go below the meter fittings while you address the drainage problem more permanently.
Step 7: Check the Area After the Next Rain
Return within 24 hours of a significant rainfall to lift the lid and inspect. If the pit is dry or has only a light film of condensation, the repair was successful. If it is filling again, the source is likely subsurface and may require a professional drainage assessment.
A dry meter pit extends the life of your meter, prevents freeze damage to service line fittings, and keeps your water readings accurate. Most homeowners can complete this repair for under $30 in materials.
When to Call the Utility
Contact your water authority if you see water actively dripping from any fitting inside the pit, if the service line pipe itself is cracked, or if the meter register is wet or fogged. Meter tampering — even unintentional — can result in fines, so confirm the scope of your permitted repairs before touching anything connected to the meter body itself.
- Remove Standing Water
Use a shop vacuum or a small hand pump to remove any water in the pit before working. You need a dry surface for patching materials to adhere properly. Set the water aside — do not dump it in storm drains if it may be contaminated with soil.
- Inspect and Clean the Lid Seat
Scrape away old caulk, dirt, and debris from the rim where the lid rests. Wire-brush any rust or mineral scale off the seat. A clean surface is essential for a new seal to hold.
- Replace a Cracked or Damaged Lid
Water meter pit lids are standardized in common diameters (8, 10, and 12 inches are most typical). Measure your existing lid or the opening diameter. Replacement cast-iron or polymer lids are available at plumbing supply houses and online.
- Seal the Lid Perimeter
Run a bead of butyl tape or waterproof exterior sealant around the top edge of the pit rim before setting the lid. Press the lid firmly into the sealant. This creates a positive seal against surface water intrusion.
- Patch Cracks in the Pit Wall
For concrete pits, chip out any loose material from the crack with a chisel, widen it slightly to create a mechanical key, then pack in hydraulic cement.
- Address Chronic Groundwater Infiltration
If the pit fills repeatedly despite a good lid and sealed walls, the surrounding soil is saturated and pushing water through the base. Two options:
Free: 10-Point Home Maintenance Checklist
Prevent costly repairs with this seasonal checklist. Save hundreds every year by catching problems early.
Your checklist is ready!
Open Checklist →Something went wrong. View the checklist here.