How to Fix a Leaking Washing Machine Lid Seal
Learn how to diagnose and replace a worn or torn top-loader lid gasket to stop your washing machine from leaking around the lid.
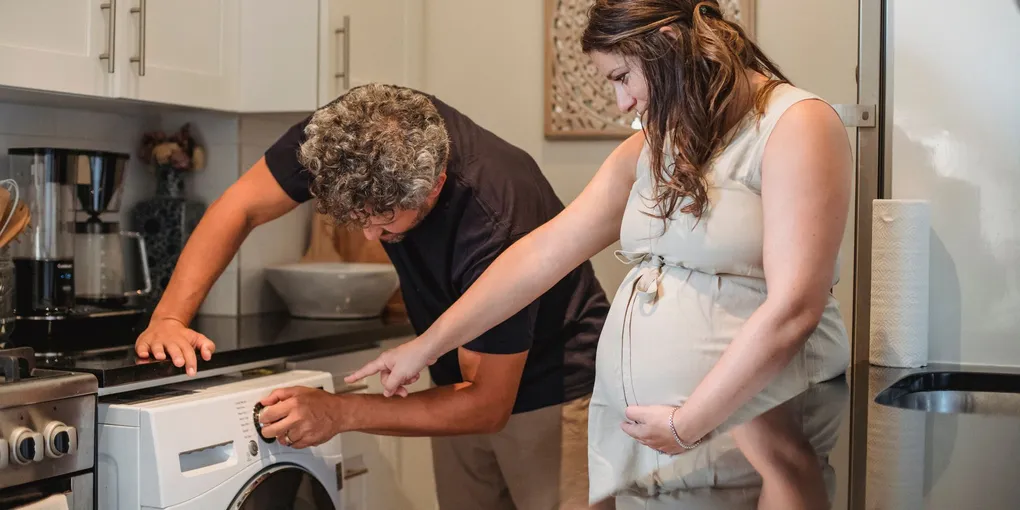
A puddle on the laundry room floor after every wash cycle is a nuisance you should not ignore. When the water is coming from the top of the machine rather than from a hose connection underneath, a failed lid seal or gasket is the most common cause.
A puddle on the laundry room floor after every wash cycle is a nuisance you should not ignore. When the water is coming from the top of the machine rather than from a hose connection underneath, a failed lid seal or gasket is the most common cause. Replacing it is a manageable DIY repair that costs far less than a service call.
Tools and Materials You Will Need
- Flathead and Phillips screwdrivers
- Putty knife or trim removal tool
- Replacement lid gasket (model-specific)
- Clean rags
- Mild all-purpose cleaner
- Flashlight
Before ordering parts, locate your machine’s model number. It is usually on a sticker inside the lid, on the back panel, or on the front face near the controls. Search that number at an appliance parts retailer to find the correct gasket. Using a generic seal rarely gives a watertight result.
Step 1 — Unplug and Prepare the Machine
Safety first: unplug the washing machine from the wall outlet. If your laundry area does not have enough slack in the cord to move the machine, switch off the circuit breaker. Pull the machine away from the wall far enough to work comfortably. Place old towels around the base to catch any residual water.
Step 2 — Remove the Existing Gasket
Open the lid fully. On most top-loaders the lid gasket is a foam or rubber strip pressed into a channel that runs around the inner rim of the cabinet opening. Work a flathead screwdriver or a plastic trim tool under the gasket lip and pry it free gradually, moving a few inches at a time to avoid tearing it in a way that could leave fragments stuck in the channel.
On some models the gasket is held by a metal retaining ring or a series of small clips. Remove these fasteners first and keep them in a cup so nothing rolls away.
Step 3 — Clean the Gasket Channel
Wipe out the channel with a damp rag and a small amount of mild cleaner. Remove any mold, soap residue, or adhesive left by the old gasket. Dry the channel completely with a clean rag and let it air for a few minutes. A clean, dry surface ensures the new gasket seats evenly.
Step 4 — Install the New Gasket
Starting at one of the back corners, press the new gasket into the channel. Work your way around the perimeter evenly, pressing firmly with your thumb to seat the lip fully into the groove. Do not stretch the gasket to make it fit — if it feels too small, confirm you have the correct part number for your model.
If the replacement uses a retaining ring, position it over the gasket once the gasket is fully seated and snap or screw it into place. A Channellock 10-in-1 screwdriver is handy here because you can switch tips without hunting for a different tool.
Step 5 — Test for Leaks
Plug the machine back in and run a small load on a short cycle while you watch the lid area closely. If the gasket is properly seated, the joint should remain dry through the fill, agitation, and spin phases. A flashlight aimed at the seam makes any drip easy to spot.
If water still seeps through, open the lid and check whether any section of the gasket has popped out of the channel. Press it back in firmly and repeat the test.
Recommended Replacement Parts and Tools
For GE and Hotpoint top-loaders, the WH08X10030 tub cover gasket fits a wide range of models and is available from multiple sellers. For Whirlpool and Maytag machines the replacement seal varies more by production year, so always verify your model number before ordering.
A good appliance repair toolkit saves time on this and every future repair. The HORUSDY 118-piece home repair tool set includes the screwdrivers, pry tools, and nut drivers needed for most washing machine maintenance tasks.
Long-Term Maintenance Tips
After each wash, leave the lid open for 20 to 30 minutes to allow the interior to dry. This prevents the mold and mildew growth that accelerates gasket degradation. Run a monthly cleaning cycle with a washing machine cleaner tablet to flush residue from the drum and the gasket channel. With good habits, a new gasket should give you many years of leak-free service.
- Step 1 — Unplug and Prepare the Machine
Safety first: unplug the washing machine from the wall outlet. If your laundry area does not have enough slack in the cord to move the machine, switch off the circuit breaker. Pull the machine away from the wall far enough to work comfortably.
- Step 2 — Remove the Existing Gasket
Open the lid fully. On most top-loaders the lid gasket is a foam or rubber strip pressed into a channel that runs around the inner rim of the cabinet opening.
- Step 3 — Clean the Gasket Channel
Wipe out the channel with a damp rag and a small amount of mild cleaner. Remove any mold, soap residue, or adhesive left by the old gasket. Dry the channel completely with a clean rag and let it air for a few minutes.
- Step 4 — Install the New Gasket
Starting at one of the back corners, press the new gasket into the channel. Work your way around the perimeter evenly, pressing firmly with your thumb to seat the lip fully into the groove.
- Step 5 — Test for Leaks
Plug the machine back in and run a small load on a short cycle while you watch the lid area closely. If the gasket is properly seated, the joint should remain dry through the fill, agitation, and spin phases.
Free: 10-Point Home Maintenance Checklist
Prevent costly repairs with this seasonal checklist. Save hundreds every year by catching problems early.
Your checklist is ready!
Open Checklist →Something went wrong. View the checklist here.