How to Fix a Leaking Tub Overflow Plate
Replace a worn bathtub overflow plate gasket to stop water from seeping behind your tub walls and causing hidden water damage.
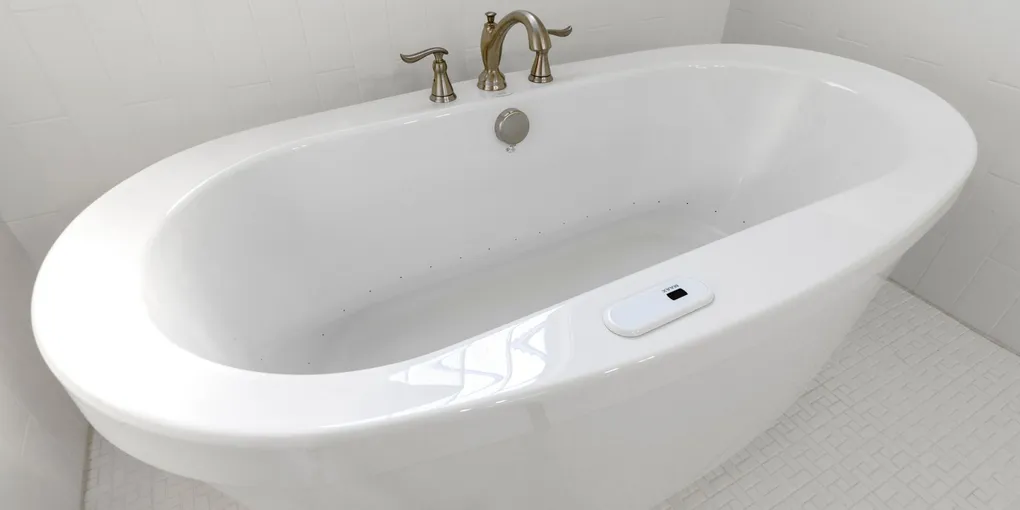
A leaking bathtub overflow plate is one of those sneaky problems that can go unnoticed for months. Water seeps past the worn gasket, travels down behind the tub walls, and quietly rots framing or stains the ceiling below.
A leaking bathtub overflow plate is one of those sneaky problems that can go unnoticed for months. Water seeps past the worn gasket, travels down behind the tub walls, and quietly rots framing or stains the ceiling below. The good news: fixing it takes about 20 minutes and costs less than $10. All you need is a screwdriver and a replacement gasket.
What the Overflow Plate Does
The overflow plate is the oval or rectangular cover located on the tub wall a few inches below the rim. It covers the overflow drain, which is a safety outlet that prevents the tub from overflowing if you leave the water running. Behind the plate sits a rubber or foam gasket that seals the connection between the plate and the tub wall. When that gasket cracks or flattens, water finds its way into the wall cavity.
Tools and Materials
- Phillips or flathead screwdriver (check your overflow plate screws first)
- Replacement tub overflow plate gasket — foam or rubber, universal fit
- Bathtub caulk — 100% silicone, clear or white
- Clean rag
- Rubbing alcohol (for surface prep)
Step 1: Remove the Overflow Plate
Locate the one or two screws holding the overflow plate to the tub wall. Turn them counterclockwise to remove. Pull the plate away from the wall gently — you may feel slight resistance from the old gasket still stuck to the surface. If the plate is connected to a trip-lever drain mechanism, it will come out slightly farther on a cable or rod, which is normal. Set the plate and screws aside.
Step 2: Inspect the Old Gasket
Look at the gasket that was sandwiched between the plate and the tub. A healthy gasket is pliable and holds its shape. A failed gasket will be flat, cracked, crumbly, or missing chunks. Even if it looks okay, if you are having leaks, replace it anyway — they are cheap and easy to swap.
Peel off any remnants of the old gasket from the tub wall and from the back of the plate. Use a dry rag to wipe the area clean, then wipe with rubbing alcohol and let it dry completely. A clean surface ensures the new gasket seats properly.
Step 3: Install the New Gasket
Press the new gasket firmly onto the back of the overflow plate. Most universal gaskets are self-adhesive on one side — peel the backing and center it on the plate, pressing all edges down. If your gasket is not adhesive, that is fine; the screws will hold it in place once the plate is reinstalled.
A universal overflow gasket kit often includes multiple gasket sizes and new screws, which is worth the few extra dollars if your current screws are corroded.
Step 4: Reinstall the Overflow Plate
Align the plate over the overflow opening, making sure the gasket sits flush against the tub wall. If there is a trip-lever cable, guide it back into the opening as you position the plate. Insert the screws and tighten them snugly — firm, but not over-tightened, which can compress the gasket unevenly and cause new leaks.
Step 5: Seal the Perimeter
Run a thin bead of 100% silicone caulk around the outer edge of the overflow plate where it meets the tub surround. Smooth it with a wet finger. This is an optional but recommended extra layer of protection, especially if the tub surround has any roughness or texture gaps around the plate.
Allow the caulk to cure for at least 24 hours before running water in the tub.
Step 6: Test for Leaks
Fill the tub to just below the overflow plate, then let water run until it reaches the overflow opening. Watch for any drips or moisture around the plate or behind the tub wall access panel if you have one. If the area stays dry, the repair is complete.
When to Call a Plumber
If you notice the drywall or framing behind the tub is already soft, black with mold, or structurally compromised, the leak has been going on long enough to cause real damage. In that case, a plumber or contractor should assess the extent before you close everything back up.
For most homeowners, though, a new gasket and 20 minutes is all it takes to stop the leak and protect your walls for years to come.
- Remove the Overflow Plate
Locate the one or two screws holding the overflow plate to the tub wall. Turn them counterclockwise to remove. Pull the plate away from the wall gently — you may feel slight resistance from the old gasket still stuck to the surface.
- Inspect the Old Gasket
Look at the gasket that was sandwiched between the plate and the tub. A healthy gasket is pliable and holds its shape. A failed gasket will be flat, cracked, crumbly, or missing chunks.
- Install the New Gasket
Press the new gasket firmly onto the back of the overflow plate. Most universal gaskets are self-adhesive on one side — peel the backing and center it on the plate, pressing all edges down.
- Reinstall the Overflow Plate
Align the plate over the overflow opening, making sure the gasket sits flush against the tub wall. If there is a trip-lever cable, guide it back into the opening as you position the plate.
- Seal the Perimeter
Run a thin bead of 100% silicone caulk around the outer edge of the overflow plate where it meets the tub surround. Smooth it with a wet finger.
- Test for Leaks
Fill the tub to just below the overflow plate, then let water run until it reaches the overflow opening. Watch for any drips or moisture around the plate or behind the tub wall access panel if you have one.
Free: 10-Point Home Maintenance Checklist
Prevent costly repairs with this seasonal checklist. Save hundreds every year by catching problems early.
Your checklist is ready!
Open Checklist →Something went wrong. View the checklist here.