How to Fix a Leaking Sink Sprayer Hose
Learn how to stop a leaking kitchen sink sprayer hose by inspecting, repairing, or replacing the spray head, hose, and diverter valve.
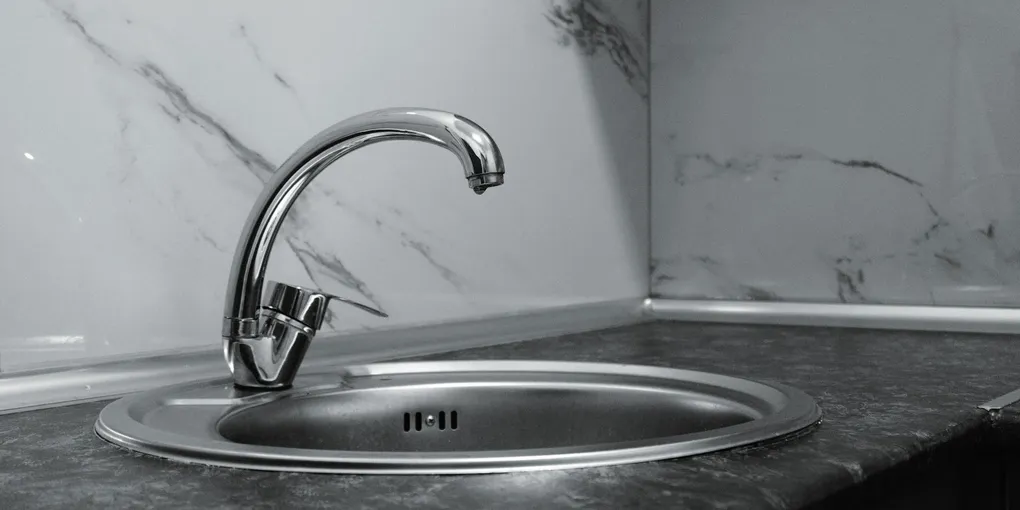
A leaking kitchen sink sprayer hose is a surprisingly common plumbing nuisance. Left unaddressed, a slow drip under the sink can soak the cabinet floor, encourage mold growth, and eventually damage the cabinet itself.
A leaking kitchen sink sprayer hose is a surprisingly common plumbing nuisance. Left unaddressed, a slow drip under the sink can soak the cabinet floor, encourage mold growth, and eventually damage the cabinet itself. The fix is almost always a DIY job that takes 30 to 60 minutes with basic tools.
The sprayer system on a kitchen sink has three parts that can fail: the spray head, the flexible hose, and the diverter valve inside the faucet body. Identifying which one is leaking will point you directly to the right repair.
Tools and Materials You Will Need
- Adjustable wrench or channel-lock pliers
- Flathead screwdriver
- Plumber’s thread tape (PTFE tape)
- Replacement spray head, hose, or diverter valve (as needed)
- Flashlight
- Bucket and towels
Step 1: Locate the Leak
Clear everything out from under the sink and place a flashlight inside to get a clear view. Turn on the water and activate the sprayer to see exactly where the drip is originating.
- Drip at the spray head: replace the head or its internal washer.
- Drip along the hose body or at a threaded connection: replace or reseal the hose.
- Drip at the faucet body where the hose connects: the diverter valve seals are likely failing.
- Water continues to flow from the faucet spout while you use the sprayer: the diverter valve is not redirecting flow properly and needs to be serviced.
Step 2: Shut Off the Water Supply
Turn both the hot and cold shut-off valves under the sink clockwise until they stop. Open the faucet to release pressure and drain any remaining water from the lines.
Step 3: Replace the Spray Head
If the leak is at the spray head, unscrew it from the hose by turning it counterclockwise. Inside, you will usually find a rubber washer or O-ring. If it is cracked or flattened, simply swap it for a matching replacement. If the head itself is corroded or cracked, thread on a new universal spray head. The Moen Replacement Kitchen Spray Head fits most standard hoses and is a reliable, affordable upgrade.
Wrap the hose threads with two layers of PTFE tape before threading on the new head to ensure a leak-free seal.
Step 4: Replace the Sprayer Hose
If the hose itself is damaged, you will need to remove the old one and install a replacement.
- Unscrew the spray head from the hose and set it aside.
- Under the sink, trace the hose to where it connects to the faucet body or a fitting on the supply line. Use an adjustable wrench to loosen this fitting and disconnect the hose.
- Pull the old hose up through the sink hole.
- Thread the new hose down through the same hole, connect it to the faucet fitting hand-tight, then snug it with a wrench — do not overtighten.
- Apply PTFE tape to the spray head end and reattach the head.
A high-quality replacement like the Danco Universal Kitchen Sprayer Hose is compatible with most faucet brands and includes all necessary hardware.
Step 5: Service the Diverter Valve
If the hose and head are in good shape but water leaks at the faucet body or the sprayer loses pressure, the diverter valve needs attention.
The diverter is typically located in the faucet body, accessible by removing the spout. Consult your faucet brand’s documentation or a parts diagram to locate it on your model. Once removed, the diverter can be soaked in white vinegar to dissolve mineral deposits, then the O-rings can be replaced with a rebuild kit or the entire diverter can be swapped out. Many hardware stores carry universal diverter kits, or you can order a brand-specific replacement.
Step 6: Restore Water and Test
Turn the shut-off valves back on slowly. Run the faucet, then squeeze the sprayer trigger and check all connections for any new drips. Dry the cabinet floor completely before putting anything back inside.
Preventing Future Leaks
Mineral buildup is the primary cause of sprayer failures. If you live in a hard-water area, soaking the spray head in vinegar once a year and replacing the hose every five to eight years will keep the system working reliably. A whole-house water softener or an inline faucet water filter can also reduce buildup significantly.
Sprayer hose repairs are well within the reach of any homeowner comfortable with basic plumbing. The parts are inexpensive, and you will avoid a potentially costly service call by handling it yourself.
- Locate the Leak
Clear everything out from under the sink and place a flashlight inside to get a clear view. Turn on the water and activate the sprayer to see exactly where the drip is originating.
- Shut Off the Water Supply
Turn both the hot and cold shut-off valves under the sink clockwise until they stop. Open the faucet to release pressure and drain any remaining water from the lines.
- Replace the Spray Head
If the leak is at the spray head, unscrew it from the hose by turning it counterclockwise. Inside, you will usually find a rubber washer or O-ring. If it is cracked or flattened, simply swap it for a matching replacement.
- Replace the Sprayer Hose
If the hose itself is damaged, you will need to remove the old one and install a replacement.
- Service the Diverter Valve
If the hose and head are in good shape but water leaks at the faucet body or the sprayer loses pressure, the diverter valve needs attention.
- Restore Water and Test
Turn the shut-off valves back on slowly. Run the faucet, then squeeze the sprayer trigger and check all connections for any new drips. Dry the cabinet floor completely before putting anything back inside.
Free: 10-Point Home Maintenance Checklist
Prevent costly repairs with this seasonal checklist. Save hundreds every year by catching problems early.
Your checklist is ready!
Open Checklist →Something went wrong. View the checklist here.