How to Fix a Leaking Shower Mixing Valve
Learn how to diagnose and replace a single-handle shower mixing valve cartridge to stop leaks and restore proper hot and cold water control.
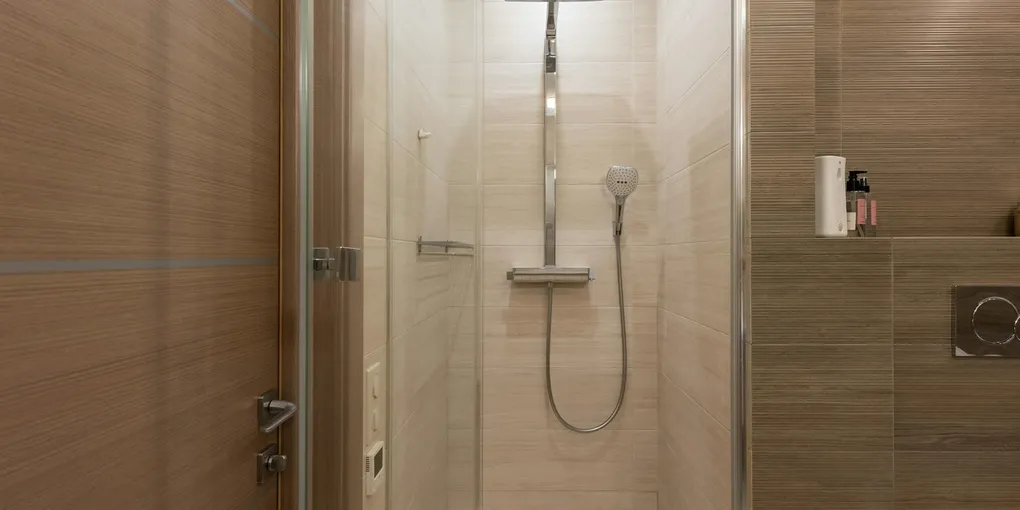
A leaking shower mixing valve wastes water, drives up your utility bill, and can leave mineral deposits that damage the valve body over time.
A leaking shower mixing valve wastes water, drives up your utility bill, and can leave mineral deposits that damage the valve body over time. Whether water is dripping behind the handle or your shower refuses to hold a consistent temperature, the fix almost always comes down to replacing the cartridge inside the valve — a repair most homeowners can complete in an afternoon.
Understanding the Mixing Valve
A single-handle shower mixing valve controls both water temperature and volume through a single cartridge. The cartridge contains ceramic discs or rubber seals that regulate the blend of hot and cold water. When those seals wear out or the discs crack, you get leaks, temperature swings, or both. Replacing the cartridge restores full function without touching the valve body plumbed into the wall.
Tools and Materials
- Flathead and Phillips screwdrivers
- Allen key set (hex wrenches)
- Needle-nose pliers or cartridge puller
- Adjustable wrench
- Replacement cartridge (brand and model matched to your valve)
- Plumber’s grease
- Towels and a small bucket
Step 1: Shut Off the Water
Locate the shower shutoff valves — often accessible through an access panel on the opposite side of the wall — or turn off the main supply. Open the shower handle after shutoff to release pressure and drain any standing water in the supply lines.
Step 2: Remove the Handle
Pop off the decorative cap on the handle with a flathead screwdriver to expose the set screw underneath. Remove the screw (typically a Phillips or Allen head) and pull the handle straight off. Some handles require a slight wiggle. Set the handle and screw in a safe place.
Step 3: Remove the Trim and Escutcheon
Unscrew the escutcheon plate (the decorative cover against the wall) and set it aside. You now have clear access to the valve body and the top of the cartridge.
Step 4: Extract the Cartridge
Most cartridges are held in place by a retaining clip or a single brass nut. Use needle-nose pliers to pull the retaining clip straight up and out. Then grip the cartridge stem with pliers — or use a dedicated cartridge puller tool — and pull straight out with steady, even pressure. Avoid twisting, which can snap the stem.
Step 5: Identify and Source the Replacement
Take the old cartridge to a plumbing supply store or photograph it alongside the valve brand markings. Moen uses the 1225 and 1222 series for many single-handle showers; Delta commonly uses the RP46074 or similar. Ordering the exact OEM replacement ensures a proper fit. A Moen replacement cartridge kit typically costs $15–$40 and includes the necessary O-rings and retaining clip.
Step 6: Install the New Cartridge
Apply a thin coat of plumber’s grease to the O-rings and the outside of the new cartridge body. Align the ears on the cartridge with the slots in the valve body — proper orientation ensures hot is on the left when you face the valve. Press the cartridge firmly into the valve body until it seats fully, then replace the retaining clip or tighten the brass nut finger-tight plus one quarter turn.
Step 7: Reassemble and Test
Slide the escutcheon back over the valve stem and screw it to the wall. Reinstall the handle and set screw, then replace the decorative cap. Turn the water supply back on slowly. Turn the handle through its full range and check for leaks at the valve body. Let the shower run for two minutes to flush any debris from the supply lines before checking temperature control.
Adjusting the Hot Limit Stop
Many cartridge valves include a hot limit stop — a plastic collar that prevents the handle from reaching full hot, a safety feature for households with children. If your water is lukewarm at maximum, the limit stop may be set too conservatively. Consult your valve’s installation guide to adjust it to the desired maximum temperature.
When to Replace the Valve Body
If the valve body itself is cracked, corroded, or so mineral-encrusted that the cartridge cannot seat properly, a full valve replacement is necessary. That job involves cutting into the wall and soldering or pressing new connections — a task best left to a licensed plumber. But for the vast majority of leaking shower mixing valves, a $25 cartridge and an hour of work is all it takes to get back to a perfect shower.
- Shut Off the Water
Locate the shower shutoff valves — often accessible through an access panel on the opposite side of the wall — or turn off the main supply. Open the shower handle after shutoff to release pressure and drain any standing water in the supply lines.
- Remove the Handle
Pop off the decorative cap on the handle with a flathead screwdriver to expose the set screw underneath. Remove the screw (typically a Phillips or Allen head) and pull the handle straight off. Some handles require a slight wiggle.
- Remove the Trim and Escutcheon
Unscrew the escutcheon plate (the decorative cover against the wall) and set it aside. You now have clear access to the valve body and the top of the cartridge.
- Extract the Cartridge
Most cartridges are held in place by a retaining clip or a single brass nut. Use needle-nose pliers to pull the retaining clip straight up and out.
- Identify and Source the Replacement
Take the old cartridge to a plumbing supply store or photograph it alongside the valve brand markings. Moen uses the 1225 and 1222 series for many single-handle showers; Delta commonly uses the RP46074 or similar.
- Install the New Cartridge
Apply a thin coat of plumber's grease to the O-rings and the outside of the new cartridge body. Align the ears on the cartridge with the slots in the valve body — proper orientation ensures hot is on the left when you face the valve.
Free: 10-Point Home Maintenance Checklist
Prevent costly repairs with this seasonal checklist. Save hundreds every year by catching problems early.
Your checklist is ready!
Open Checklist →Something went wrong. View the checklist here.