How to Fix a Leaking Radiator Valve
Learn how to stop a leaking radiator valve by tightening the packing nut, replacing the valve stem packing, or swapping out the entire valve.
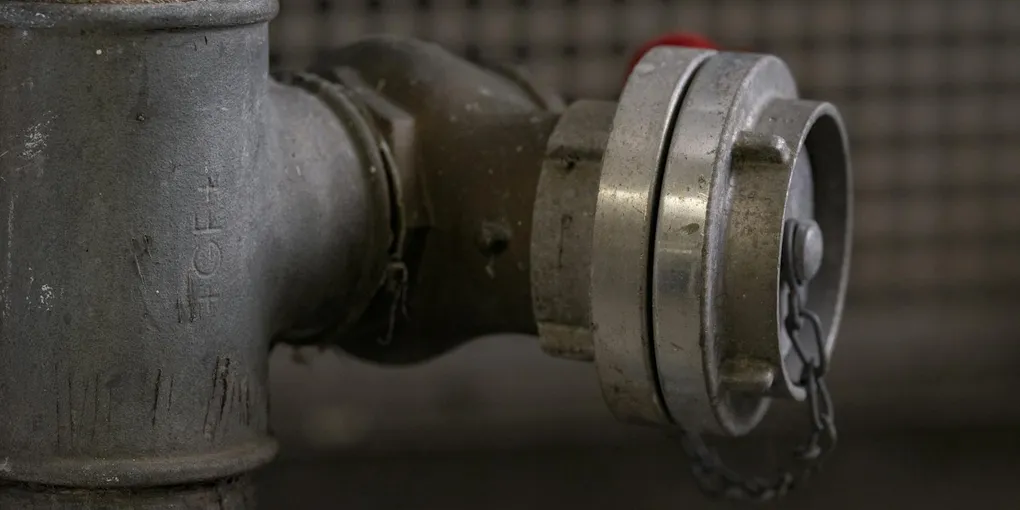
A dripping radiator valve left untreated can damage flooring, subflooring, and baseboards — and it wastes heat by slowly lowering the system pressure. Most radiator valve leaks are minor repairs that any handy homeowner can tackle with basic tools.
A dripping radiator valve left untreated can damage flooring, subflooring, and baseboards — and it wastes heat by slowly lowering the system pressure. Most radiator valve leaks are minor repairs that any handy homeowner can tackle with basic tools. This guide covers the three most common fixes: tightening the packing nut, repacking the valve stem, and replacing the valve entirely.
What You Need
- Adjustable wrench or pliers
- Replacement valve packing (graphite rope or O-rings)
- Replacement radiator valve — if full replacement is needed
- PTFE thread seal tape
- Pipe wrench
- Bucket and towels
- Penetrating oil
Step 1 — Locate and Confirm the Leak Source
Dry the valve and surrounding pipe thoroughly with a towel. Run a dry finger around every joint and watch where the moisture reappears. Radiator valve leaks have three common locations:
- Packing nut (stem gland): The nut directly below the handwheel. Water seeps out around the valve stem. This is the most common leak location.
- Compression or threaded connection at the radiator: Where the valve body meets the radiator inlet tail. A green or white corrosion ring around this joint indicates a slow leak.
- Body of the valve: Corrosion pinholes in the brass or iron body itself — less common but not repairable by repacking. Requires full valve replacement.
Identify exactly where your leak is before proceeding.
Step 2 — Try Tightening the Packing Nut
If the leak is at the packing nut, start with the simplest fix: tighten the nut a quarter turn clockwise with an adjustable wrench. Hold the valve body with your free hand to prevent it from rotating while you turn the nut.
Do this slowly and carefully. Overtightening a packing nut compresses the packing material so much that the valve stem can no longer be turned, or cracks a brittle old packing nut. Snug plus a quarter turn at a time, then wait several minutes and watch for drips.
If tightening stops the drip, you are done — no further work needed. If the nut is already as tight as it will go and the leak continues, the packing material is fully compressed and worn out. Proceed to repacking.
Step 3 — Drain the Radiator Loop (if repacking is needed)
Repacking a valve stem requires taking the valve apart, which means shutting off and partially draining the system.
For a hot water heating system:
- Turn off the boiler at the thermostat and allow the system to cool for at least 2 hours.
- Locate the drain valve at the lowest point of the system (often near the boiler) and attach a garden hose to direct water to a floor drain.
- Open the bleed valve at the top of the affected radiator to allow air in and water to drain from that loop.
- Drain enough water to bring the level below the radiator valve you are repairing — you do not need to drain the whole system.
For a steam system, simply turn off the boiler and wait for the system to fully cool and depressurize — typically 3 to 4 hours. Steam valves operate at low pressure and will be safe to open once cooled.
Place a bucket and towels under the valve before proceeding.
Step 4 — Remove the Packing Nut and Old Packing
Use an adjustable wrench to unscrew the packing nut fully counterclockwise and remove it. Set it aside. The valve stem (the rod connected to the handwheel) will now be loose. Pull or unscrew the stem up and out of the valve body.
Look inside the valve body for the old packing material. It may be a coil of hemp or graphite rope, a rubber O-ring, or a soft plastic washer. Use a pick tool or thin screwdriver to fish it out completely. Clean the packing chamber with a cloth.
Step 5 — Install New Packing and Reassemble
For rope packing: Cut a length of graphite packing rope and wrap it clockwise around the valve stem several times until it fills the packing chamber snugly when the stem is inserted. Do not pack it so full that the stem cannot rotate — test by hand.
For O-ring packing: Slide the new O-ring onto the valve stem at the correct position. Refer to the old packing location as a guide.
Reinsert the stem into the valve body and thread the packing nut back on by hand. Tighten with a wrench until firm — do not over-tighten.
Step 6 — Refill the System and Test
Slowly open the supply valve to refill the radiator loop. As water fills the radiator, open the bleed valve at the top of the radiator to release trapped air — close it as soon as a steady stream of water (not bubbles) emerges.
Once the system is refilled and the boiler is back on, bring the system up to operating temperature and inspect the repacked valve for any residual drips. A slight weep that appears when the system first pressurizes often stops once the new packing swells and settles. If it does not stop within 24 hours, tighten the packing nut one additional quarter turn.
Step 7 — Replace the Valve if Needed
If the valve body is corroded through, if the stem is cracked, or if repacking does not resolve the leak, full valve replacement is the right call. Drain the system as described above, then use a pipe wrench to unscrew the old valve from the radiator tail and the supply pipe. Wrap the threads of the new valve with three layers of PTFE tape and thread it into place. Refill and test.
Matching the valve size and connection type (compression or threaded) to the existing installation is critical — bring the old valve to a plumbing supply store if you are unsure of the specification.
Related Reading
- How to Bleed a Radiator
- How to Fix a Leaking Water Heater
- How to Winterize Your Home
- Step 1 — Locate and Confirm the Leak Source
Dry the valve and surrounding pipe thoroughly with a towel. Run a dry finger around every joint and watch where the moisture reappears. Radiator valve leaks have three common locations:
- Step 2 — Try Tightening the Packing Nut
If the leak is at the packing nut, start with the simplest fix: tighten the nut a quarter turn clockwise with an adjustable wrench. Hold the valve body with your free hand to prevent it from rotating while you turn the nut.
- Step 3 — Drain the Radiator Loop (if repacking is needed)
Repacking a valve stem requires taking the valve apart, which means shutting off and partially draining the system.
- Step 4 — Remove the Packing Nut and Old Packing
Use an adjustable wrench to unscrew the packing nut fully counterclockwise and remove it. Set it aside. The valve stem (the rod connected to the handwheel) will now be loose. Pull or unscrew the stem up and out of the valve body.
- Step 5 — Install New Packing and Reassemble
For rope packing: Cut a length of graphite packing rope and wrap it clockwise around the valve stem several times until it fills the packing chamber snugly when the stem is inserted. Do not pack it so full that the stem cannot rotate — test by hand.
- Step 6 — Refill the System and Test
Slowly open the supply valve to refill the radiator loop. As water fills the radiator, open the bleed valve at the top of the radiator to release trapped air — close it as soon as a steady stream of water (not bubbles) emerges.
Free: 10-Point Home Maintenance Checklist
Prevent costly repairs with this seasonal checklist. Save hundreds every year by catching problems early.
Your checklist is ready!
Open Checklist →Something went wrong. View the checklist here.