How to Fix a Leaking Pipe Joint in 5 Minutes Without Cutting Pipe
Stop a leaking pipe joint in 5 minutes with repair tape or epoxy putty — no pipe cutting needed. Then follow the permanent fix guide for PVC, copper, or threaded joints.
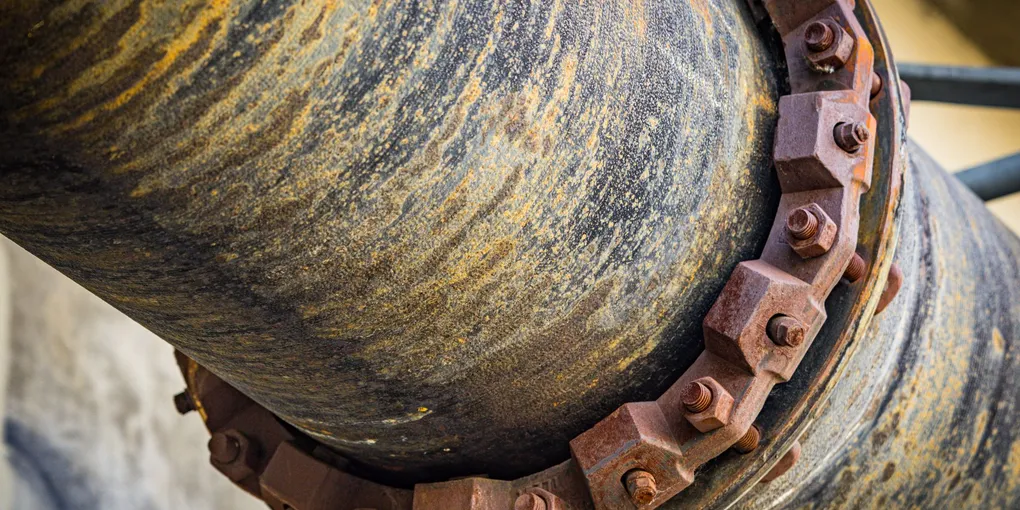
A leaking pipe joint announces itself quietly — a small drip, a wet cabinet floor, a mineral stain on the ceiling below a bathroom.
A leaking pipe joint announces itself quietly — a small drip, a wet cabinet floor, a mineral stain on the ceiling below a bathroom. Acting on it quickly prevents drywall damage, mold, and the kind of slow water leak that costs thousands in secondary damage over months.
The right repair depends on what type of pipe you have and what type of joint is leaking. Spend two minutes identifying the pipe material before buying anything.
Identify Your Pipe Type
- PVC (white or cream plastic): Common for drain lines and newer supply lines. Joints are solvent-welded (glued), not mechanical.
- CPVC (cream/yellow plastic): Common for hot and cold supply lines in homes built 1970s–2000s. Also solvent-welded.
- Copper: Shiny orange-brown metal, common in homes built before 2000. Joints are typically soldered (sweated) or use compression fittings.
- Galvanized steel: Gray metal with visible rust. Common in older homes. Joints are threaded.
- PEX (flexible plastic tubing, usually red/blue/white): Common in newer construction. Joints use crimp rings, clamps, or push-fit fittings.
What You Need
- Push-fit pipe repair coupling (SharkBite) — fits copper, PVC, CPVC, and PEX; no tools needed
- Epoxy pipe repair putty — for emergency sealing while planning a permanent fix
- PTFE (Teflon) tape — for threaded joint leaks
- Pipe cutter — for cutting out leaking sections cleanly
- Channel-lock pliers and adjustable wrench
- Clean rags and a bucket
Step 1: Shut Off Water and Dry the Area
For any repair other than wrapping a very minor weeping joint with silicone tape, shut off the water supply. For under-sink drain leaks, no shutoff is required — drain water has no pressure. For supply line joints (the pipes carrying pressurized water), shut off the water at the nearest valve, then open a downstream faucet to relieve pressure and drain the line.
Dry the joint area completely with a rag. Accurate diagnosis requires a dry pipe — wait and watch where the moisture reappears.
Step 2: Fix a Leaking Threaded Joint
Threaded joints (common on galvanized pipe, hose bibs, shutoff valves, and appliance connections) leak when the thread sealant has degraded or the joint was under-sealed at installation.
Disassemble and re-tape:
- Unscrew the fitting counterclockwise. Use two wrenches if needed — one to hold the pipe, one to turn the fitting — to avoid stressing the pipe.
- Dry the threads thoroughly.
- Wrap the male threads with 3–4 layers of PTFE tape, winding clockwise (so the tape wraps tighter as you thread the fitting on rather than unwinding).
- Optionally, apply a thin coat of pipe dope over the tape for an extra layer of sealing.
- Thread the fitting on by hand until snug, then tighten with a wrench — typically 2 full turns past hand-tight for 3/4” fittings.
- Restore water and check for leaks.
Step 3: Fix a Leaking Copper Soldered Joint
A leaking copper soldered joint has failed solder — usually from vibration, thermal stress, or a poor original solder job.
Option 1 — Push-fit fitting (no soldering required):
- Cut the copper pipe on each side of the failing joint with a pipe cutter. Make clean, square cuts 1–2 inches from the fitting.
- Remove the old fitting. Deburr the cut pipe ends with the reamer on the pipe cutter or sandpaper.
- Measure the gap and select a SharkBite or similar push-fit repair coupling sized for the gap.
- Mark the pipe at the insertion depth shown on the fitting. Push each pipe end firmly into the fitting until the mark is at the fitting face — you will feel it click into the collet.
- Restore water and check for leaks. Give the joint a pull test — it should not move.
Option 2 — Re-solder (requires torch and solder):
Heat the old fitting with a propane torch until the solder melts, then pull the fitting off with pliers. Clean the pipe ends and a new fitting with emery cloth until shiny. Apply flux, assemble the joint, heat, and feed lead-free solder into the joint. This option is preferred when there is not enough pipe length to work with push-fit fittings.
Step 4: Fix a Leaking PVC or CPVC Joint
Because PVC and CPVC joints are chemically fused, disassembly is not possible. The only repair is cut and replace.
- Cut the pipe on each side of the leaking fitting using a pipe cutter or hacksaw, leaving several inches of straight pipe on each side.
- Remove the old fitting.
- For PVC/CPVC: Dry-fit a new fitting and measure any gap. If the gap is too large for a standard fitting, a coupling plus a short section of pipe bridges it. Apply PVC primer to pipe ends and the inside of the fitting, then apply PVC cement. Assemble immediately — you have about 30 seconds before it sets. Hold for 30 seconds.
- Alternatively, use a push-fit coupling: SharkBite push-fit fittings are compatible with Schedule 40 PVC and CPVC. Cut cleanly, deburr, and push the fittings on. Faster and requires no primer or cement.
- Allow the solvent weld to cure per instructions (30 minutes for low pressure) before restoring water.
Step 5: Emergency Epoxy Putty Repair
When the leak is in a difficult location and a proper repair must wait, epoxy pipe putty provides a reliable temporary seal.
- Shut off water. Dry the area as thoroughly as possible.
- Cut or tear the amount of putty specified for the size of the leak. Knead the two-part compound together until the color is uniform.
- Press the putty firmly against and around the leaking joint. Smooth it with wet fingers.
- Allow to cure fully per the product instructions — typically 20–60 minutes. Do not restore water pressure early.
- Once cured, restore water slowly and check for seeping around the patch edges.
Epoxy putty holds reliably in low-pressure residential applications, but plan a proper repair within the next several months.
Related Reading
- How to Fix a Leaking Hose Bib — outdoor faucet and connection repairs
- How to Shut Off Water to Your House — locating shutoffs before a plumbing emergency
- How to Solder Copper Pipe — detailed torch and solder technique for copper joints
- Shut Off Water and Dry the Area
For any repair other than wrapping a very minor weeping joint with silicone tape, shut off the water supply. For under-sink drain leaks, no shutoff is required — drain water has no pressure.
- Fix a Leaking Threaded Joint
Threaded joints (common on galvanized pipe, hose bibs, shutoff valves, and appliance connections) leak when the thread sealant has degraded or the joint was under-sealed at installation.
- Fix a Leaking Copper Soldered Joint
A leaking copper soldered joint has failed solder — usually from vibration, thermal stress, or a poor original solder job.
- Fix a Leaking PVC or CPVC Joint
Because PVC and CPVC joints are chemically fused, disassembly is not possible. The only repair is cut and replace.
- Emergency Epoxy Putty Repair
When the leak is in a difficult location and a proper repair must wait, epoxy pipe putty provides a reliable temporary seal.
Free: 10-Point Home Maintenance Checklist
Prevent costly repairs with this seasonal checklist. Save hundreds every year by catching problems early.
Your checklist is ready!
Open Checklist →Something went wrong. View the checklist here.