How to Fix a Leaking Outdoor Sprinkler Head
Diagnose and repair a leaking or broken sprinkler head yourself to stop water waste, prevent lawn damage, and keep your irrigation system running efficiently.
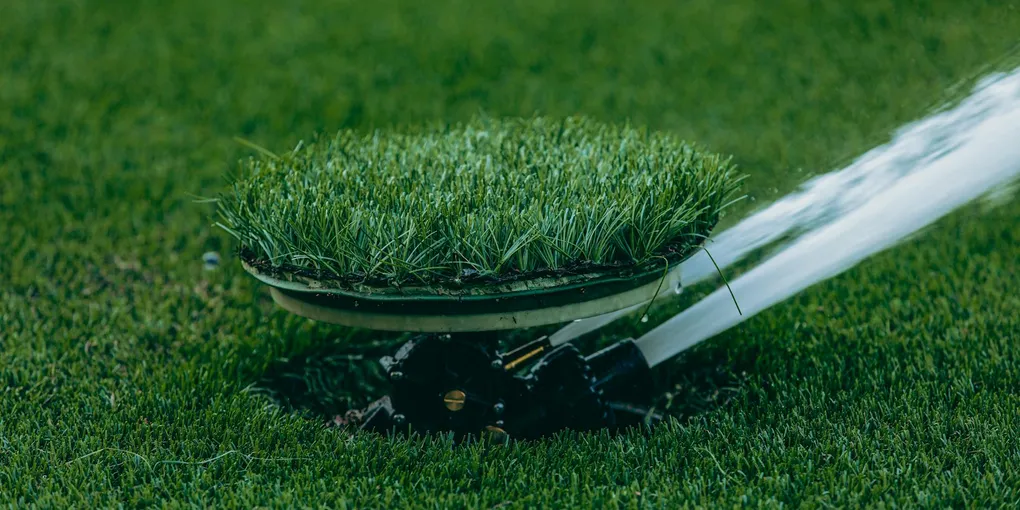
A leaking sprinkler head is one of the most common and most wasteful irrigation problems homeowners face. Whether water is pooling around a head between cycles, spraying in the wrong direction, or gushing from a cracked body, the fix is usually a straightforward replacement that takes less than 30 minutes per head.
A leaking sprinkler head is one of the most common and most wasteful irrigation problems homeowners face. Whether water is pooling around a head between cycles, spraying in the wrong direction, or gushing from a cracked body, the fix is usually a straightforward replacement that takes less than 30 minutes per head. Catching and fixing this problem early protects your lawn, prevents soggy spots that breed disease, and keeps your water bill in check.
Diagnosing the Problem First
Walk your yard during an irrigation cycle and again an hour after the system shuts off. Note which heads are:
- Leaking from the body or around the base during operation
- Trickling or draining continuously after the cycle ends (low-head drainage)
- Spraying unevenly, misting instead of throwing a clear stream, or rotating only partially
- Stuck in the up position after the zone shuts off
Each symptom points to a slightly different fix, but the repair process is similar for all of them.
Tools and Materials You Will Need
- Replacement sprinkler head (matched to existing model and radius)
- Small flat-blade shovel or garden trowel
- Old towel or rag
- Adjustable pliers (optional)
- Teflon thread tape
- Replacement nozzle (if only the nozzle is damaged)
Pick up a matched replacement sprinkler head that matches your system brand and precipitation rate. If you have rotary heads in a zone mixed with spray heads, do not swap types — mismatched precipitation rates create dry spots. For low-head drainage, check valve sprinkler heads have the solution built into the body.
Step 1: Run the Zone and Mark the Head
Turn on the affected zone from the controller so the heads pop up and you can confirm which head is the problem. Mark it with a small flag or stake if needed, then shut the zone off and allow the heads to retract.
Step 2: Dig Around the Head
Use your trowel to carefully clear soil from around the head until you can see the base of the body and the inlet riser below it. Typically 4 to 6 inches of clearance is enough. Avoid digging aggressively near the head — the riser and lateral supply pipe can crack under point pressure.
Step 3: Unscrew the Old Head
Grip the body of the head and turn it counterclockwise. Most heads thread directly onto a threaded riser or a flexible swing joint. They should unscrew by hand, though pliers with a rag to protect the plastic may help if it is stuck. Once free, set the old head aside.
Step 4: Clean the Riser Threads
Wipe the exposed riser threads with a clean rag to remove soil and debris. Inspect the threads for cracks — if the riser itself is damaged, it will need replacement before you install the new head. Wrap two layers of Teflon thread tape clockwise around the riser threads to ensure a watertight connection.
Step 5: Install the New Head
Hand-thread the new sprinkler head clockwise onto the riser. Tighten firmly by hand — most plastic heads do not require tool tightening and can crack if over-torqued. Make sure the head sits at the right height: the top of a pop-up head should sit flush with or just slightly above grade so mowers pass over it cleanly and it does not create a trip hazard on turf edges.
Step 6: Adjust the Spray Arc and Radius
Most spray heads have a small adjustment screw in the top of the nozzle. Use a sprinkler adjustment tool or a small flathead screwdriver to set the arc. Rotary heads have a collar you rotate by hand to set the start and stop points. Run the zone briefly and confirm the spray pattern covers the intended area without over-spraying onto pavement or structures.
Step 7: Backfill and Test
Fill in the soil around the head, tamping lightly so the head is stable but can still pop up freely. Run a full zone cycle and watch the repaired head through its entire run time. Check for leaks at the base after the zone shuts off — a dry base after 15 minutes confirms a successful repair.
Seasonal Maintenance Tips
Inspect all sprinkler heads at the start of each irrigation season. Clear any turf overgrowth that covers heads, and flush nozzles that show reduced output by removing and rinsing them in clean water. A little early-season attention prevents mid-summer failures when your lawn needs irrigation most.
- Run the Zone and Mark the Head
Turn on the affected zone from the controller so the heads pop up and you can confirm which head is the problem. Mark it with a small flag or stake if needed, then shut the zone off and allow the heads to retract.
- Dig Around the Head
Use your trowel to carefully clear soil from around the head until you can see the base of the body and the inlet riser below it. Typically 4 to 6 inches of clearance is enough.
- Unscrew the Old Head
Grip the body of the head and turn it counterclockwise. Most heads thread directly onto a threaded riser or a flexible swing joint. They should unscrew by hand, though pliers with a rag to protect the plastic may help if it is stuck.
- Clean the Riser Threads
Wipe the exposed riser threads with a clean rag to remove soil and debris. Inspect the threads for cracks — if the riser itself is damaged, it will need replacement before you install the new head.
- Install the New Head
Hand-thread the new sprinkler head clockwise onto the riser. Tighten firmly by hand — most plastic heads do not require tool tightening and can crack if over-torqued.
- Adjust the Spray Arc and Radius
Most spray heads have a small adjustment screw in the top of the nozzle. Use a sprinkler adjustment tool or a small flathead screwdriver to set the arc. Rotary heads have a collar you rotate by hand to set the start and stop points.
Free: 10-Point Home Maintenance Checklist
Prevent costly repairs with this seasonal checklist. Save hundreds every year by catching problems early.
Your checklist is ready!
Open Checklist →Something went wrong. View the checklist here.