How to Fix a Leaking Outdoor Spigot Stem
Learn how to stop a dripping outdoor faucet by replacing the packing washer or stem packing nut — a 30-minute DIY repair that prevents wasted water and freeze damage.
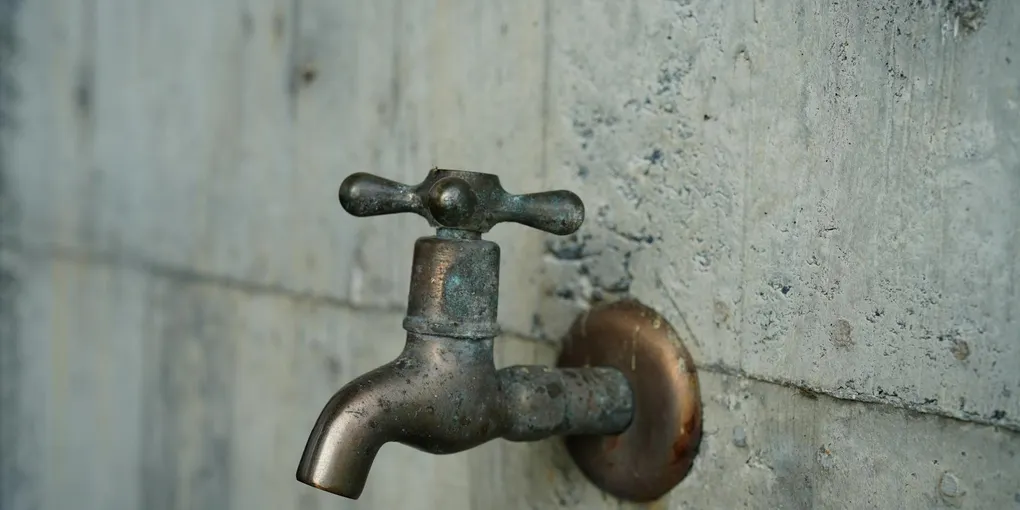
An outdoor spigot that drips around the handle is wasting water every minute it runs and can rot wood siding or damage the foundation wall if left long enough. The most common cause is a worn packing washer — a small rubber or fiber disc that seals the rotating stem inside the faucet body.
An outdoor spigot that drips around the handle is wasting water every minute it runs and can rot wood siding or damage the foundation wall if left long enough. The most common cause is a worn packing washer — a small rubber or fiber disc that seals the rotating stem inside the faucet body. Replacing it takes about 30 minutes and costs a few dollars in parts.
Understanding How a Spigot Stem Works
The stem is the long threaded shaft that screws in and out as you turn the handle. The packing washer sits around the stem behind the packing nut and creates a watertight seal as the stem rotates. Over time, heat, UV exposure, and mineral deposits degrade the washer, and water finds its way up around the stem and out through the packing nut area.
What You Will Need
- Adjustable wrench or channel-lock pliers
- Flathead screwdriver
- Replacement packing washer or packing string kit
- Plumber’s grease (silicone grease)
- Small wire brush
- Bucket or towels
A universal outdoor faucet repair kit that includes multiple washer sizes, O-rings, and packing string is a smart buy for under $10 and covers most spigot stem repairs you will encounter.
Step 1: Shut Off the Water Supply
Find the interior shutoff valve for the outdoor faucet — usually on a pipe inside the basement, crawl space, or utility room near the exterior wall where the spigot is mounted. Turn it clockwise to close. Then go outside, open the spigot fully, and let it drain. Leave the spigot open while you work.
Step 2: Remove the Handle
Look for a screw on top of or beneath the handle cap. Remove it and pull the handle straight off the stem. On older faucets, the handle may be held by a hex nut rather than a screw.
Step 3: Remove the Packing Nut
The packing nut is the large hexagonal nut just behind where the handle sits. Grip it with an adjustable wrench and turn counterclockwise. Have a towel ready in case residual water drips out. Once the nut is removed, you can slide it down the stem and set it aside.
Step 4: Inspect and Replace the Packing
Look at the packing material around the stem. You may find:
- A rubber packing washer — a disc seated in a recess on the packing nut or stem. Pull the old one out, coat a new same-size washer with plumber’s grease, and press it into place.
- Packing string (graphite rope) — wrapped around the stem in a channel. Unwind the old string, clean the channel with a wire brush, and wrap three or four loops of new packing string in the same channel, pressing it firmly with your thumb.
The Danco Universal Packing Repair Kit is widely available and includes both string and pre-formed washers for different stem styles, making it easy to match your exact faucet.
Step 5: Reassemble the Faucet
Thread the packing nut back onto the faucet body clockwise and tighten it firmly with the wrench. You want it snug — tight enough to compress the packing material — but not so tight that it is difficult to turn the handle. Reinstall the handle and tighten the handle screw.
Step 6: Test for Leaks
Go inside and slowly open the shutoff valve. Return to the spigot and turn the handle through its full range a few times. Watch carefully around the packing nut area while the faucet is both open and closed. A small drip that stops after the packing nut is snugged a quarter-turn tighter is normal. A persistent stream means the packing material is not seating correctly and needs to be replaced or added to.
Bonus Tip: Add a Vacuum Breaker
If your outdoor spigot does not already have a vacuum breaker or backflow preventer installed on the outlet, this is a great time to add one. It threads directly onto the spout and prevents contaminated water from being siphoned back into your home’s supply line — a code requirement in most jurisdictions for any faucet used with a garden hose.
When to Replace the Entire Spigot
If the stem threads are stripped, the faucet body is cracked, or the valve seat (the internal surface the stem washer presses against) is severely pitted, a full faucet replacement is more cost-effective than continued patchwork. Frost-free sillcocks are the modern standard and are worth the upgrade if you are already doing the work.
- Shut Off the Water Supply
Find the interior shutoff valve for the outdoor faucet — usually on a pipe inside the basement, crawl space, or utility room near the exterior wall where the spigot is mounted. Turn it clockwise to close.
- Remove the Handle
Look for a screw on top of or beneath the handle cap. Remove it and pull the handle straight off the stem. On older faucets, the handle may be held by a hex nut rather than a screw.
- Remove the Packing Nut
The packing nut is the large hexagonal nut just behind where the handle sits. Grip it with an adjustable wrench and turn counterclockwise. Have a towel ready in case residual water drips out.
- Inspect and Replace the Packing
Look at the packing material around the stem. You may find:
- Reassemble the Faucet
Thread the packing nut back onto the faucet body clockwise and tighten it firmly with the wrench. You want it snug — tight enough to compress the packing material — but not so tight that it is difficult to turn the handle.
- Test for Leaks
Go inside and slowly open the shutoff valve. Return to the spigot and turn the handle through its full range a few times. Watch carefully around the packing nut area while the faucet is both open and closed.
Free: 10-Point Home Maintenance Checklist
Prevent costly repairs with this seasonal checklist. Save hundreds every year by catching problems early.
Your checklist is ready!
Open Checklist →Something went wrong. View the checklist here.