How to Fix a Leaking Outdoor Shower
Learn how to diagnose and repair the most common outdoor shower leaks, from dripping faucets to loose pipe connections, using basic plumbing tools.
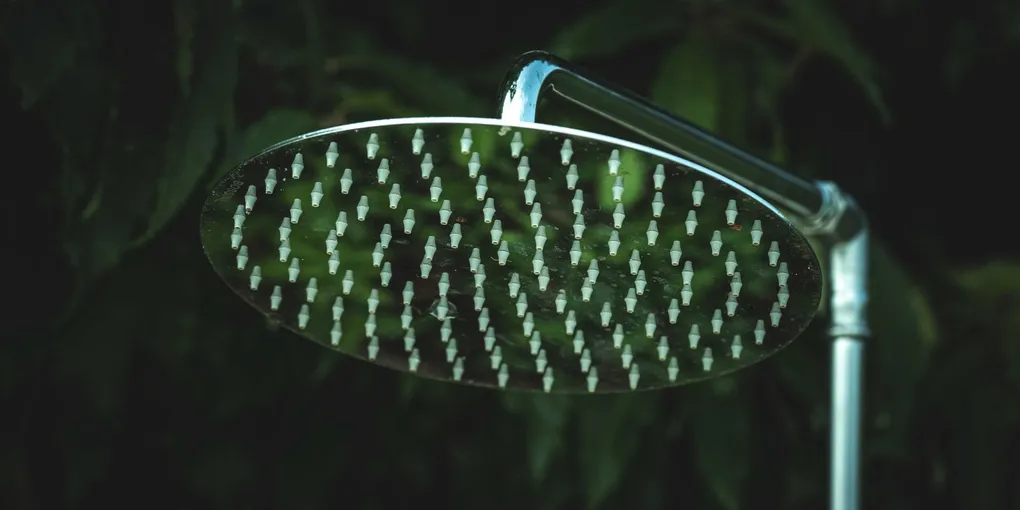
An outdoor shower is a summer luxury — until it starts leaking. A steady drip wastes water, erodes surrounding surfaces, and can rot deck boards or corrode a concrete pad over time.
An outdoor shower is a summer luxury — until it starts leaking. A steady drip wastes water, erodes surrounding surfaces, and can rot deck boards or corrode a concrete pad over time. Most outdoor shower leaks fall into a handful of categories, all of which are manageable DIY repairs.
Identify the Source Before You Touch Anything
The fastest way to misdiagnose a shower leak is to start disassembling before you understand where the water is coming from. Dry the entire fixture with a towel, then turn the water on briefly and watch closely:
- Drip from the showerhead or spout when the valve is off: worn cartridge or washer inside the handle valve
- Seeping from a fitting or union: failed thread sealant or a loose connection
- Water pooling at the base: cracked pipe section or a failed underground connection
- Leak only when shower is running: loose showerhead connection or cracked arm
What You’ll Need
- Adjustable wrench and channel-lock pliers
- Phillips and flathead screwdrivers
- Replacement cartridge (match brand and model)
- PTFE thread seal tape
- Thread sealant compound (optional, for brass-to-steel joints)
- Pipe cutter or hacksaw (if replacing a section)
- Teflon-safe pipe dope
The LASCO Faucet Repair Kit covers most standard valve styles. For wrapping fittings, Oatey PTFE Thread Seal Tape is a reliable choice available at most hardware stores and online.
Repairing a Dripping Outdoor Faucet
Step 1: Shut Off the Water
Locate the dedicated shutoff for the outdoor shower line — often in a nearby utility area, crawl space, or basement. If none exists, shut off the main. Open the shower valve briefly to bleed pressure from the line.
Step 2: Remove the Handle
Pry off the decorative cap on the handle to reveal a screw (usually Phillips). Remove the screw and pull the handle straight off. You may need to wiggle it gently if mineral buildup has bonded it.
Step 3: Replace the Cartridge or Washer
For cartridge-style valves, use pliers to pull the retaining clip and then pull the cartridge straight out. Bring it to a plumbing supply store or search the brand and model number to find an exact replacement. Push the new cartridge in, aligning the tabs, and reinstall the retaining clip.
For older compression-style valves, unscrew the packing nut and remove the stem. The rubber washer at the bottom is held by a brass screw — replace it with a matching size.
Step 4: Reassemble and Test
Reinstall the handle, restore water pressure, and verify the drip is gone.
Fixing a Leaking Pipe Fitting
Step 1: Drain the Line
Shut off water supply and open the valve to drain remaining water from the line.
Step 2: Disassemble the Fitting
Use two wrenches — one to hold the adjacent pipe steady, one to turn the fitting — to avoid torquing the whole assembly. Remove the fitting completely.
Step 3: Clean and Re-seal the Threads
Wire-brush old sealant off the male threads. Wrap 3–4 layers of PTFE tape clockwise around the threads. Optionally apply a small amount of thread sealant compound over the tape for metal-to-metal connections outdoors.
Step 4: Reassemble
Hand-tighten the fitting, then use a wrench to add 1.5 to 2 full turns — firm but not excessive. Restore water and check for seeping at the joint.
Replacing a Corroded Pipe Section
If a pipe section is visibly cracked, pitted, or has a pinhole leak, cut it out and replace it with a slip coupling. The SharkBite Stainless Steel Slip Coupling allows tool-free repair on copper or CPVC lines by simply pushing the pipe ends in — no soldering required for most configurations.
Prevention Tips
- Install a dedicated shutoff and drain valve so you can fully winterize the outdoor shower line each fall.
- Inspect all fittings at the start of each outdoor shower season for early signs of corrosion or mineral buildup.
- Apply a thin coat of plumber’s grease to rubber washers during reassembly to extend their service life.
With the right parts and an hour of focused work, most outdoor shower leaks are fully resolved without any professional help.
- Identify the Source Before You Touch Anything
The fastest way to misdiagnose a shower leak is to start disassembling before you understand where the water is coming from. Dry the entire fixture with a towel, then turn the water on briefly and watch closely:
- What You'll Need
Adjustable wrench and channel-lock pliers
- Replacing a Corroded Pipe Section
If a pipe section is visibly cracked, pitted, or has a pinhole leak, cut it out and replace it with a slip coupling.
- Prevention Tips
Install a dedicated shutoff and drain valve so you can fully winterize the outdoor shower line each fall.
Free: 10-Point Home Maintenance Checklist
Prevent costly repairs with this seasonal checklist. Save hundreds every year by catching problems early.
Your checklist is ready!
Open Checklist →Something went wrong. View the checklist here.