How to Fix a Leaking Outdoor Hose Reel
Learn how to stop leaks at garden hose reel fittings and connectors by replacing washers, O-rings, and worn quick-connect couplings.
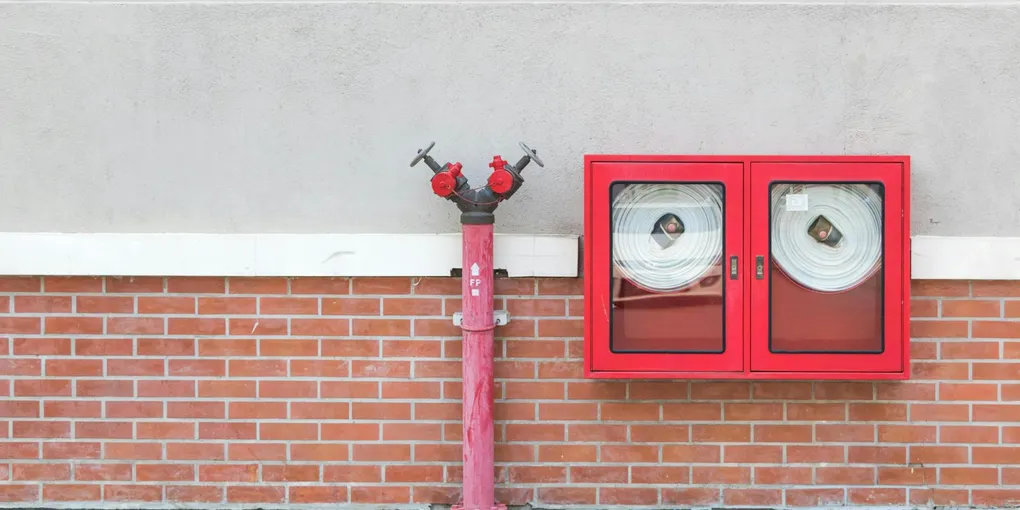
A dripping hose reel wastes water, can erode soil around your foundation, and creates a slipping hazard on patios and walkways.
A dripping hose reel wastes water, can erode soil around your foundation, and creates a slipping hazard on patios and walkways. The good news is that almost every garden hose reel leak traces back to a worn rubber part — a washer, an O-ring, or a cracked quick-connect fitting — all of which are cheap and easy to replace yourself.
What You Will Need
- Adjustable pliers or channel-lock pliers
- Flat-head screwdriver
- PTFE thread seal tape
- Replacement hose washers (assorted pack)
- Replacement O-rings (assorted pack)
- Silicone grease or petroleum jelly
- Hose repair coupling (if mid-hose leak)
Step 1: Locate the Leak
Turn on the water supply and watch the reel carefully while the water runs. Common leak points are:
- The fitting where the hose connects to the wall spigot
- The quick-connect collar where the hose attaches to the reel inlet
- The swivel joint on retractable reel models
- A small crack or pinhole somewhere along the hose itself
Dry the reel and fittings with a rag first, then run the water again. Watching where water first appears tells you exactly what to fix.
Step 2: Replace the Hose Washer
The flat rubber washer inside the female hose fitting is the number one cause of spigot-end leaks. To replace it:
- Turn off the water supply.
- Unscrew the hose fitting from the spigot by hand or with pliers. Wrap the jaws in electrical tape first to avoid scratching the metal.
- Look inside the threaded end of the fitting — you will see a small flat rubber disc. Pry it out with a flat-head screwdriver.
- Press a new washer of the same diameter firmly into place.
An assorted hose washer kit gives you every size you might need for under $5 and lasts for years. Before reattaching the fitting, wrap the spigot threads with 2 to 3 layers of PTFE tape to seal the threaded connection as well.
Step 3: Fix a Leaking Quick-Connect Fitting
Push-fit quick-connect couplings are convenient, but their internal O-rings wear out and crack over time, especially after a winter freeze. To repair one:
- Disconnect the quick-connect collar from the reel inlet.
- Use a flat-head screwdriver to carefully pry out the old O-ring seated in the groove inside the collar.
- Roll a new O-ring of the matching diameter into the groove.
- Apply a thin film of silicone grease to the O-ring before reconnecting.
If the plastic collar itself is cracked, the whole quick-connect set needs replacement. A quick-connect hose fitting set typically includes both male and female connectors and installs in minutes.
Step 4: Repair a Mid-Hose Leak
A pinhole or small crack in the hose body can be sealed quickly with self-fusing silicone repair tape. Dry the hose thoroughly, stretch the tape tightly as you wrap it — it bonds to itself and creates a waterproof patch with no adhesive needed.
For a longer split or a fitting that has pulled away from the hose end:
- Cut out the damaged section with a utility knife or hose cutter.
- Push each cut end onto a barbed hose repair coupling.
- Slide hose clamps over each end and tighten with a screwdriver until snug.
Step 5: Address the Swivel Joint on Retractable Reels
Retractable reels have a rotating swivel that allows the hose to unspool freely. This swivel has an internal O-ring or lip seal that eventually wears out and weeps water. Most swivels unscrew counterclockwise from the reel housing. Once open, pull out the old seal, install a new one of the same size, grease it lightly with silicone grease, and reassemble.
Preventing Future Leaks
- Disconnect the hose from the spigot at the end of each season and drain the reel before the first freeze. Frozen water inside fittings is the fastest way to crack them.
- Store retractable reels in a covered area or a garage during winter months.
- Check washers and O-rings at the start of each spring before the heavy-use season begins.
Most hose reel leaks take under 30 minutes to fix and cost only a few dollars in parts. A quick repair now prevents water waste, protects your yard and foundation, and extends the life of the reel for many more seasons.
- Locate the Leak
Turn on the water supply and watch the reel carefully while the water runs. Common leak points are:
- Replace the Hose Washer
The flat rubber washer inside the female hose fitting is the number one cause of spigot-end leaks. To replace it:
- Fix a Leaking Quick-Connect Fitting
Push-fit quick-connect couplings are convenient, but their internal O-rings wear out and crack over time, especially after a winter freeze. To repair one:
- Repair a Mid-Hose Leak
A pinhole or small crack in the hose body can be sealed quickly with self-fusing silicone repair tape. Dry the hose thoroughly, stretch the tape tightly as you wrap it — it bonds to itself and creates a waterproof patch with no adhesive needed.
- Address the Swivel Joint on Retractable Reels
Retractable reels have a rotating swivel that allows the hose to unspool freely. This swivel has an internal O-ring or lip seal that eventually wears out and weeps water. Most swivels unscrew counterclockwise from the reel housing.
Free: 10-Point Home Maintenance Checklist
Prevent costly repairs with this seasonal checklist. Save hundreds every year by catching problems early.
Your checklist is ready!
Open Checklist →Something went wrong. View the checklist here.