How to Fix a Leaking Outdoor Faucet Stem
Learn how to repair a leaking outdoor faucet by replacing the stem packing to stop drips and water waste at the handle.
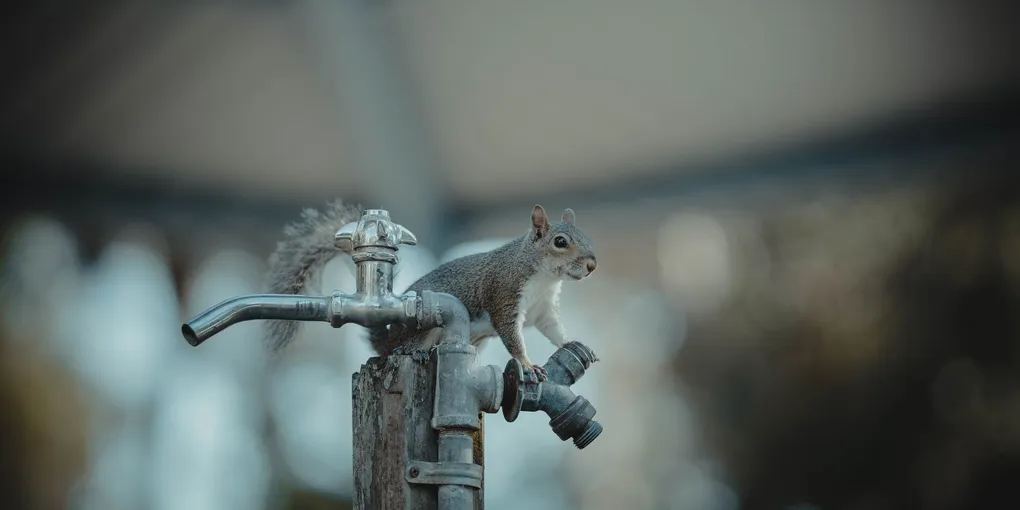
An outdoor faucet that drips or leaks around the handle wastes water, can damage the siding behind it, and in winter may allow freezing water to back up toward the house. The most common cause of handle-area leaks on outdoor faucets is worn stem packing — the sealing material that wraps around the valve stem inside the faucet body.
An outdoor faucet that drips or leaks around the handle wastes water, can damage the siding behind it, and in winter may allow freezing water to back up toward the house. The most common cause of handle-area leaks on outdoor faucets is worn stem packing — the sealing material that wraps around the valve stem inside the faucet body. Replacing it is an intermediate DIY task that requires no special skills and costs just a few dollars in parts.
Understanding the Outdoor Faucet Stem Assembly
A standard outdoor hose bib (the technical name for an outdoor faucet) works by turning a stem that has a rubber washer at its tip against a seat inside the faucet body. The stem passes through the faucet body and is sealed by packing — either a rubber O-ring, graphite packing cord, or a packing washer held in place by a packing nut. When you see water weeping out around the handle or down the faucet body while the water is on, the packing has failed.
Tools and Materials You Will Need
- Adjustable wrench or pipe wrench
- Flathead and Phillips screwdrivers
- Needle-nose pliers
- Outdoor faucet packing repair kit
- Replacement hose bib stem (if stem is corroded or damaged)
- Teflon tape (plumber’s tape)
- Plumber’s grease
- Towels
Step 1: Shut Off the Water Supply
Locate the shutoff valve for the outdoor faucet. Many homes have a dedicated shutoff inside the basement or crawlspace on the pipe feeding the hose bib. Turn it clockwise to close. If you cannot find a dedicated shutoff, use the main water supply valve for the house.
Open the outdoor faucet fully after shutting off supply — this releases pressure and drains remaining water from the pipe so you can work on it dry.
Step 2: Remove the Handle
Pry off the decorative cap on the handle (if present) with a flathead screwdriver. Remove the screw underneath and pull the handle straight off the stem. If the handle is stuck from corrosion, wiggle it gently side to side while pulling — do not force it hard or you may crack a plastic handle.
Step 3: Remove the Packing Nut
Behind the handle, you will see a hexagonal packing nut. Use an adjustable wrench to turn it counterclockwise and unscrew it from the faucet body. Have a towel ready — residual water will drain out as you remove the nut.
Once the packing nut is off, look inside it and at the stem behind it. You should see the old packing material: a rubber washer, O-ring, or graphite cordage wrapped around the stem.
Step 4: Replace the Packing
Remove all old packing material from the nut and stem using needle-nose pliers. Clean the surfaces with a dry cloth.
Install the new packing from your repair kit:
- If using a packing washer or O-ring: Slide the new washer onto the stem before threading the packing nut back on.
- If using graphite packing cord: Wrap two to three turns of cord clockwise around the stem in the channel behind the packing nut seat. Tuck the end in neatly so it will compress when the nut is tightened.
Apply a thin coat of plumber’s grease to the new packing and to the stem threads before reassembly. This extends packing life and makes future repairs easier.
Step 5: Reassemble and Test
Thread the packing nut back onto the faucet body clockwise by hand until snug, then tighten with the wrench — firm, but not over-tightened. The handle should still turn smoothly when the packing nut is correctly tightened. Reattach the handle, replace the handle screw, and snap the decorative cap back on.
Turn the water supply back on slowly. Open the outdoor faucet and watch around the handle for any dripping while the water runs. A properly packed stem will be completely dry around the handle area.
Step 6: Replace the Full Stem If Needed
If the stem itself is visibly corroded, pitted, or the seat washer at its tip is deteriorated (causing a drip at the nozzle even when fully off), replace the entire stem. Unscrew the packing nut fully and pull the stem straight out of the faucet body — it unscrews from the inside once the handle turns it enough. Take the old stem to the hardware store for an exact match. Frost-free hose bib repair kits include both a new stem and packing washer in one package and work for the most common faucet types.
Install the new stem by threading it into the faucet body clockwise, reassemble the packing nut, and test as described above. With a fresh stem and packing, your outdoor faucet should be fully watertight and smooth-operating for years to come.
- Shut Off the Water Supply
Locate the shutoff valve for the outdoor faucet. Many homes have a dedicated shutoff inside the basement or crawlspace on the pipe feeding the hose bib. Turn it clockwise to close.
- Remove the Handle
Pry off the decorative cap on the handle (if present) with a flathead screwdriver. Remove the screw underneath and pull the handle straight off the stem.
- Remove the Packing Nut
Behind the handle, you will see a hexagonal packing nut. Use an adjustable wrench to turn it counterclockwise and unscrew it from the faucet body. Have a towel ready — residual water will drain out as you remove the nut.
- Replace the Packing
Remove all old packing material from the nut and stem using needle-nose pliers. Clean the surfaces with a dry cloth.
- Reassemble and Test
Thread the packing nut back onto the faucet body clockwise by hand until snug, then tighten with the wrench — firm, but not over-tightened. The handle should still turn smoothly when the packing nut is correctly tightened.
- Replace the Full Stem If Needed
If the stem itself is visibly corroded, pitted, or the seat washer at its tip is deteriorated (causing a drip at the nozzle even when fully off), replace the entire stem.
Free: 10-Point Home Maintenance Checklist
Prevent costly repairs with this seasonal checklist. Save hundreds every year by catching problems early.
Your checklist is ready!
Open Checklist →Something went wrong. View the checklist here.