How to Fix a Leaking Kitchen Sink Drain: Step-by-Step Guide
Learn how to diagnose and repair a leaking kitchen sink drain or P-trap with this practical DIY plumbing guide.
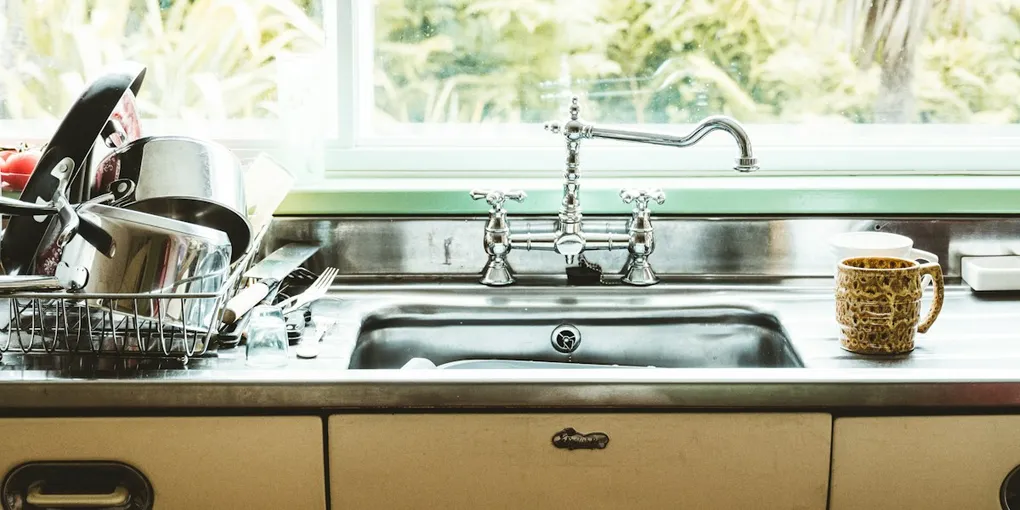
A dripping kitchen sink drain can soak cabinet floors, warp shelving, and breed mold long before you notice it. The repair is almost always a simple DIY job — no special plumbing license required.
A dripping kitchen sink drain can soak cabinet floors, warp shelving, and breed mold long before you notice it. The repair is almost always a simple DIY job — no special plumbing license required. Most leaks trace back to a worn washer, a loose slip nut, or dried-out putty around the basket strainer.
Identify Where the Leak Is Coming From
The most important step is locating the exact source. Put a dry towel under the entire drain assembly and run water in the sink. Watch carefully:
- Leak at the sink basin around the drain rim — the basket strainer seal has failed (putty or silicone)
- Leak at a slip-joint connection — a nut is loose or a washer is worn
- Leak from the P-trap body — the trap is cracked or corroded
- Leak where the drain meets the wall — the trap arm connection is loose or the wall fitting is damaged
Knowing the source lets you buy exactly what you need before you start disassembly.
Tools and Materials
- Slip-joint pliers or channel-lock pliers
- Bucket and old towels
- Plumbers putty or silicone (for basket strainer leaks)
- Replacement P-trap kit (if the trap body is damaged)
- Replacement rubber washers (sized for 1.5-inch drain pipe)
- Pipe thread tape (for threaded connections)
A PVC P-trap replacement kit costs only a few dollars and is worth having on hand even if you end up only replacing washers — the slip nuts and washers in the kit are often of better quality than the aging ones already on your pipes.
Step 1: Clear the Cabinet and Prepare
Remove everything stored under the sink. Place a bucket directly under the P-trap to catch the water that will spill when you open the joints. Keep a towel nearby.
Step 2: Tighten Loose Slip-Joint Nuts
Before removing anything, try hand-tightening each plastic slip nut along the drain assembly. Then snug each one an additional quarter turn with slip-joint pliers — no more. Run water and check again. If tightening alone stops the drip, you are done.
Step 3: Replace Worn Washers
If tightening does not stop the leak, disassemble the leaking joint. Loosen the slip nut by hand or with pliers (counter-clockwise), slide it back, and pull the pipe sections apart. Inside each slip nut is a beveled rubber or plastic washer. Inspect it for cracking, flattening, or obvious wear.
Replacement drain washers are inexpensive and sold in assorted packs. Seat the new washer squarely in the fitting, reassemble, and retighten.
Step 4: Replace a Cracked P-Trap
If the P-trap body itself is cracked or brittle, the whole trap needs to go. Unscrew both slip nuts — one connecting to the drain tailpiece above and one connecting to the trap arm going into the wall. The trap will drop free once both nuts are loose. Take the old trap to the store to match the diameter (usually 1.5 inches on kitchen sinks) and the trap arm offset.
Install the new trap by sliding the slip nuts and washers onto the pipe ends first, then mating the connections and tightening the slip nuts snugly.
Step 5: Reseal the Basket Strainer (If Needed)
If the leak is at the drain rim in the sink basin, the basket strainer needs to be reseated. Unscrew the large locknut under the sink (a basket strainer wrench makes this much easier), lift the strainer out from above, clean off the old putty or silicone, and apply a fresh rope of plumbers putty around the underside of the drain flange before pressing it back into the sink hole. Tighten the locknut from below until snug.
Final Test
Run both hot and cold water for a few minutes with the drain plugged, then unplug and let it drain fully. Watch every joint and the base of the strainer carefully. A dry towel under the assembly makes any drip immediately obvious. Dry, clean, and wipe down the inside of the cabinet once you have confirmed the repair is solid.
- Clear the Cabinet and Prepare
Remove everything stored under the sink. Place a bucket directly under the P-trap to catch the water that will spill when you open the joints. Keep a towel nearby.
- Tighten Loose Slip-Joint Nuts
Before removing anything, try hand-tightening each plastic slip nut along the drain assembly. Then snug each one an additional quarter turn with slip-joint pliers — no more. Run water and check again. If tightening alone stops the drip, you are done.
- Replace Worn Washers
If tightening does not stop the leak, disassemble the leaking joint. Loosen the slip nut by hand or with pliers (counter-clockwise), slide it back, and pull the pipe sections apart. Inside each slip nut is a beveled rubber or plastic washer.
- Replace a Cracked P-Trap
If the P-trap body itself is cracked or brittle, the whole trap needs to go. Unscrew both slip nuts — one connecting to the drain tailpiece above and one connecting to the trap arm going into the wall.
- Reseal the Basket Strainer (If Needed)
If the leak is at the drain rim in the sink basin, the basket strainer needs to be reseated. Unscrew the large locknut under the sink (a basket strainer wrench makes this much easier), lift the strainer out from above, clean off the old putty or sili...
Free: 10-Point Home Maintenance Checklist
Prevent costly repairs with this seasonal checklist. Save hundreds every year by catching problems early.
Your checklist is ready!
Open Checklist →Something went wrong. View the checklist here.