How to Fix a Leaking Kitchen Faucet Sprayer
Diagnose and repair a dripping or malfunctioning pull-out or pull-down kitchen faucet sprayer with the right replacement parts and simple tools.
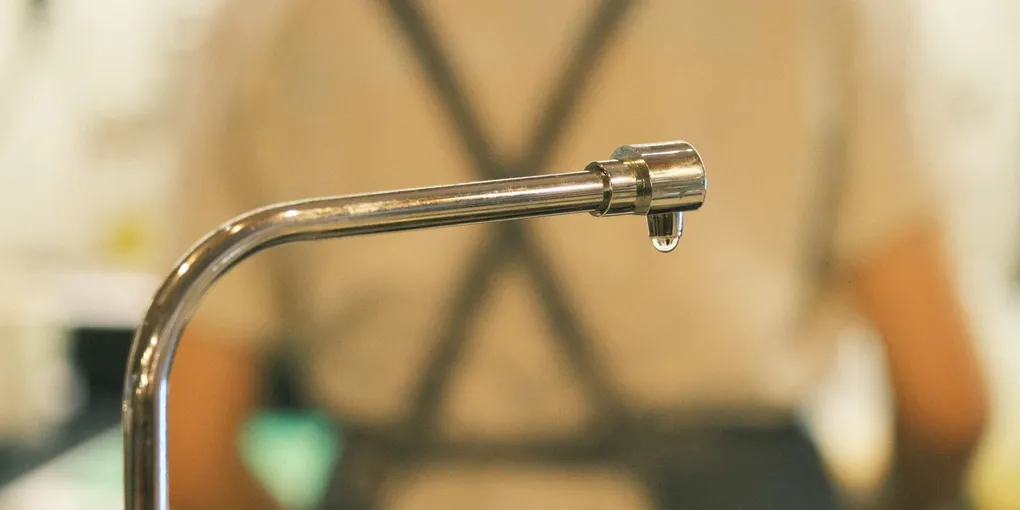
A leaking or malfunctioning pull-out or pull-down kitchen faucet sprayer is one of the more frustrating kitchen plumbing problems — but it is almost always repairable with a replacement spray head, a new hose, or a diverter valve swap.
A leaking or malfunctioning pull-out or pull-down kitchen faucet sprayer is one of the more frustrating kitchen plumbing problems — but it is almost always repairable with a replacement spray head, a new hose, or a diverter valve swap. This guide walks you through each scenario.
What You Need
- Universal pull-out faucet spray head replacement ($15–$40 — covers most Moen, Delta, Kohler, and generic faucets)
- Kitchen faucet pull-out hose replacement ($10–$25 if the hose itself is leaking or kinked)
- Faucet diverter valve replacement kit ($8–$20 if low spray pressure is the issue)
- Adjustable pliers or basin wrench
- Plumber’s tape (Teflon tape)
- Bucket or towels
- Flashlight for under-sink inspection
- Paper towels (for leak diagnosis)
Know your faucet brand before ordering parts — Moen, Delta, and Kohler all have proprietary fittings, and brand-specific parts fit far better than universals. Check the faucet body for a stamped brand name or look up the model using the faucet’s style and handle configuration.
Step 1: Identify Where the Leak Is Coming From
Before buying any parts, pinpoint the leak source under the sink.
- Dry the area under the sink with paper towels.
- Turn the water on and pull the spray head out, running water through it.
- Check for drips at the spray head connection, along the hose body, and at the hose-to-faucet fitting inside the cabinet.
- Press the spray button on and off several times and watch for drips at the spray head.
Drips from the spray head face or around the button: replace the spray head. Drips along the hose body: replace the hose. Drips at the under-sink hose connection: tighten the fitting or replace the hose. Low pressure at sprayer with water dribbling from spout simultaneously: replace the diverter valve.
Step 2: Shut Off the Water Supply
Turn off the hot and cold supply valves under the sink — they are the two valves on the supply lines leading up to the faucet. Turn them fully clockwise. Turn on the faucet briefly to release pressure in the line, then lay a towel or small bucket under the work area.
Step 3: Remove and Replace the Spray Head
The spray head attaches to the hose via a threaded connection. Depending on the faucet, there may also be a quick-connect collar that snaps on.
To remove:
- Pull the hose out fully from under the faucet.
- If there is a quick-connect collar, press the collar in toward the spray head while pulling the hose away — the head will release.
- For threaded connections, grip the hose just below the head with a cloth to protect it and unscrew the spray head counterclockwise by hand or with slip-joint pliers.
To install the new head:
- Wrap 2 to 3 layers of Teflon tape clockwise around any threaded fitting on the hose end.
- Thread the new spray head on clockwise until hand-tight, then snug an additional quarter turn with pliers — do not overtighten plastic fittings.
- For quick-connect heads, push the head onto the fitting until it clicks.
Restore water and test. Check for drips at the connection; if present, tighten slightly more.
Step 4: Replace the Hose (If Needed)
If the hose itself is leaking, kinked beyond straightening, or cracked, replace it.
- Remove the spray head as described in Step 3.
- Under the sink, locate where the hose connects to the faucet body — typically a threaded port or a quick-connect fitting in the faucet shank.
- Slide the counterweight off the hose (note its position for reinstallation).
- Disconnect the hose from the faucet body using pliers on the fitting. Have a towel ready for residual water.
- Feed the new hose up through the faucet body from below, attach the fitting to the faucet body hand-tight plus a quarter turn, and reinstall the counterweight 6 to 8 inches below the faucet body.
- Reattach the spray head and test.
Step 5: Replace the Diverter Valve (If Water Pressure Is Low)
If replacing the spray head and hose did not fix the problem, the diverter valve is the culprit. The diverter is typically located inside the faucet body where the spout base meets the faucet body, accessible after removing the spout.
The diverter replacement process varies significantly by faucet brand and model. For Moen faucets, the diverter is often a cartridge accessible from the top of the faucet after removing the handle and spout. For Delta faucets, a diverter port may be at the side or base of the spout body. Consult the faucet’s installation manual or search the model number plus “diverter replacement” for brand-specific instructions.
General diverter replacement steps:
- Remove the faucet handle (usually a set screw under a decorative cap).
- Unthread or pull the spout from the base.
- Locate the diverter — a small cylindrical valve, often with a rubber seat.
- Remove the diverter using needle-nose pliers, replace with the new diverter, and reassemble in reverse order.
Step 6: Test and Check for Drips
Restore water supply slowly. Test spray mode and regular flow mode several times. Confirm the spray button activates cleanly, pressure is strong at the spray head, and the main spout does not dribble while using the sprayer.
Run the faucet for 2 to 3 minutes and check all connections under the sink with a paper towel.
When to Call a Plumber
If the faucet is more than 10 to 15 years old and multiple parts are failing, replacement of the entire faucet unit is often more cost-effective than continued repairs. A new mid-range pull-down faucet costs $100 to $250, and a plumber can install it in under an hour.
Related Reading
- How to Replace a Kitchen Faucet
- How to Fix a Dripping Faucet
- Under-Sink Plumbing: A Homeowner Guide
- Identify Where the Leak Is Coming From
Before buying any parts, pinpoint the leak source under the sink.
- Shut Off the Water Supply
Turn off the hot and cold supply valves under the sink — they are the two valves on the supply lines leading up to the faucet. Turn them fully clockwise.
- Remove and Replace the Spray Head
The spray head attaches to the hose via a threaded connection. Depending on the faucet, there may also be a quick-connect collar that snaps on.
- Replace the Hose (If Needed)
If the hose itself is leaking, kinked beyond straightening, or cracked, replace it.
- Replace the Diverter Valve (If Water Pressure Is Low)
If replacing the spray head and hose did not fix the problem, the diverter valve is the culprit. The diverter is typically located inside the faucet body where the spout base meets the faucet body, accessible after removing the spout.
- Test and Check for Drips
Restore water supply slowly. Test spray mode and regular flow mode several times. Confirm the spray button activates cleanly, pressure is strong at the spray head, and the main spout does not dribble while using the sprayer.
Free: 10-Point Home Maintenance Checklist
Prevent costly repairs with this seasonal checklist. Save hundreds every year by catching problems early.
Your checklist is ready!
Open Checklist →Something went wrong. View the checklist here.